
B
briannamcleanJul 26, 2025
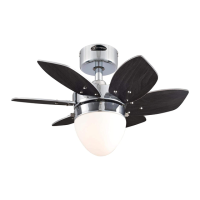
What to do if my Westinghouse Fan does not start?
- JJoel RichardsonJul 26, 2025
If your Westinghouse Fan does not start, begin by checking the main and branch circuit fuses or circuit breakers. Then, check the wire connections. Ensure the forward/reverse switch is firmly to one side or the other, as the fan will not operate when the switch is in the middle. If it still won't start, contact a qualified electrician to troubleshoot the internal electrical connections.