Westward Operating Instructions and Parts Manual 1KEN3, 1KEN4
3. Open the jaws of the chuck (1) by rotating the chuck
sleeve clockwise. To prevent damage, make sure the jaws
are completely receded into the chuck.
4. Unlock the table support lock (4- Figure 5) and swing the
table away from the bottom of the chuck.
5. Using a rubber mallet or a hammer and a block of wood,
tap the chuck onto the spindle fi rmly (Figure 12).
Mounting drill press to work surface (
1. If mounting the drill press to a workbench, a solid wood
bench is preferred over a plywood board, to reduce noise
2. Holes should be pre-drilled through the supporting surface.
3. The hardware to mount this drill press is NOT supplied
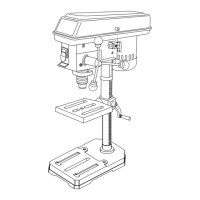
with the tool. The hardware as shown in the illustration


 To Next Page