Installation Manual: GM LT1_A1R13E
Last Updated: February 12th, 2019
Page 20 of 36
www.whipplesuperchargers.com
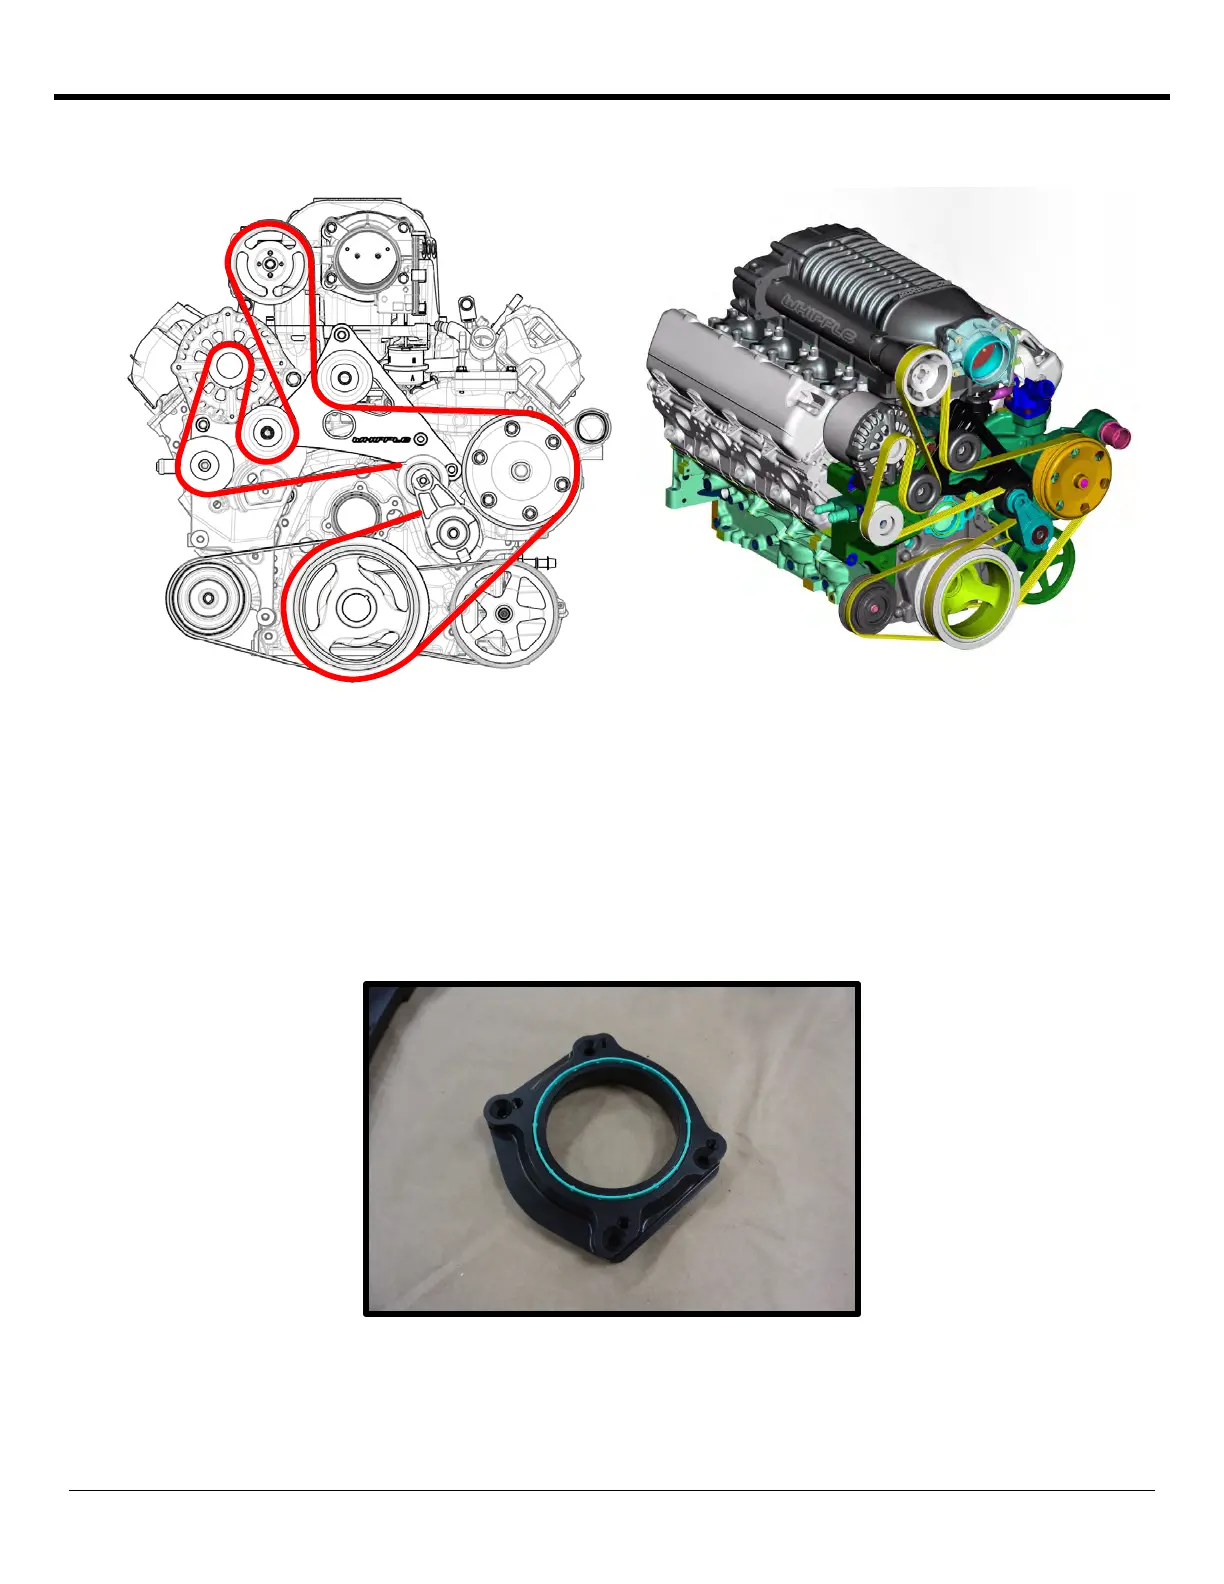
56. Route the supplied SC belt using the following diagram. Route around the spring-loaded tensioner while it’s still
loose for ease of installation.
57. Rotate the spring-loaded tensioner back into its stock location and torque to 18 ft/lbs. using a 15mm socket.
58. Using a ½” breaker bar, release all the tension from the spring-loaded tensioner. Using a 3/8” allen socket and
your hand, push the sliding idler as far as you can down to take all extra belt slack away. Lock the ½” SHCS bolt
with the 3/8” allen socket (torque to 32 ft/lbs) and release the spring-loaded tensioner.
59. (5.3L) Install the factory throttle body oring to the new throttle body adapter. Install the supplied throttle body
adapter gasket and install adapter to the SC inlet using the supplied (4) 6mm x 30mm FHCS (4mm allen socket),
torque to 80 in/lbs.
 Loading...