Installation Manual: GM LT1_A1R13E
Last Updated: February 12th, 2019
Page 19 of 36
www.whipplesuperchargers.com
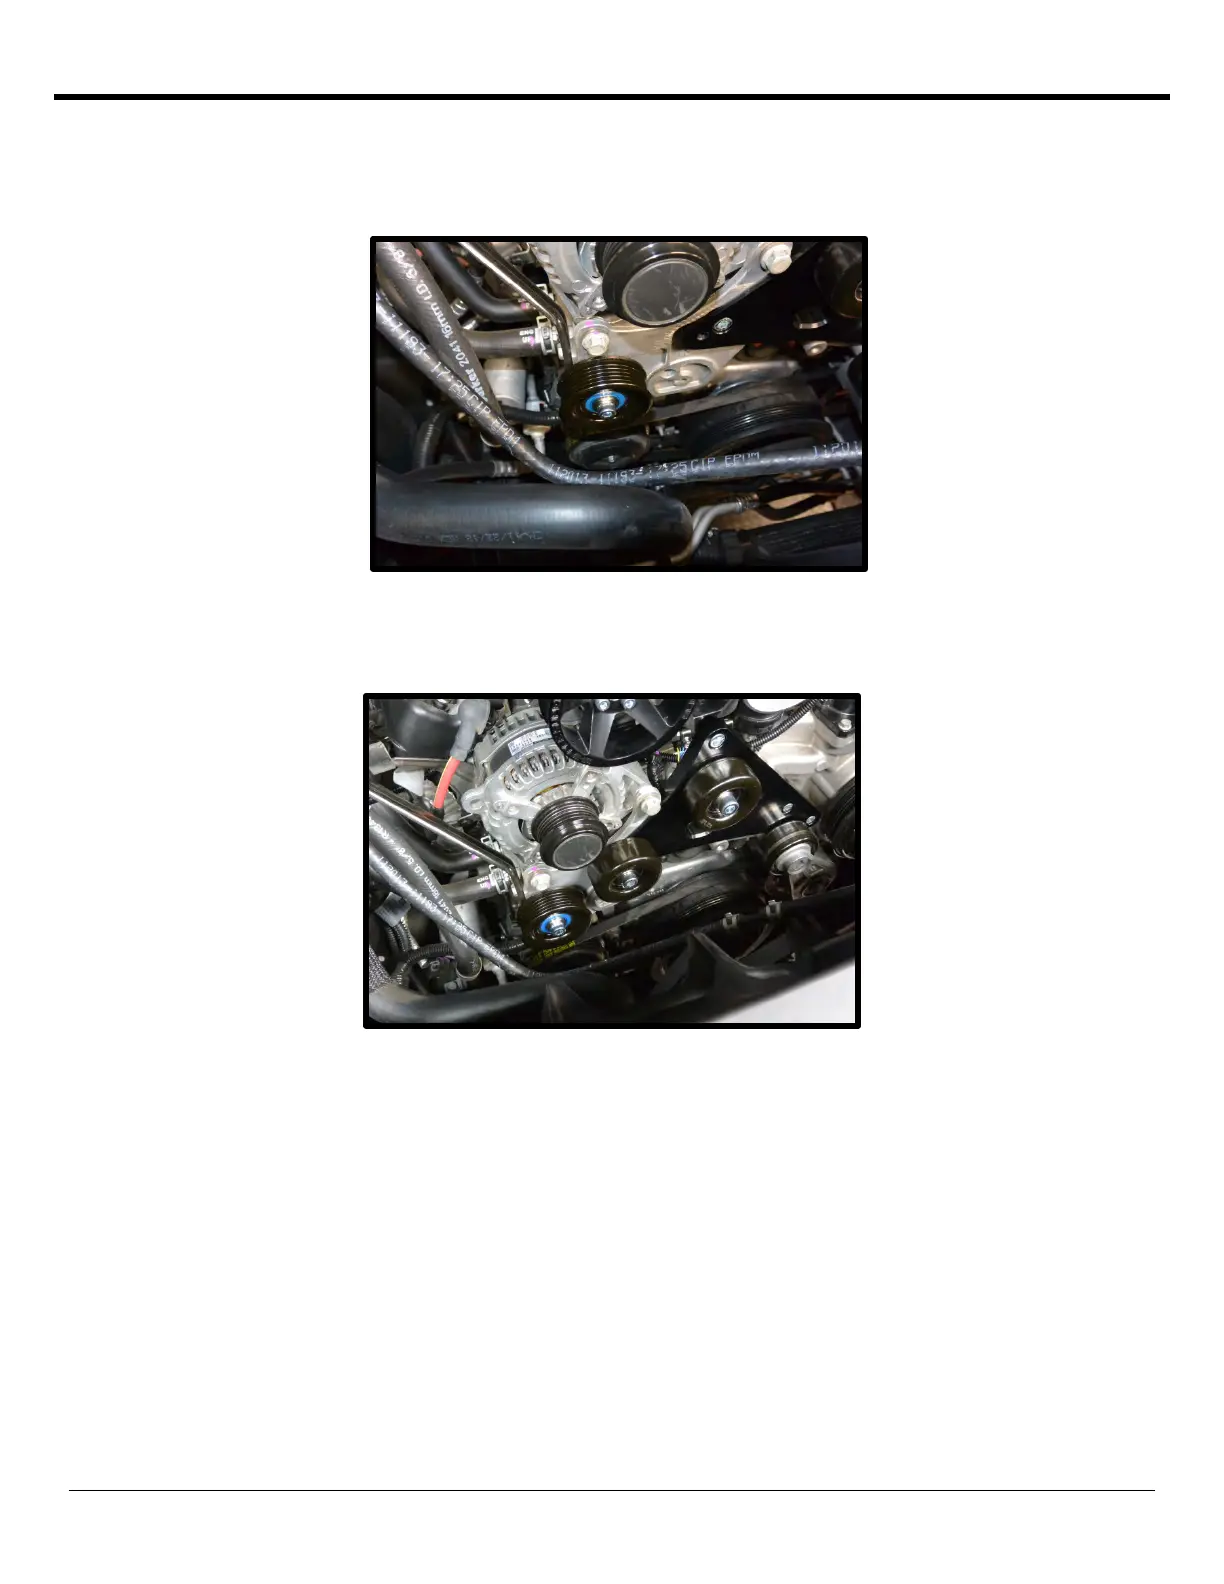
53. Install the supplied grooved idler pulley to the factory tapped hole below the alternator. Use the supplied step
spacer with the 10mm ID hole and the 10mm ID step washer on the front of the pulley. Use the supplied 10mm x
35mm SHCS to secure pulley to factory bracket (8mm allen socket).
Loctite™ (#242 blue) threads. Torque to
28 ft/lbs.
54. Install the supplied smooth idler pulley to the new idler plate below the alternator. Use the supplied step spacer
with the 10mm ID hole and the 10mm ID step washer on the front of the pulley. Use the supplied 10mm x 30mm
SHCS to secure pulley to idler plate (8mm allen socket).
Loctite™ (#242 blue) threads. Torque to 28 ft/lbs.
55. Install the supplied supercharger pulley using the supplied (4) 6mm x 12mm SHCS to secure. Torque to 119 in/lbs
using a 5mm allen socket. Use the 6-rib belt to hold the pulley in place to torque.
 Loading...