Installation Manual: GM LT1_A1R13E
Last Updated: February 12th, 2019
Page 6 of 36
www.whipplesuperchargers.com
ILLUSTRATED INSTALLATION GUIDE
It is strongly recommended that you read through this guide before you begin installing the Whipple Supercharger.
WARNING!! Batteries normally produce explosive gases. Therefore, do not allow flames, sparks or
lighted substances to come near the battery. When charging or working near a battery, always shield your
face and protect your eyes. Always provide ventilation. Failure to follow these instructions may result in
personal injury.
WARNING!! Keep out of the reach of children. Batteries contain sulfuric acid. Avoid contact with skin,
eyes or clothing. Also, shield your eyes when working near the battery to protect against possible
splashing of the acid solution. In case of acid contact with the skin or eyes, flush immediately with water
for a minimum of 15 minutes and get prompt medical attention. If acid is swallowed, call a physician
immediately. Failure to follow these instructions may result in personal injury.
1. Using an air hose, blow off any loose dirt or debris from engine compartment. If really dirty, then steam clean the
engine compartment before proceeding to the next step.
2. Follow the step by step calibration process instruction sheet. Note: Cals can take up to 48 hours after request, this
should always be done before installing the supercharger. Issues with HP Tuners software should be handled by
the MFG of the flash tool company.
Your computer must have a stock unaltered file or programmer will not load. If you have a modified PCM, return it
back to stock to avoid any corruption issues. If you do not have the stock file, you must take it to the dealership and have
the PCM/TCM updated. Failure to do so may cause complications in the file build for your vehicle and cause running
issues.
3. Slowly remove the factory gas cap to relieve any excess pressure.
4. Disconnect the negative (-) battery connector with a 10mm wrench. The battery cable must remain off for the
remainder of the install.
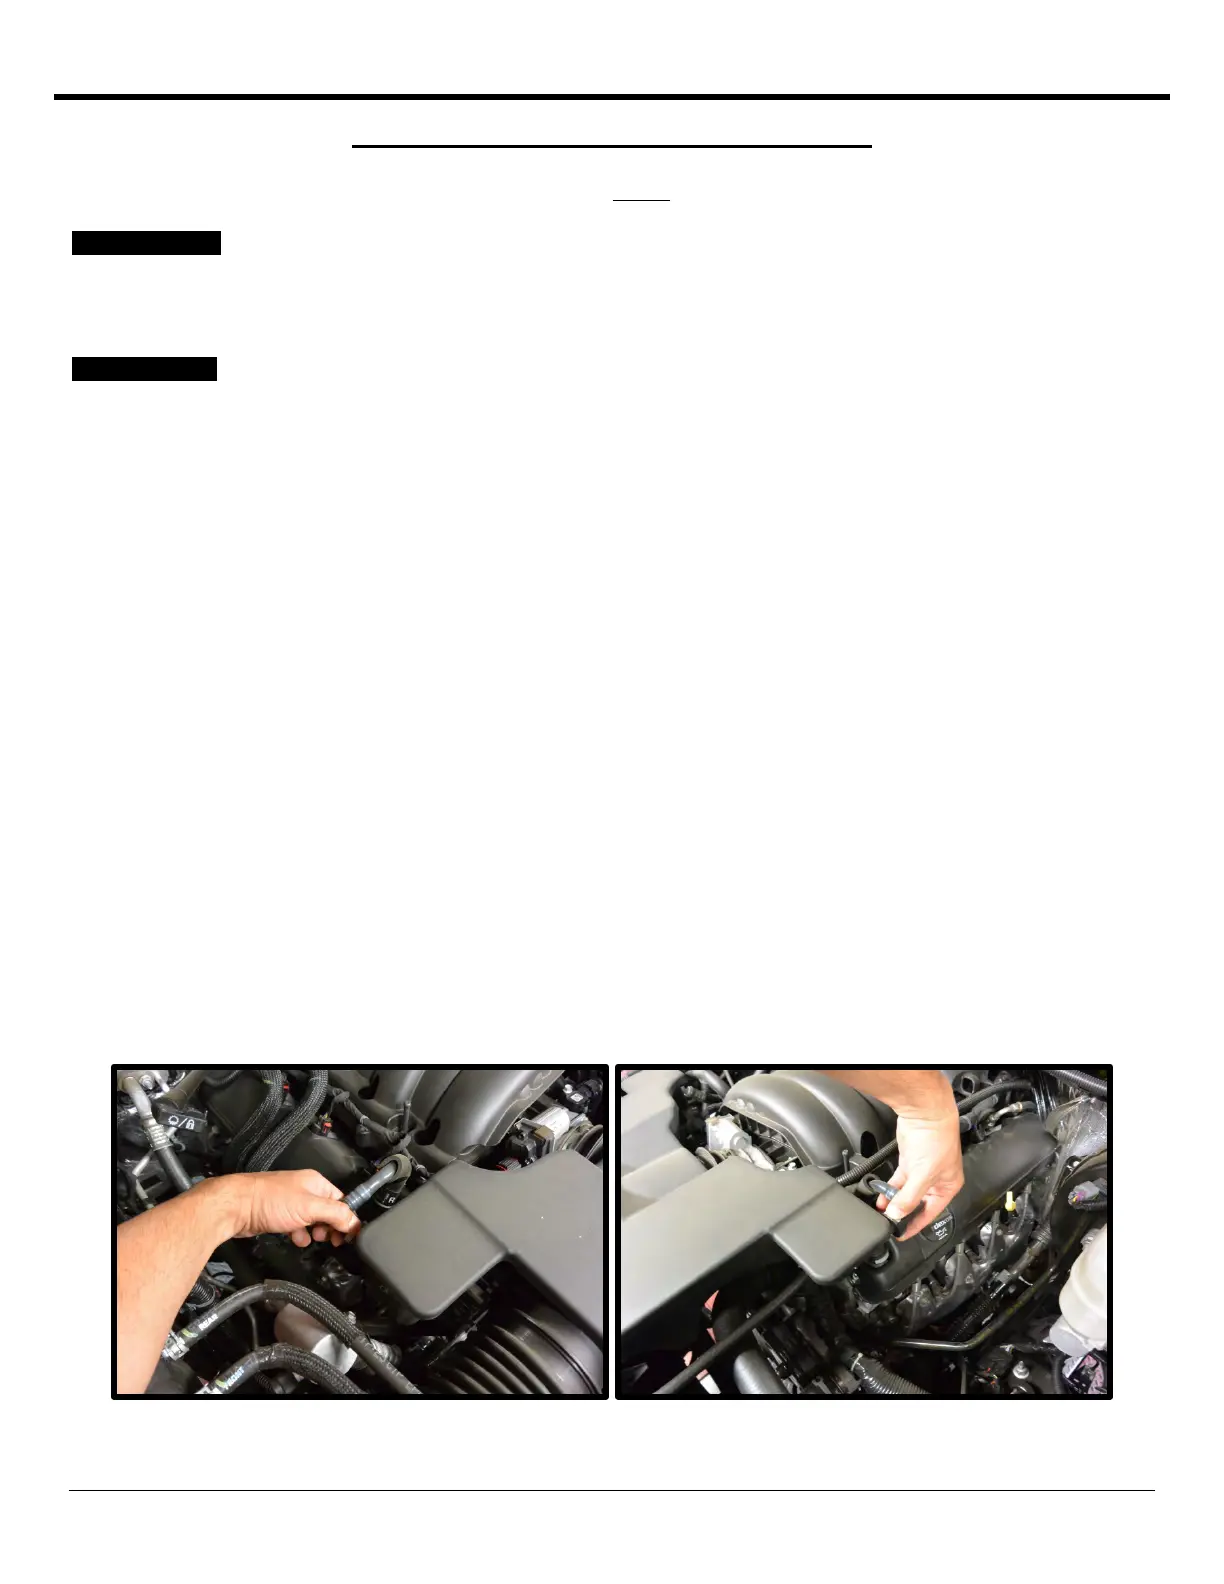
5. Disconnect the quick connect fittings located on both sides of the stock air induction tube. Disconnect by squeezing
the clips and pulling away from ducting.
 Loading...