-
Moving the meat pan.. .
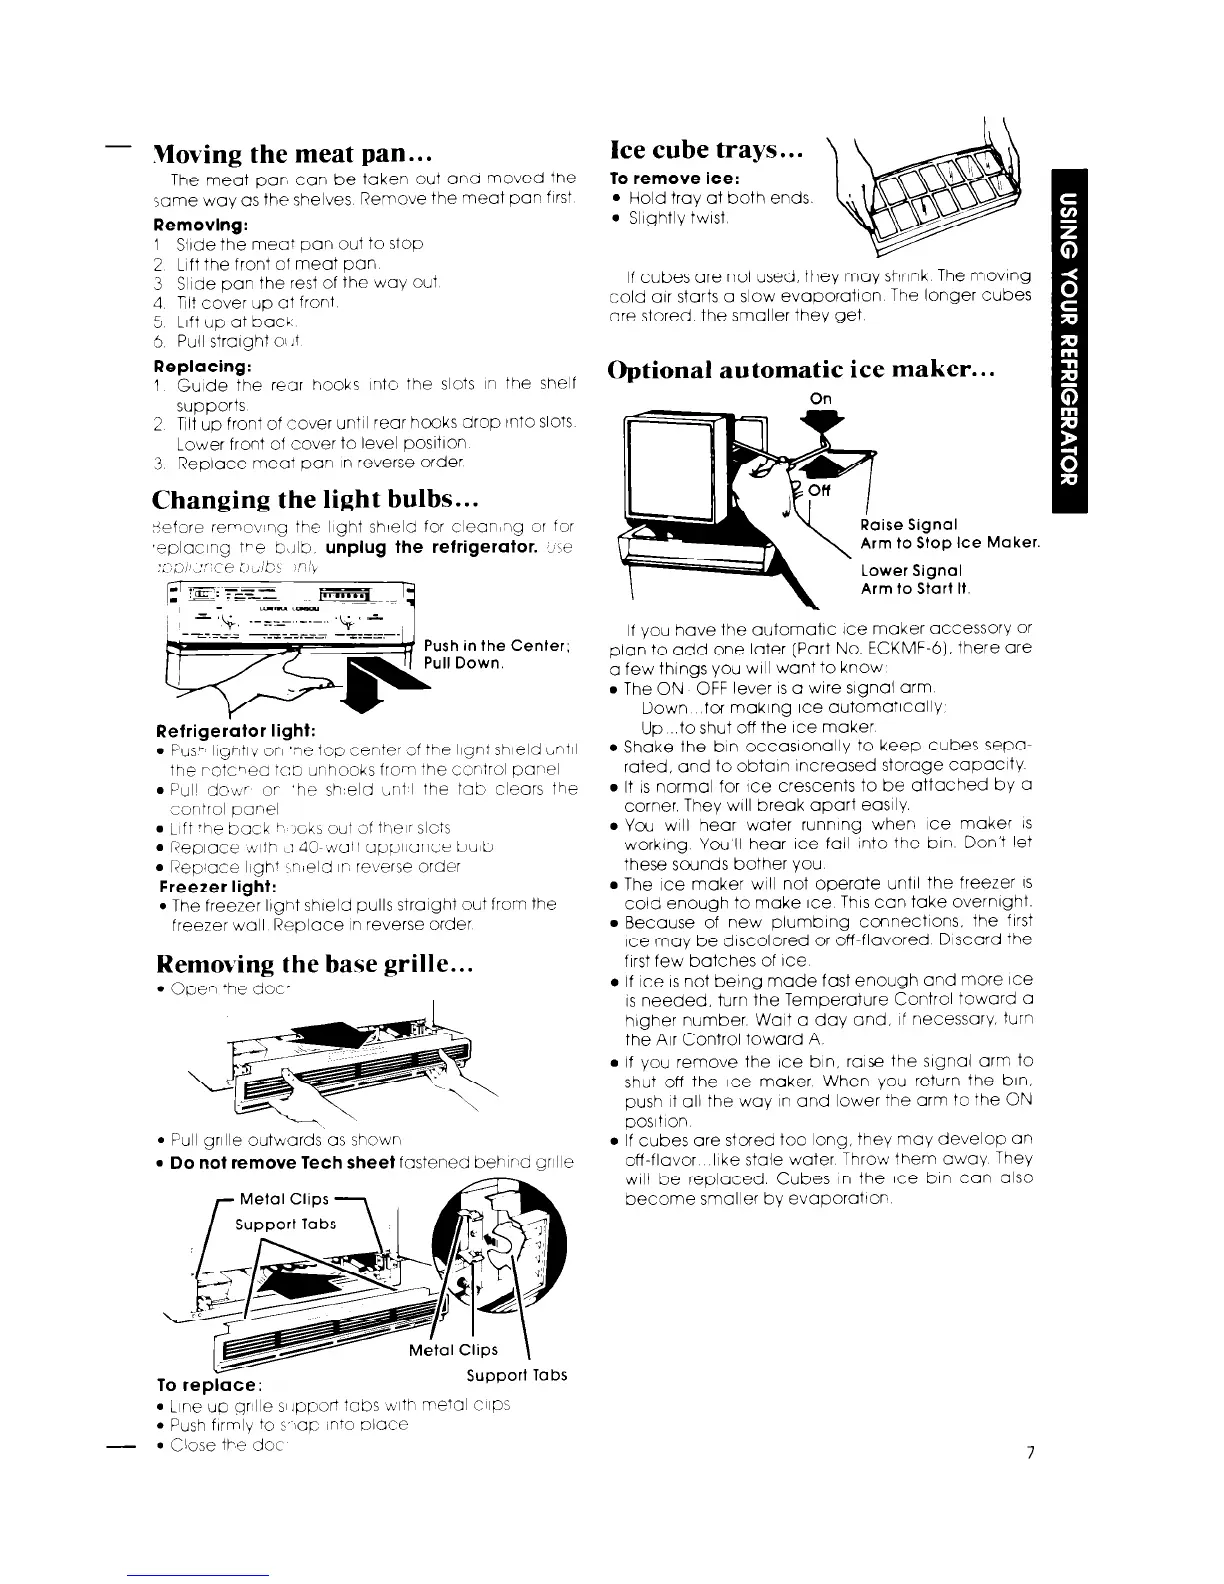
Ice cube trays.. .
The meat par, can be taken out cnc moved the
same way as the shelves Remove the meat pan flrSt
Removlng:
1 Slide the mea: pan out to stop
2 Lift the front of meat pan
3 Slide pan the rest of the wcy out
4 Til? cover up at front
5 Lift up at bccc
6 Pull strclght 01 It
Replacing:
1 Guide the rear hooks into the slots In the shelf
supports
2 Tilt up front of cover until rear hooks drop tnto slots
Lower front of cover to level posItIon
3
Replace meat pan in reverse order
Changing the light bulbs...
To remove ice:
l
Hold tray at both ends.
. Slightly twist
If cubes are not used, they may shrink The moving
cold clr starts a slow evcporctlon The longer cubes
are stored, the smaller they get
Optional automatic ice maker.. .
On
before remcv’ng the light shield for clecnIng or for
,eplcclng V-e bLJlb
unplug the refrigerator. ,\e
TL[il’
:“!:e ;,bib!
“I)
Push in the Center;
Refrigerator light:
l
Push ligntlv or1 ‘ne top center of the llgnt shield until
the rotcbed tr:b unhooks from the corItrol pare1
l
Pull doti”r or *he sh,eld c,nt I the tab clears the
control panel
l
Lift +he back b’ ,oks out of their slots
l
Reuicce ,blth L: 40-dctt appllcnce bulb
l
Repjcce llgh+ Ln-rield in reverse order
Freezer light:
l
The freezer light shield pulls straight out from the
freezer wall ReDlace in reverse order
If you have the cutomctlc Ice maker accessory or
plan to add one later (Part No. ECKMF-6). there are
c few things you WIII want to know
l
The ON OFF lever IS a wire slgncl arm
Down for making Ice cutomct~cclly
Up ..to shut off the Ice maker
l
Shake the bin occcslonclly to keep cubes sepc-
rated, and to obtain Increased storage ccpcclty
l
It IS normal for Ice crescents to be attached by c
corner. They WIII break apart easily.
l
Yar will hear water running when ice maker IS
working You’ll hear Ice fall Into the bin Don’t let
these sounds bother you
l
The ice maker will not operate until the freezer IS
cold enough to make Ice This can take overnlght.
l
Because of new plumbing connections, the first
Ice may be dlscolored or off-flavored Discard the
first few batches of Ice
Removing the base grille.. .
l
Open ‘he dot-
l
Pull grille outwards as shown
l
Do not remove Tech sheet
fastened behr:d grille
To replace:
Support Tabs
daise Signal
Arm to Stop
IC
Lower Signal
Arm to Start It
:e Maker.
l
If ice IS not being made fast enough and more ice
IS needed, turn the Temperature Control toward c
higher number. Wait a day and, if necessary. turn
the Air Control toward A.
l
If you remove the Ice bin, raise the slgncl arm to
shut off the ice maker When you return the bin.
push it all the way In and lower the arm to the ON
posltion
l
If cubes are stated too long, they may develop an
off-flavor like stale water Throw them away They
WIII be replaced. Cubes In the ice bin con also
become smaller by evcporctlon
l
Line up grille SI ~ppori tabs tilth metal c11ps
l
Push firmly to s’ op InTo I?lcce
-
l
Close We dot