Do you have a question about the Whirlpool WDF518SAHM and is the answer not in the manual?
Explains safety symbols (DANGER, WARNING) and common hazards.
Warns against using the unit until installed and pushing on the door.
Emphasizes adherence to codes and professional installation.
Lists required tools, supplied parts, and optional items for installation.
Lists additional parts and specialized tools required for the installation process.
Provides advice on initial checks for electrical and plumbing setups.
Specifies the required width, depth, and height for cabinet openings.
Specifies the required width, depth, and height for cabinet openings.
Guidelines for dishwasher placement, access, and clearance.
Details on drain hose connection, height, and air gap usage.
Specifications for hot water connection, pressure, and tubing.
Outlines voltage, frequency, amperage, and wiring needs.
Instructions for drilling holes for drain, water, and electrical lines.
Guidance on applying a moisture barrier to wood countertops.
Instructions for routing the direct wire cable within the cabinet.
Covers tip-over and weight hazards before moving the unit.
Safely laying the dishwasher on its back for access.
Steps for removing the lower access panel to access internal components.
Connects the 90° elbow fitting to the fill valve.
Identifies the specific location of the fill valve on the unit.
Attaches and routes the flexible fill hose to the elbow fitting.
Removes the terminal box cover and installs strain relief.
Routes the power cord into the terminal box and makes electrical connections.
Replaces the terminal box cover after wiring is complete.
Guides routing water, drain, and power lines through designated channels.
Positions the dishwasher adjacent to the cabinet opening for installation.
Routes the power cord through the cabinet cutout.
Ensures the insulation blanket is correctly positioned and secured.
Secures the dishwasher to the countertop using top-mounted brackets.
Attaches side mounting brackets to the cabinet for anchoring.
Breaks off bracket tabs and inserts them into the tub collar slots.
Fastens the side mount brackets using provided screws.
Moves the dishwasher fully into the cabinet cutout until flush.
Adjusts leveling legs to ensure the unit is level.
Checks and adjusts the door spring tension for proper operation.
Fastens the dishwasher to the countertop or side cabinet securely.
Details side mount attachment and drilling pilot holes in the cabinet.
Secures the dishwasher to the cabinet using screws.
Removes cover and installs strain relief for direct wiring.
Routes the direct wire cable and makes electrical connections.
Attaches the water supply line to the hot water shut-off valve.
Connects the drain hose to the waste tee or disposer.
Reinstalls the access panel using screws.
Checks all installation steps and confirms proper unit function.
Provides solutions for common problems if the unit fails to operate.
Offers advice on wash times, energy use, and rinse aid benefits.
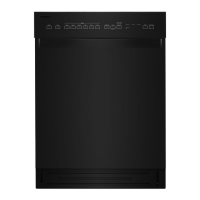
| Style | built in |
|---|---|
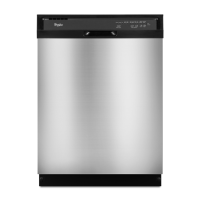
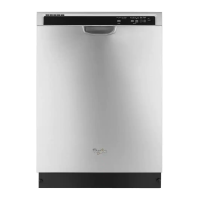
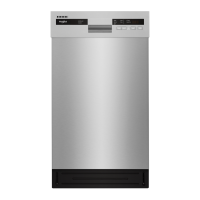
| Color | stainless steel |
| Load Capacity | 8 place settings |
| Number of Cycles | 5 |
| Cycle Selections | heavy; normal; quick wash; rinse only; light/china |
| Number of Options | 3 |
| Options/Settings | heated dry; hi temp wash; 1-24 hour delay |
| Drying Type | heated |
| Noise level | 50 dba |
| Control Type | touchpad; electronic |
| Delay Start | yes |
| Number of Racks | 2 |
| Spray Arms | 2 |
| Water Filter | yes; removable filter |
| Water Softener | no |
| Food Disposer | no |
| Sanitize Settings | no |
| Half Load | no |
| Wi-Fi | no |
| Voltage | 120 volts |
| Current | 15a |
| Depth | 22 inch |
|---|---|
| Height | 34 1/2 inch |
| Width | 17 5/8 inch |