Windshield Mounting - (Continued)
Important:
Some newer cars have a plastic safety
coating on the inside of the windshield. The
windshield bracket may leave permanent marks on this
type of surface. To find out if your vehicle has this type
of windshield, check the vehicle’s owner’s manual or
ask your dealer. We recommend that you do not
leave the suction cup bracket on the window in direct
sunlight. If the detector is removed, this may cause
blistering of the dash in some vehicles.
• Slide the detector onto the bracket until it locks into
place.
• If necessary, the unit may be leveled by bending the
windshield bracket. Press the bracket release button
and remove the detector before bending.
INSTALLATION
Windshield
Mounting
6
IMPORTANT
: Make sure the unit is level
INSTALLATION
7
Power Cord Connection
• Plug the small end of the power cord into the
unit’s power jack.
• Plug the large end into the vehicle’s cigarette lighter
socket.
Note:
Cord fits tightly into detector. When
installing the cord, expect some resistance.
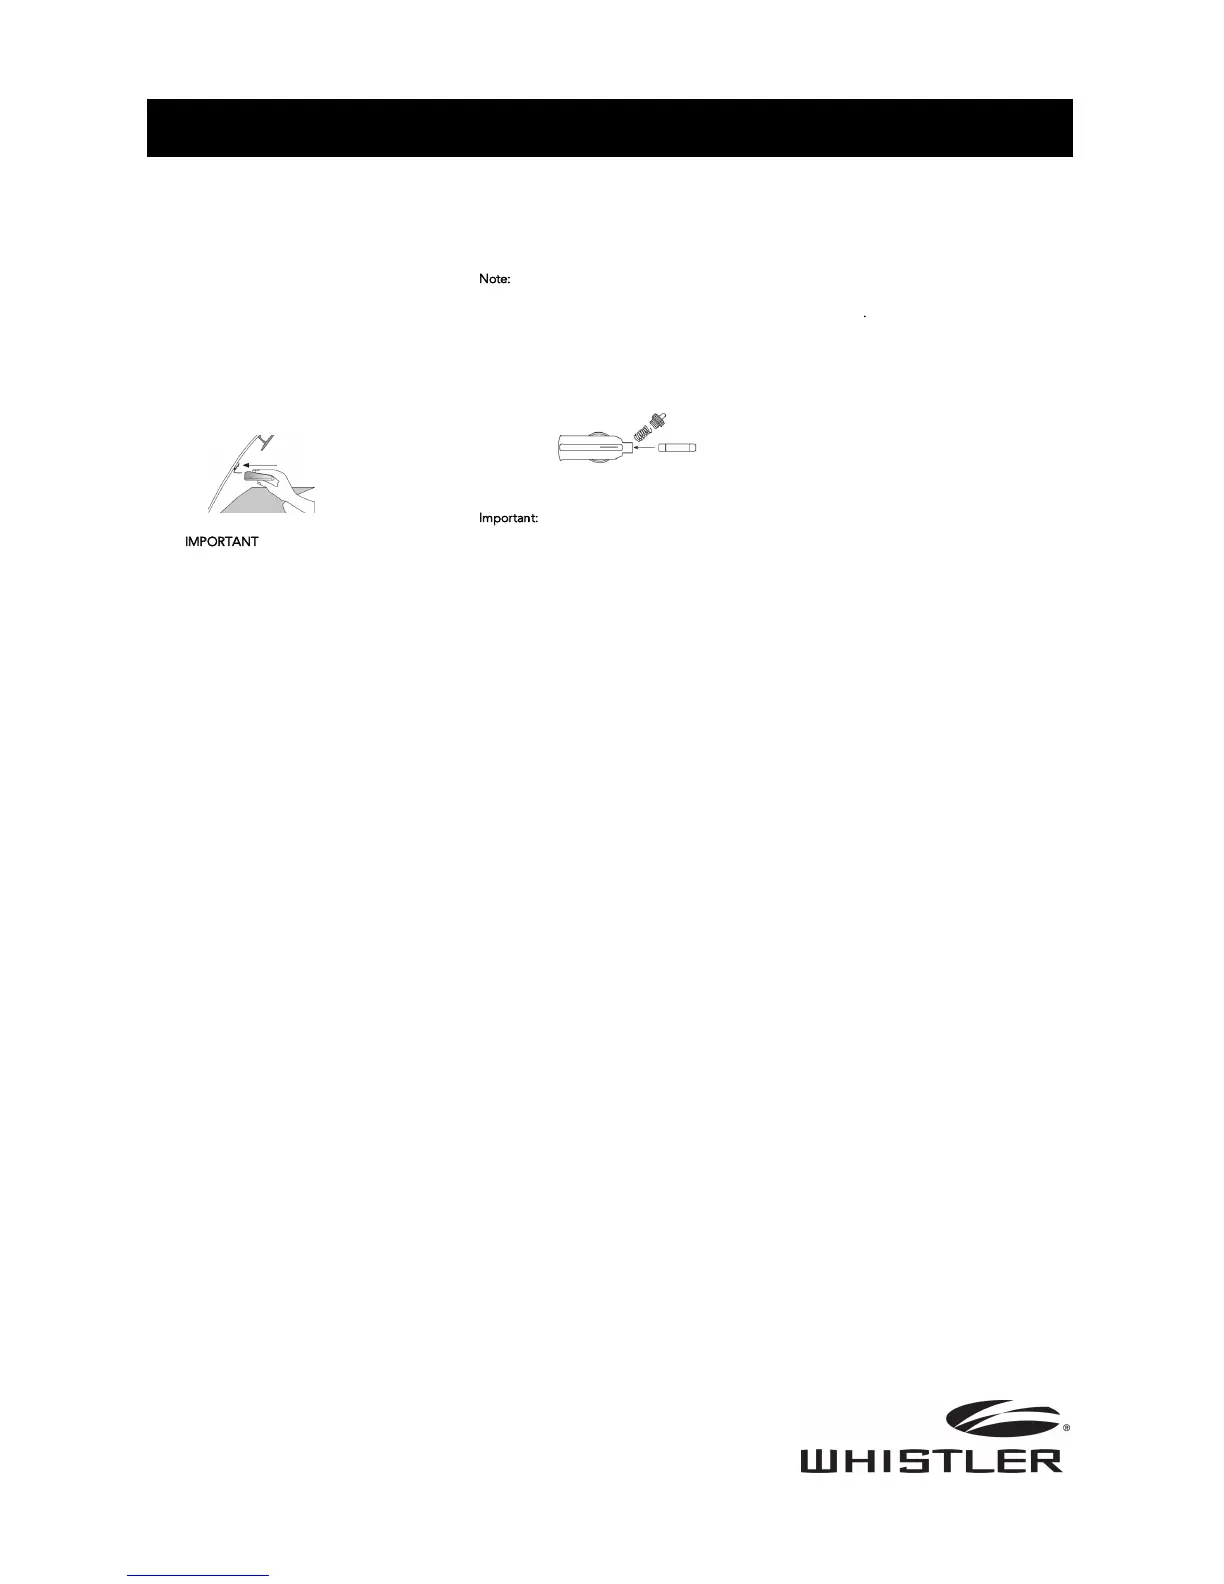
Fuse Replacement
The lighter socket plug is equipped with a
replaceable 2 amp, 3AG fuse located behind the
silver tip. To replace the fuse, carefully unscrew the
tip of the plug.
Important:
Unscrew slowly. The tip contains a
spring which may fly out when disassembling.
Insert the new fuse with the spring and screw on
the tip. With use, screw cap on plug may loosen.
Retighten occasionally.
OPERATION
8
Power On Self Test
Each time your Whistler detector is turned on,
an automatic self-test sequence confirms that
the speaker and visual displays are functional.
• T
ext Display shows in order:
1. WHISTLER 2. X-band 3. K-band 4. Ka-band
5. LASER 6
.
SR OFF 7. VG2 OFF 8. POP ON
9. BSVR ON
10. FILTER 11. HIGHWAY
Dim/Dark Mode
Dim/Dark Mode reduces the illumination of the
display.
• Press the Dark button to reduce illumination
to a Dim setting.
• Press the Dark button a second time to
engage Dark Mode. The display illumination
is further reduced.
Dim or Dark Mode can be engaged during an
alert. In Dark Mode, the display goes dark for as
long as a signal is being detected and for 20
seconds after, then the display returns to the
dimmer setting.
• Press the Dark button a third time to restore
full illumination to the display.
Setting Saver
Setting Saver saves your personalized settings
so that when the detector is turned off and then
on again, you do not have to re-enter them.
Feature Engaged Confirmation
Each time a button is pressed, one beep confirms
feature “on”, two beeps confirm feature “off”.
Integrated Real Voice
®
When selected, Real Voice
®
will be used to
articulate the following:
1. Band Identification
2. Safety Warning System messages
3. Feature Selection
Note: In certain cases, the voice message does
not replicate the text message.
Quiet Mode
Quiet mode cancels audio during an alert and
any new alert within 20 seconds. After 20
seconds, approximately 2 beeps are provided
on any new alert and unit then remains quiet.
• Press Quiet to cancel the audio.
• Press Quiet a second time during an alert to
restore the standard audio alert pattern; or
turn the unit off, then on.
Auto Quiet Mode
Auto Quiet mode reduces the selected audio
level to level (1) approximately 5 seconds after a
radar or safety radar signal is detected. The
alert for any new signal within 20 seconds will
resume at level (1). Auto Quiet mode does not
affect laser alerts.
• Press Quiet (before a signal is detected) to
engage Auto Quiet mode.
• Press Quiet (when the unit is not alarming) to
cancel Auto Quiet mode.
Audio Level Adjustment
To Change the audio level:
• Move Power/Volume button back to increase
audio level.
• Move Power/Volume button forward to
decrease audio level. As audio level is
adjusted, beeps are provided and the display
indicates volume level.
City/City 1/City 2 Mode
Whistler’s Three Stage City Mode is designed to
reduce the annoyance of automatic door
openers, intrusion alarms and other devices which
share frequencies with police radar. Generally, X
band is used for these devices.
• Press City button to cancel Highway Mode
and engage City Mode.
• Press City button again to enter City 1 Mode
• Press City button again to enter City 2 Mode
• Press City button a fourth time to cancel City 2
Mode and returns the unit to Highway Mode.
In City Mode, weak speed/safety radar signals
give an initial alarm of two beeps, and then
remains quiet until the signal becomes very
strong. When the signal strength increases, two
additional beeps are provided. City 1 and City 2
Modes operate the same as Highway Mode, but
in City 1 Mode, only the X band is reported at
high levels. In City 2 Mode, X-band is not detected.
Caution: Some towns/small cities may still be
using X band radar. City Modes do not change
the audio alert for laser or VG-2.
Highway Mode
Highway mode provides full audio warnings any
time radar (X, K, Ka, Safety Radar) or laser
signals are detected, and is recommended for
open road driving.
For more information on City and Highway modes,
please visit our F.A.Q. page on our website:
www.whistlergroup.com
OPERATION OPERATION
Alert Periscopes
Whistler’s new Alert Periscopes provide an added
attention getting visual alert. The two extra LEDs
flash on and off when the unit alarms to provide a
unique visual alert. This alert can be programmed,
through the Option Select Mode to: 1. flash for all
alarms, 2. remain on, or 3. turn LEDs off
completely.
VG-2 Mode
See Option Select Mode to turn this feature
on/off. When a VG-2 signal is detected, the VG-2
alert is sounded and the display flashes “VG-2”.
After 3 seconds the audio is canceled and the
display no longer flashes. This cycle is repeated
if the VG-2 signal is detected again.
During the period a VG-2 signal is detected, a
radar signal cannot be detected. However,
because the VG-2 alert has confirmed that a
patrol car is nearby, you are already aware of the
potential for speed monitoring and can adjust
your speed accordingly. Laser detection is not
affected while a VG-2 signal is detected. (See
page 16 for more information)
Vehicle Battery Saver Mode
The Vehicle Battery Saver Mode automatically shuts
off the detector after 3 hrs. The timer is reset if the
detector is turned off, unplugged or any button is
pressed before the timer has expired. The detector
will alert you with an audible and visual warning
before it shuts off. During this warning, you can
momentarily reset the timer by pressing any button.
If the unit has automatically turned off, press any
button to turn the unit back on.
Refer to “Option Select Mode” for instructions
for deactivating battery saver mode feature.
OPERATION
9 10 11
 Loading...