5
Assembly
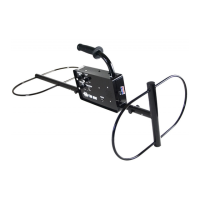
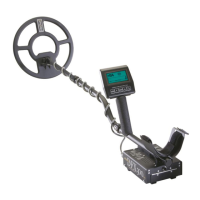
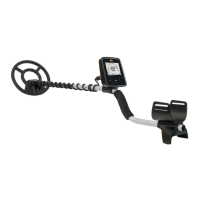
1. Remove all parts from the shipping carton and check assem-
bly diagram to ensure all parts are present.
2. Install black rubber washers on ber lower rod; attach lower
rod onto search coil ears. Use only the nonmetallic washers,
ber bolt, and ber thumbnut to secure search coil loop to the
lower ber rod, only nger tight (do not use tools).
3. Insert lower rod into upper aluminum “S” rod so that the
spring buttons line up with one of the length adjustment holes in
the “S” rod.
4. Wind the search coil cable around the rods, rst revolution
over the top of the rod, all the way to the control box/display.
Plug the cable into the jack on the backside of the display.
Tighten the retainer ring securely.
5. A Velcro arm cup strap has been provided to add leverage
and control to your sweep. One end of this strap folds out to
form a “T” that locks the strap onto one side of the arm cup
slot. The other end is threaded through the slot on the other
side. With your arm in position, fold the strap over onto the Vel-
cro so that the strap is loose enough to pull your arm in and out
of the arm cup.
6. Grip your Treasuremaster by the handle with your arm in the
elbow cup and sweep the search coil over the oor. If the t
feels uncomfortable, adjust the position of the lower ber rod in
a different adjustment hole on the “S” rod, rewind search coil
cable, and test t again. The ideal position allows you to stand
up straight and sweep the search coil over the ground without
stooping over. The length of the lower rod and the position of
the elbow cup can be quickly adjusted to accommodate dif-
ferent users.
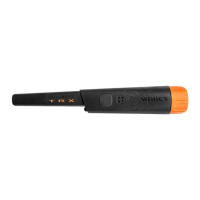
7. Install two “AA” batteries noting the (+) & (-) positions marked
inside the battery compartment. Batteries