12
CHARGING PROCEDURE
1) Plug the charger into an appropriate outlet. The light
will be green.
2) Slide the battery pack into the charger, the light will
turn to red to indicate the charging process has started.
3) When charging is completed, the light will turn to
green. The pack is now fully charged, unplug the charger
and remove the battery pack.
WARNING: If the battery pack is warm e.g. after
continuous use or after exposure to direct sunlight or
heat, allow time to cool down before re-charging to
achieve the full charge.
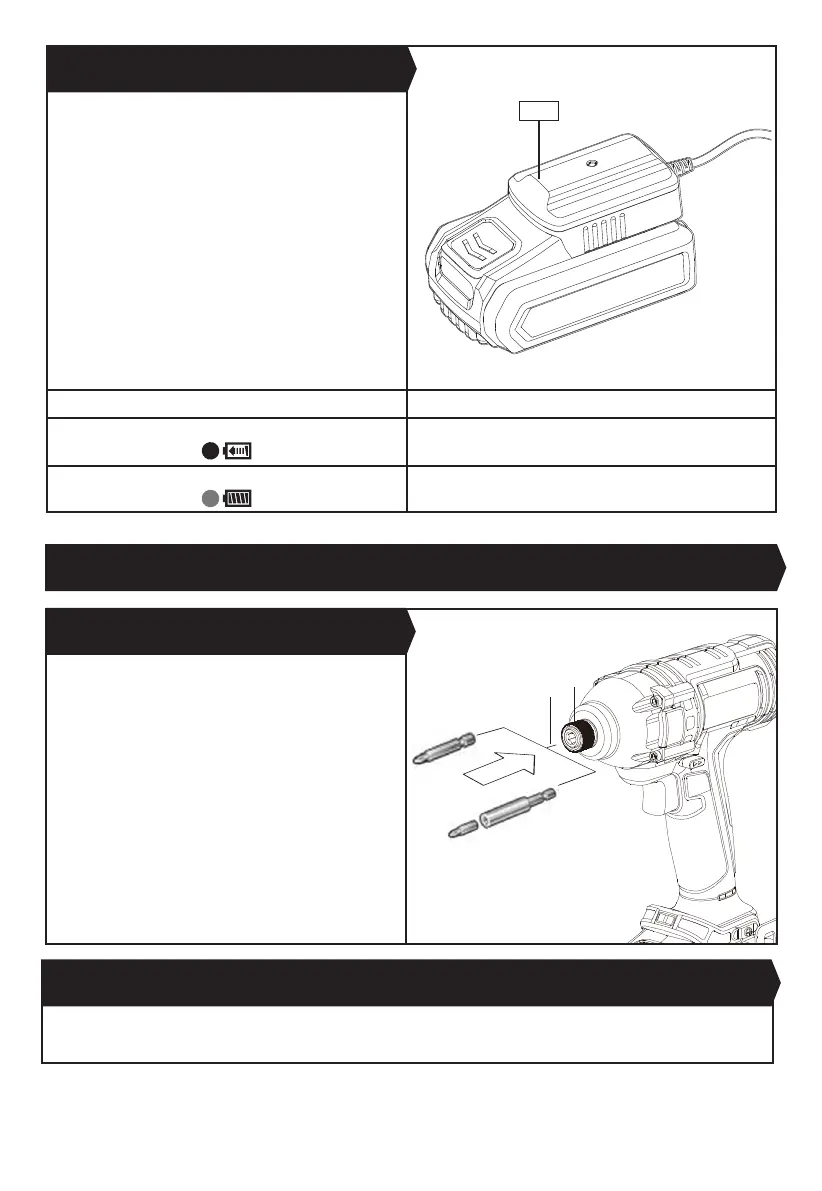
D) HOW TO CHARGE YOUR BATTERY PACK (
See Fig.
A3)
Light Status
Red on
Charging
Green on
Fully Charged
Pull the Collet Locking Sleeve (a) forward. Fully insert
the desired bit (b) into the chuck and release the collet
locking sleeve. The collet accepts only standard 1/4”
hexagonal shank accessories with power groove.
NOTE:
Do not use this tool as a drill. Tools equipped with
shutoff clutches are not designed for drilling applications.
The clutch can shut off automatically and without
warning. Attempting to restart drilling after shut-off
has been reached can cause the tool to twist out of your
hand until the clutch again reaches shutoff.
NOTE: Do not attempt to insert quick change type drill bits
into this chuck.
NOTE: Try to pull the bit after releasing the collet locking
sleeve to make sure the bit is fully locked.
1. COLLET LOCKING SLEEVE (See Fig. B)
OPERATION
Fig. B
Fig. A3
Pull the collet locking sleeve
(a)
forward. Take the tool out of the chuck and release the collet locking sleeve.
2. REMOVING A BIT HOLDER, SOCKET OR SCREWDRIVER BIT
10
a
b