Do you have a question about the Wildgame XC18i20-8 and is the answer not in the manual?
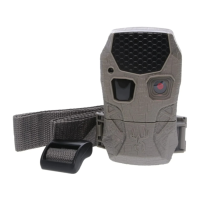
Item included for mounting the camera to an object.
This document provides instructions for operating the camera.
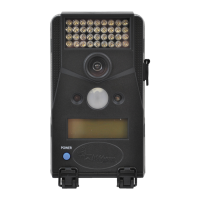
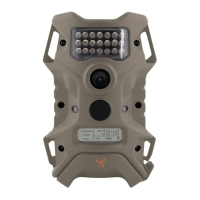
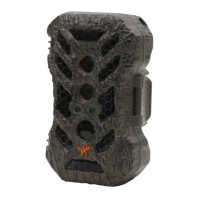
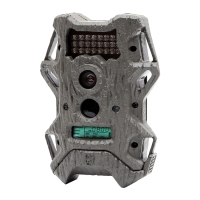
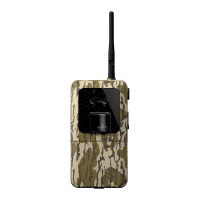
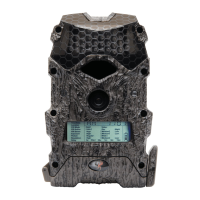
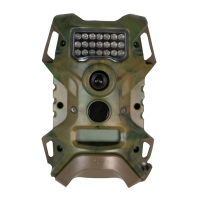
The primary device that captures images and videos.
Maximum image resolution capability.
Number and type of IR LEDs for illumination.
Maximum effective distance of the infrared flash.
Type of sensor used for motion and heat detection.
Maximum detection distance of the PIR sensor.
Supported formats for captured images and videos.
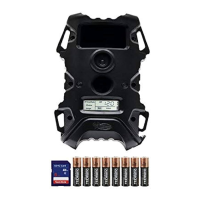
SD card capacity and class recommendations.
Available resolution options for images (High, Medium, Low).
Type of batteries required for camera operation.
Estimated duration of operation on a single battery set.
Internal component for retaining date and time settings.
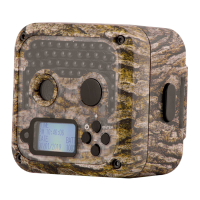
Description of the camera's weather-resistant construction.
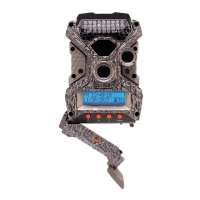
Details about included mounting accessories.
Unlatch the locking tab to open the battery compartment door.
Find and press the "OPEN" tab to access the battery area.
Place batteries into slots, observing correct +/- polarity.
Important warnings about mixing battery types and ages.
Close and latch the battery compartment door securely.
Camera must be turned off before inserting or removing SD card.
Insert SD card with label facing up and grooves inserted first.
Press and release the power button on the main control panel.
Verify battery charge level displayed on the screen.
Sequence to power down the camera unit.
Press the power button to wake up the display.
Hold the power button until the screen turns off.
Automatic mode entered after 30 seconds of inactivity.
Indicator light behavior during PIR events and photo capture.
Briefly press the power button to wake the LCD screen.
Screen does not turn on during memory write operations.
Date, time, and battery level display on startup.
Use ENTER to scroll to the field you want to change.
Use +/- to adjust, then ENTER to save and move.
Repeat steps 1 and 2 until all fields are updated.
Use +/- buttons to select the 'Location' screen.
Press ENTER to start assigning a name to the location.
Use +/- to select characters, ENTER to save each one.
Press ENTER until the full name locks into place.
Select the 'PIR Mode' screen to choose media type.
Use ENTER and +/- to choose between 'Still' and 'Video'.
Press ENTER to save the chosen PIR capture mode.
Select the 'PIR Active' screen to set sensor activation.
Select between 24-hour, Day, or Night operation.
Press ENTER to save the chosen PIR active time.
Definitions for 24-Hr, Day, and Night PIR active modes.
Select the 'PIR Sense' screen for motion detection level.
Select High, Medium, or Low sensitivity.
Press ENTER to save the chosen sensitivity setting.
Descriptions of High, Medium, and Low sensitivity settings.
Select the 'EXPOSURE' screen to set image brightness.
Select High, Medium, or Low exposure.
Press ENTER to save the chosen exposure level.
Descriptions of High, Medium, and Low exposure settings.
Select the 'Resolution' screen for image/video quality.
Select High, Medium, or Low resolution.
Press ENTER to save the chosen resolution.
Descriptions of High, Medium, and Low resolution settings.
Select the 'Video Length' screen to set clip duration.
Select between 5, 15, or 30 seconds.
Press ENTER to save the chosen video clip length.
Select the 'Delay' screen to set time between captures.
Select 2s, 5s, 15s, 30s, 1 minute, or 5 minutes.
Press ENTER to save the chosen capture delay time.
Select the 'Language' screen to change display language.
Select from English, French, German, or Spanish.
Press ENTER to save the chosen display language.
Shows pictures taken and pictures remaining before standby.
Use +/- buttons to view count information in menu.
Lists elements that can be stamped onto images (Time, Date, etc.).
Illustrates how stamped information appears on an image.
Instructions on how to attach the camera using the strap.
Advice for optimal placement, cleaning, and maintenance.
Guide for formatting the SD card on a computer.
Connect the SD card to your computer via slot or adapter.
Navigate to 'Computer' to find the connected device.
Right-click the drive and select 'Format'.
Ensure 'FAT32' is selected as the file system.
Make sure the 'Quick Format' option is checked.
Click 'Start' to begin the formatting process.
SDXC cards are not supported for use with this camera.
Images cannot be reviewed directly on the camera unit.
Instructions are based on Microsoft operating systems.
Eject the SD card from the camera by pressing it.
Use a card reader to connect the SD card to your PC.
Available options if the computer automatically launches AutoPlay.
Choose how to view or edit your photos and videos.
Manually navigate to 'Computer' if AutoPlay does not start.
Choose the camera recognized as 'Secure Digital Storage Device'.
Navigate into the 'MEDIA' folder where images are stored.
Open the folder to view and edit your photos and videos.
Warning: Deleting files is permanent. Ensure you want to delete.
Limitations of liability for product misuse or alterations.
Requirement to register the product online to activate warranty.
One-year coverage for workmanship defects.
Conditions and damages not covered by the warranty.
Procedure to obtain RMA number for product service.
Contact and mailing details for sending products for repair.
Contact information for assistance with operation or assembly.
Company reserves the right to change product features.
Device must not cause harmful interference and must accept it.
Modifications not approved by the responsible party void user authority.
Equipment complies with Class B digital device limits.
Steps to take if equipment causes radio or TV interference.
Device complies with Industry Canada license-exempt RSS standards.
| Resolution | 18 MP |
|---|---|
| Video Resolution | 720p |
| Battery Type | AA |
| Battery Quantity | 8 |
| Flash Type | Infrared |
| Detection Range | 80 ft |
| IR Flash Range | 80 ft |
| Memory Card Support | Up to 32GB |
| Operating Temperature | 140°F |