Step 7
With one M3 cartridge screw, inserted through
one M3 washer in one hand, and the cartridge
in the other. Thread the screw from above
through one of the slots in the end of the
tonearm. The end of this screw should then
be screwed into the corresponding hole in the
upperfaceofthecartridgebody.Youmaynd
iteasiertostartthescrewobyhandand
thennishitowiththesupplied2.0mmallen
wrench.Don’tghtenthescrewtoormlyas
youwillbeadjusngthecartridgeposionlater.
Repeat this process with the other screw.
Step 8
At this stage the bearing can be setup.
Hold the bearing housing with one hand, and
unscrew the grub screw at the side of the
locking collar using the 1.3mm allen wrench.
Lower the locking collar down to the arm
plaormandreghtenthegrubscrewtosecure
it.
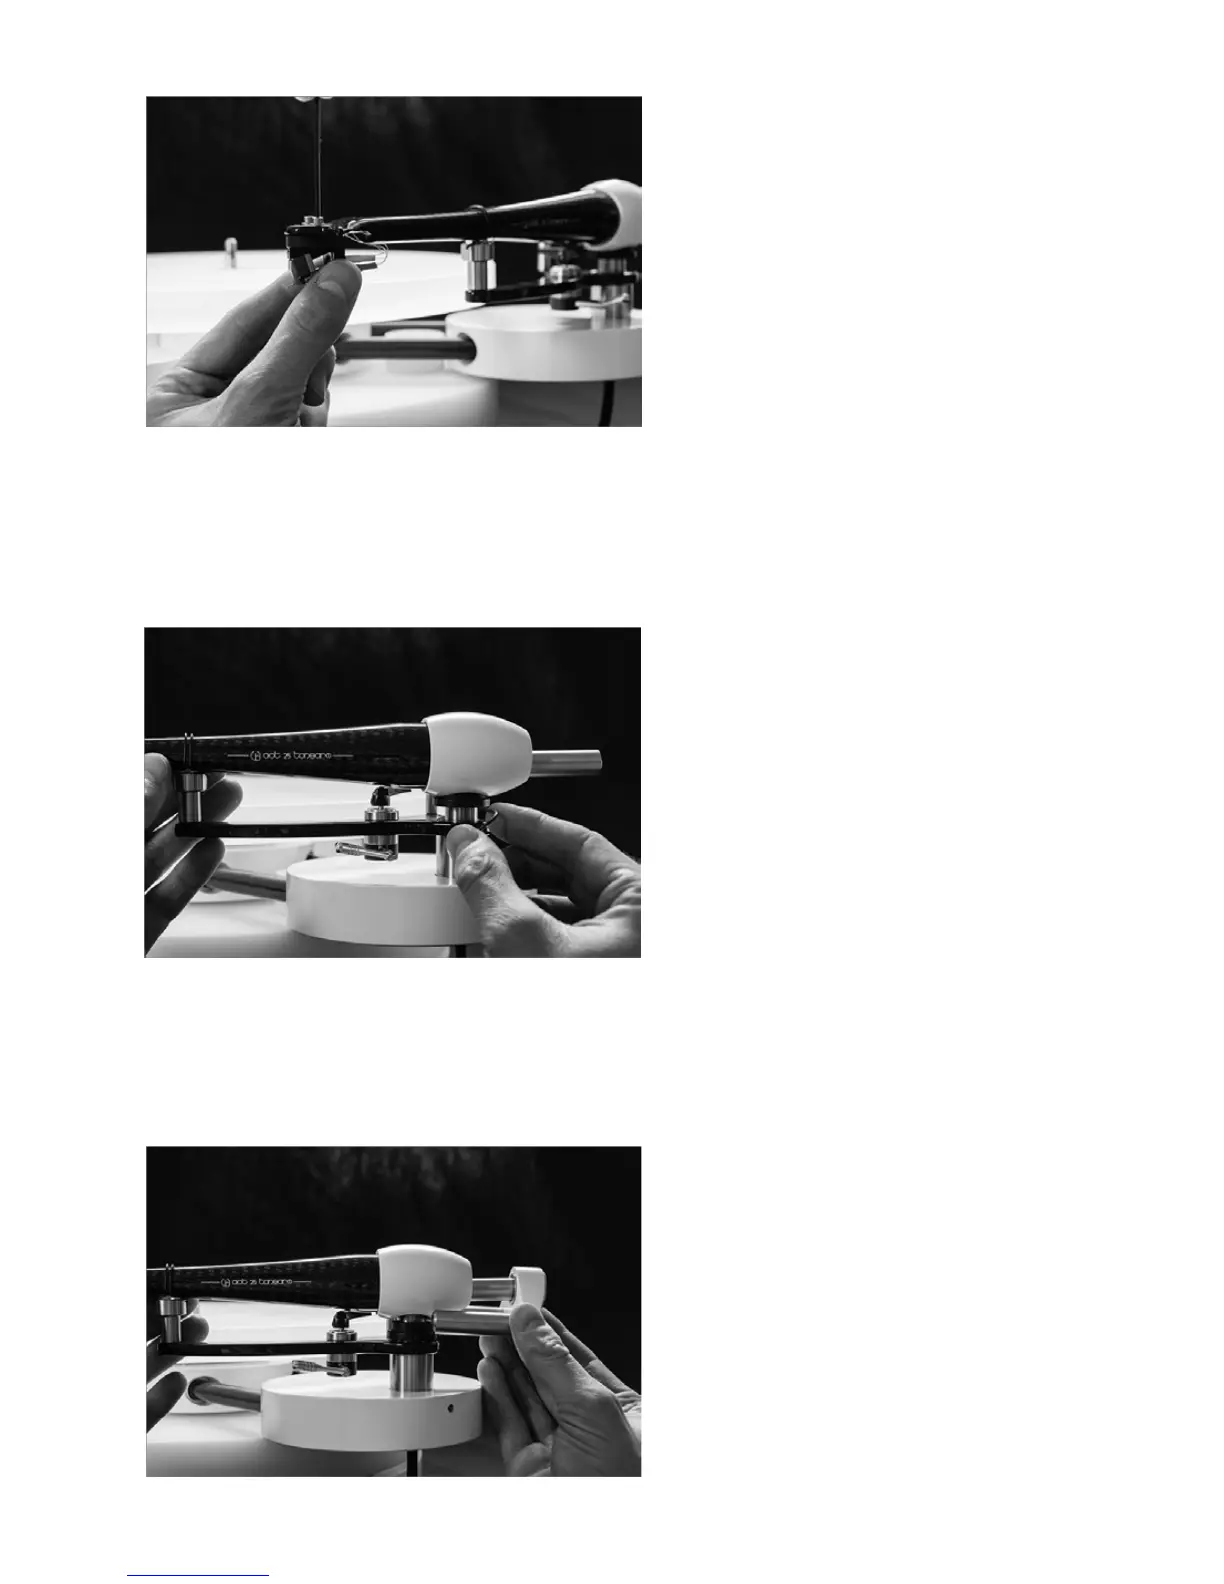
Step 9
The next stage is to install the counter-balance
unit.IfyouarenganA.C.T.25tonearm,you
willnoceasmallspring-loadedpininsidethe
mainhole.Inordertoengagethisyoumustlt
thecounter-balancebackalileasyouslideit
onto the balance beam.
Once the pin has passed the end of the beam,
the Counter-Balance should straighten up and
gripthebeamsucientlytobeposioned
whererequired.Byrotangthecounter-
balanceonthebeam,neadjustmentsof
azimuth can be made.
 Loading...