Notes on the first breeding with the incubator
1. Test the incubator for its functionality.
2. Connect the plug of the incubator with the control plug of the egg insert.
3. Fill water into one or both water channels, depending on the local air humidity.
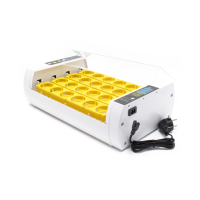
4. Lay the eggs with the tips of the egg pointing downward.
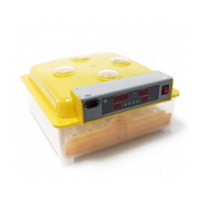
5. Close the lid and switch the incubator on.
6. Push the reset button (left green button), to reset the day count to 0 and to start it (this will al-
so reset the egg turning countdown to 1:59 h).
7. Pay attention to the humidity measurements and refill water when required (usually every
4 days).
8. On day 18 the egg insert should be removed and the eggs should be placed onto the wire.
9. At the same time it is important to fill the water channels up, to increase the humidity. (This is
very important, to ensure the eggshells are soft enough for the chicks to break through).
10. Do not open the lid regularly when the chicks begin to hatch. If this is done, the humidity is lost
and the eggshells of the chicks still needing to hatch will dry out. The chicks cannot break
through the eggshell.
 Loading...