Installation of Exterior Brackets (Use optional)
After the antenna/extender has been secured to the mount,
the assembly can be hung on the edge of a window or
on the provided exterior brackets. The exterior brackets
will enable the assembly to be hung on the exterior of the
vehicle. Complete the following steps to install the exterior
brackets on the vehicle.
Choose a location on the exterior of the vehicle for the
exterior brackets. Consider possible obstructions to the
satellite line-of-sight and where cables will be run.
Clean the areas where the exterior brackets will be installed on the vehicle.
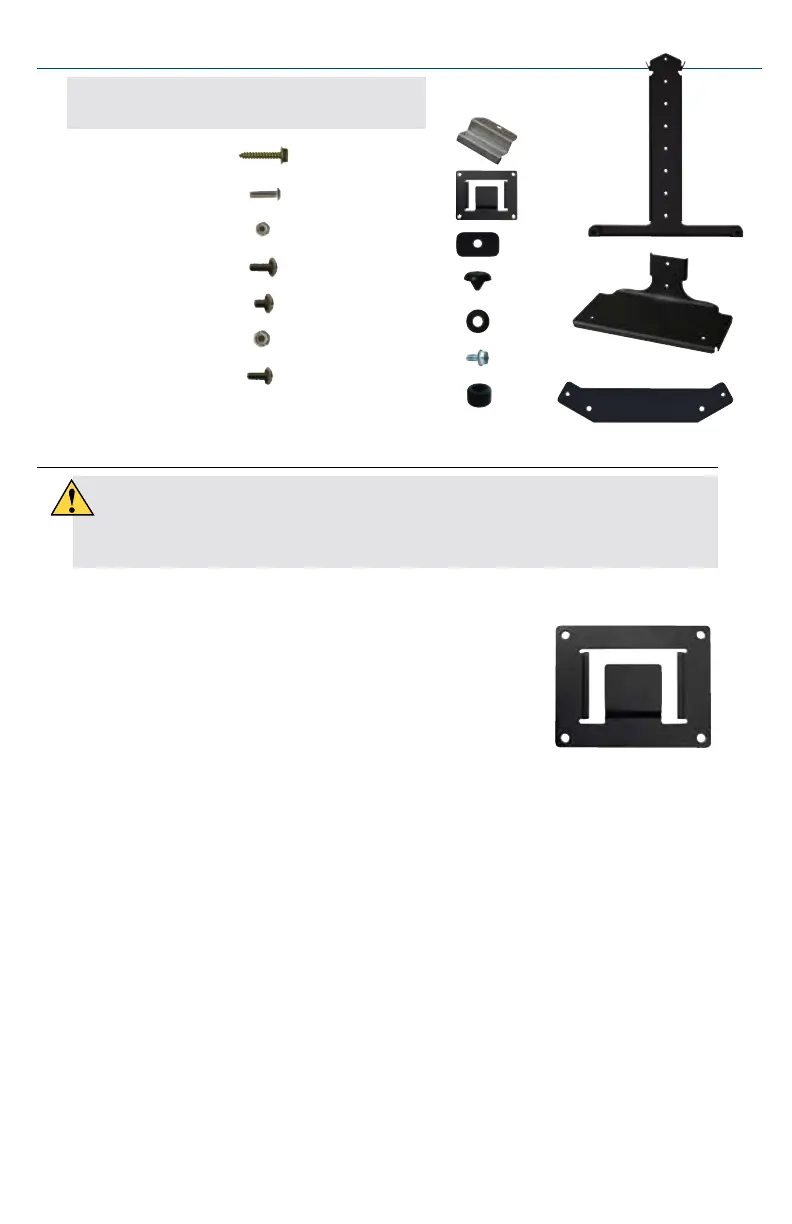
Position an exterior bracket over one of the chosen locations for installation,
making sure that the top of the exterior bracket is oriented upwards (see image to
right for reference). Keep in mind that the antenna assembly should be level front-
to-back and side-to-side for best operation.
Trace around the edge of the bracket, and mark pilot holes through the bracket.
Drill the pilot holes.
Apply sealant in the traced area.
Mount the exterior bracket with four of the provided mounting screws.
Apply sealant over the screws.
If using the second exterior bracket repeat steps 3–8.
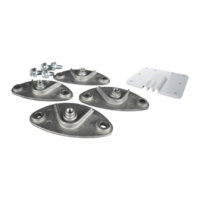
Parts
Recommended Tools, not Provided:
Phillips screwdriver 5/16" drive, 1 - adjustable wrench
Back
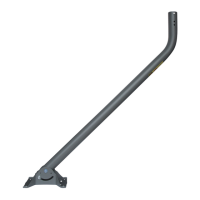
Support
Clip
Rubber Bumper (2)
10-32 x 1/4” Screw (1)
10-32 x 1/2” Screw (2)
Exterior Bracket (2)
Rubber Washer
Mounting Screw (10)
Rubber Foot (4)*
*Included with antenna unit
3" x 3" Film Plastic (2)
(not shown)
Foot Screw (4)*
Base
Spacer (3)
10-32 x 3/4” Screw (3)
10-32” Nylock Nut (4)
6.
1.
2.
3.
4.
5.
Consult with the vehicle manufacturer to determine the best location for the
exterior brackets, keeping in mind the location of wires and other internal
components.
7.
8.
9.
1/4-20 x .5 Screw (2)
1/4-20 x .5 Nylock Nut (2)
ConnecT Adapter Plate
 Loading...