8
ON/OFF Powers the Unit ON and OFF
STARTS and STOPS cooking process
MENU Cycle through cooking PRESETS
TEMP Adjust the temperature of cooking PRESETS
TIME Increase or decrease cooking TIME
+/- Buttons Increase or decrease TEMP and TIME
LIGHT Turn the internal cooking light on or o
ROTISSERIE Activate the Rotisserie function
*Refer to the PRESET section of this manual (pg.14) for detailed TEMP +
TIME for each PRESET
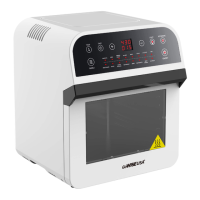
CONTROL DISPLAY
USING THE DIGITAL CONTROLS
1. Once the Unit is plugged in, the Display Lights will ash once with a
single chime/beep.
2. Press the ON/OFF button, and the Digital Display will light up
displaying zero.
3. Select a preset by pressing the “Menu” button repeatedly until desired
cooking preset is reached.
4. To adjust a preset’s temperature, press the “Temp” button then press
“+” or “-” button to increase or decrease the temperature.
5. To adjust a preset’s cooking time, press the “Time” button then press
the “+” or “-” button to increase or decrease the cooking time.
NOTE: You can not adjust time and temperature for the “Dehydration”
preset.
6. Press the ON/OFF button to begin cooking
Note: If using any of the Rotisserie accessories, make sure the
Rotisserie function is activated by pressing ‘Rotisserie’ on the Digital
Display before starting the cooking process.