A N T I - T I P B R A C K E T I N S TA L L AT I O N
16
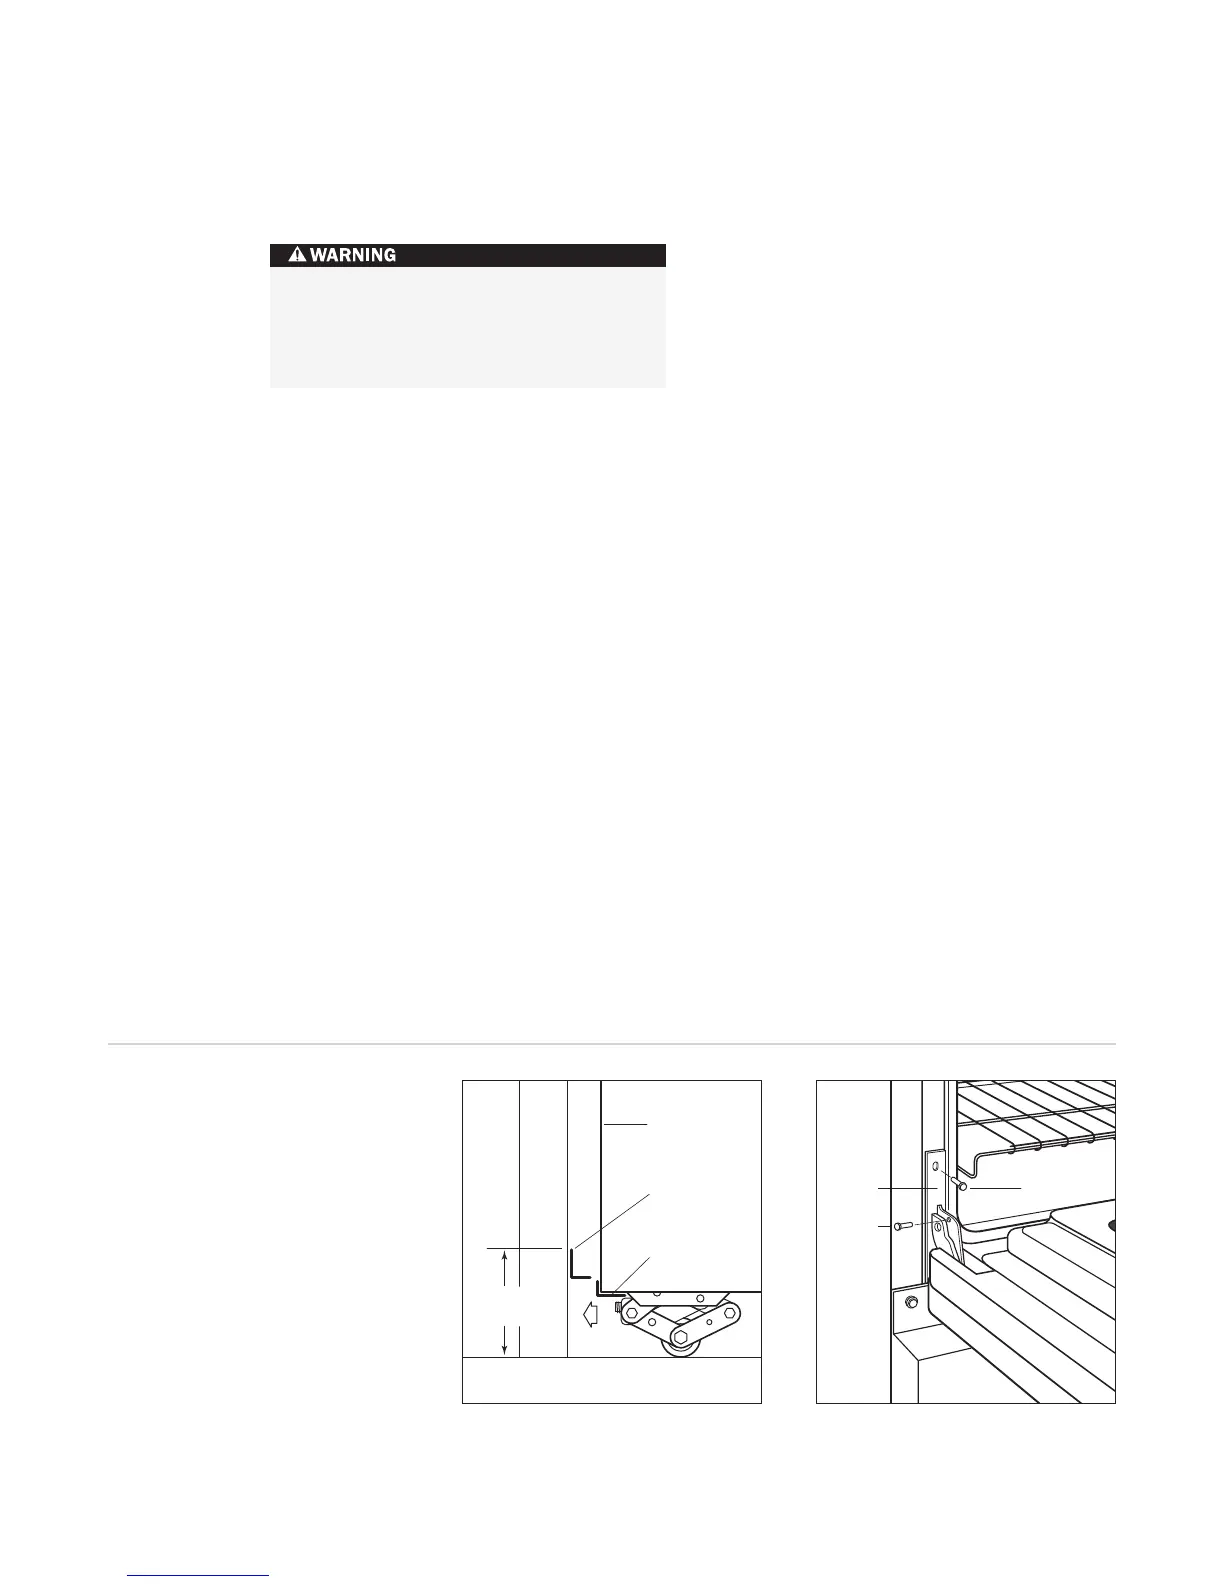
Side Panel
Wall
Anti-Tip
Bracket
Base Flange
5
3
/4" (146) min
to Floor
Floor
Anti-tip bracket installation
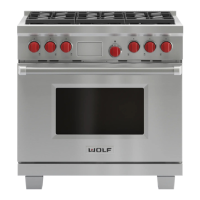
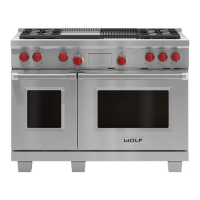
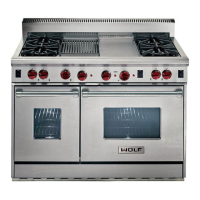
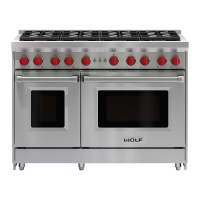
W O L F D UA L F U E L R A N G E S
Hinge
Retainer
Plate
Upper Mounting
Screw
Hinge
Pin
Kickplate
Oven door reinstallation
OV E N DO O R R E I N S TA L L AT I O N
IMPORTANT NOTE:
The oven door(s) should
not be removed unless it is necessary to fit the
range through a tight doorway. Door removal
should only be done by a qualified service
technician or installer. Door removal and rein-
stallation may cause damage to the oven
porcelain interior.
If the oven door(s) have been removed as
described on page 12, follow these steps to
reinstall:
1)
Hold the oven door on both sides and
position it with door hinges aligned with
openings in the oven frame.
2)
Holding the oven door at an approximate
30° angle from vertical, slide the hinges into
the openings until the bottom hinge arms
drop fully into the hinge receptacles.
3)
Open the oven door to its fully opened
position. Remove the hinge pin from the
appropriate hinge arm. Refer to the
illustration below.
4)
Reinstall the hinge retainer plate with upper
and lower mounting screws.
5)
Open and close the door completely to
ensure that it is properly installed.
6)
For 48" (1219) and 60" (1524) ranges,
complete these steps for both oven doors.
7)
Reinstall the lower kickplate assembly.
This range can tip. Injury to persons
could result. Install the anti-tip device
packed with the range following the
instructions below.
Raise the unit to its desired height using the
rear leveling casters and adjusting the front
adjustable legs. Position the range roughly in
place to verify the correct height.
Measure from the floor to the top of the range
base flange on the back of the unit. Add
1
/8" (3)
to this dimension and mark the height on the
wall behind the unit. This will be the location
of the bottom edge of the anti-tip bracket.
Approximately center the mark between the
cabinets. For 48" (1219) and 60" (1524) ranges,
care must be taken to verify that the anti-tip
bracket does not interfere with the inner cavity
supports.
Locate a stud or other solid mounting source,
and install the anti-tip bracket at the same level
as this line.
Push the unit back, and ensure that the rear
base flange fits under the anti-tip bracket.