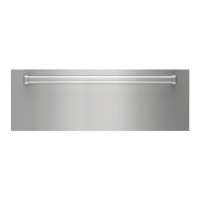
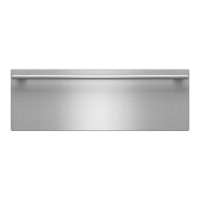
Warming Drawer Operation 10
Warming Drawer Operation
B
efore using for the first time, remove all packaging
materials from inside the warming drawer. Clean the
warming drawer thoroughly to remove residual oil and
grease from the manufacturing process. Refer to care
recommendations on page 12.
TIPS FOR OPERATION
• Always start with hot food. The warming drawer will
keep hot food at serving temperature. Do not use the
warming drawer to heat cold food other than for
proofing yeast dough and crisping crackers, chips or
dry cereal.
• Always preheat the warming drawer. Preheat 3 minutes
for PROOF, 4 minutes for LOW, 7 minutes for MEDIUM
and 13 minutes for HIGH.
• Food in heat-safe glass and glass ceramic containers
may need higher temperature settings as compared to
food in metal containers.
• Repeated opening of the warming drawer will allow hot
air to escape and the food to cool.
• With large loads, it may be necessary to use a higher
temperature setting and to cover some of the cooked
food items.
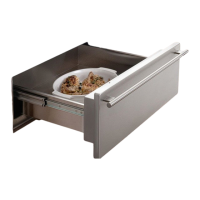
• Food should be kept hot in the cooking container or
transferred to a heat-safe serving dish prior to being
placed into the warming drawer.
• Remove serving spoons, etc., before placing food
containers in warming drawer.
• Aluminum foil may be used to cover food to increase
moisture content.
• Do not place plastic containers or plastic wrap in the
warming drawer.
RACK FOR STACKING FOOD
The rack will fit in the warming drawer front to back and
allows you to double stack items. Always preheat the
warming drawer with the rack in position.
When holding hot, cooked foods and warming empty
serving dishes at the same time, place the serving dishes
on the bottom of the warming drawer and place food on
the rack.
WARMING DRAWER PAN
The stainless steel warming drawer pan is removable for
cleaning. To remove, open the warming drawer
completely. Slide fingertips under the right and left side
edges of the pan. Firmly pull the pan upward, making sure
that all edges are clear from the interior of the unit.
To replace the warming drawer pan, open the warming
drawer completely. The pan should be inserted so that the
holes for the fan are at the rear. Place pan edges on the
side rails of the drawer frame. Open and close the drawer
completely to check operation.
 Loading...