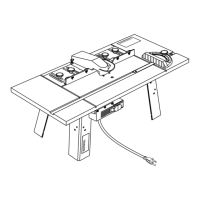
14
A
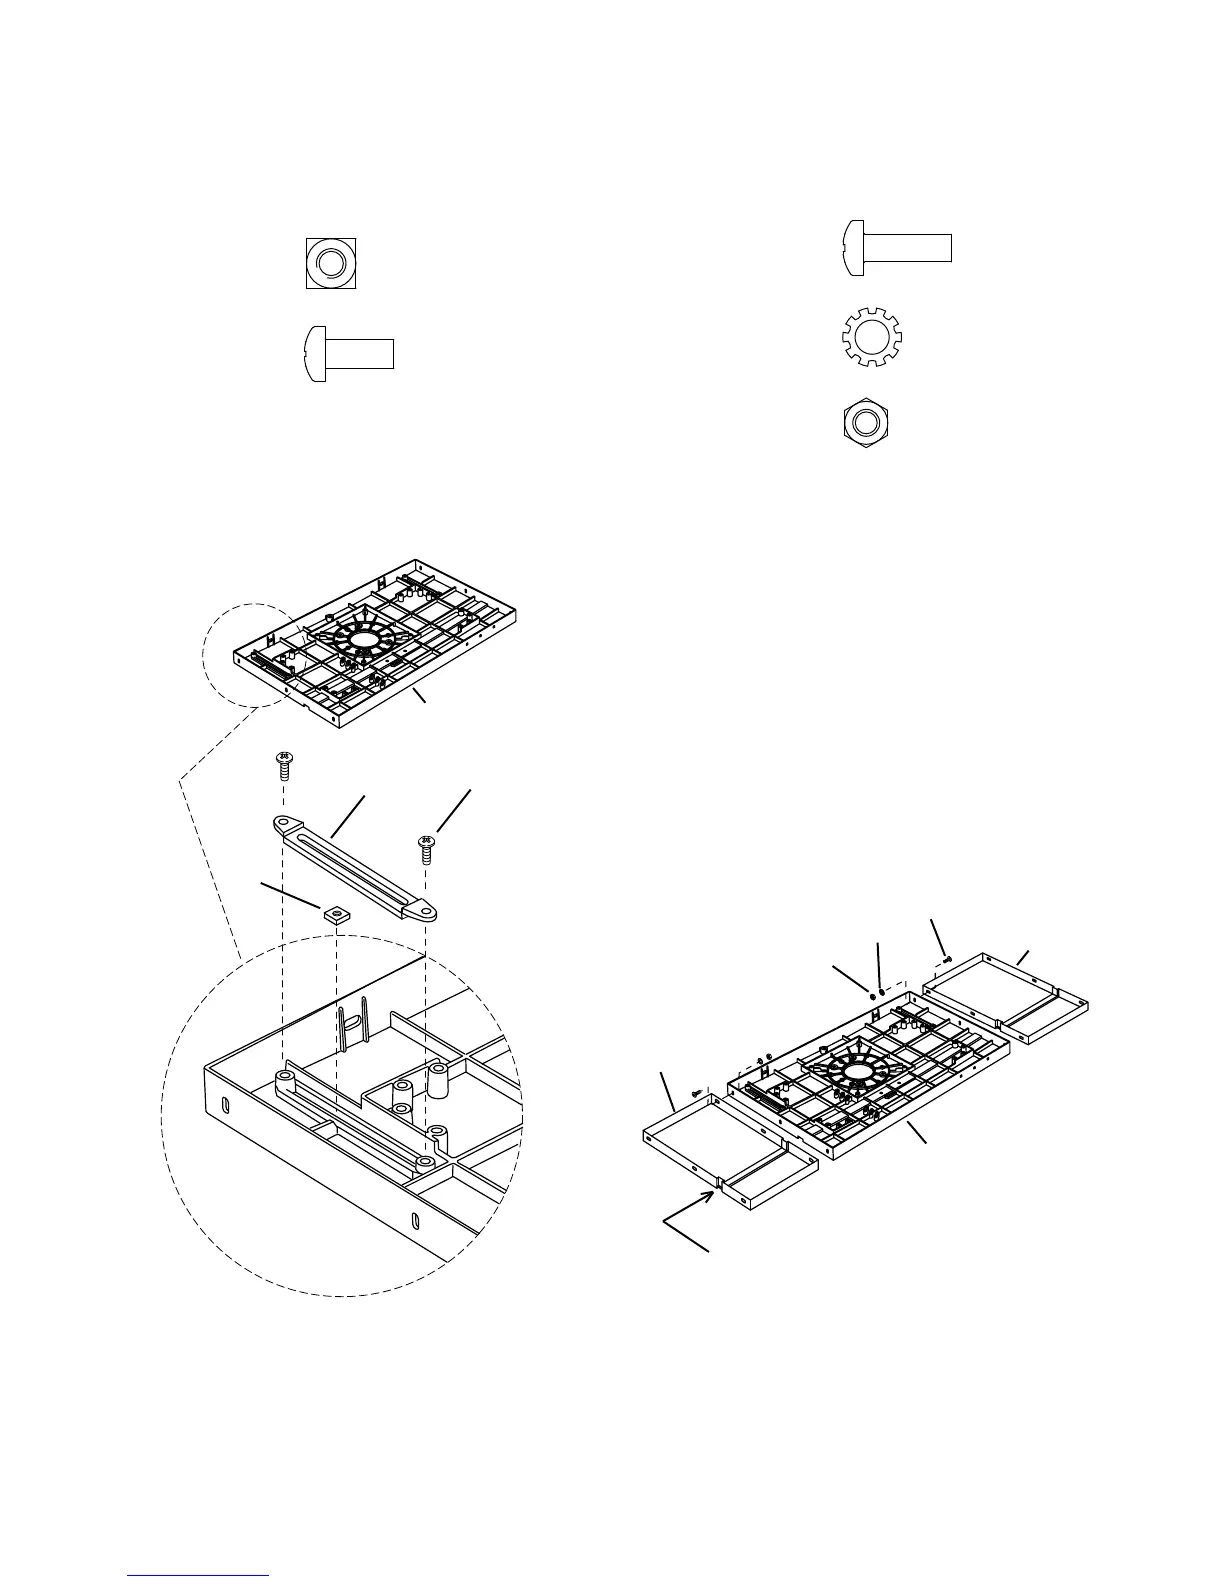
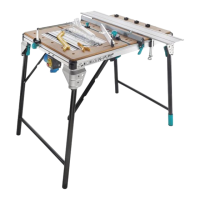
Figure 4
Attach Square Nuts and
Retainers
AM, zinc (2)
AJ, zinc (4)
1. Place one square nut (AM) in each of
the two slots on the underside of the
aluminum tabletop (A). See Figure 4.
2. Place one yellow retainer (Q) in each
slot and fasten each with two pan
head screws (AJ). Note orientation
of retainer.
Attach Extensions
AN, black (6)
AP, black (6)
AQ, black (6)
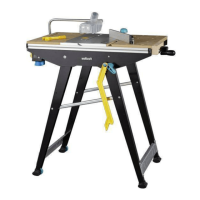
1. Position extensions (B-1) and (B-2) on
ends of the router tabletop (A) with flat
sides down (upside down). Note
position of miter guide slots in all three
parts. Ensure alignment as shown in
Figure 5.
2. Attach each extension to the ends of
the table using 3 pan head screws
(AN), 3 toothed washers (AP), and 3
hex nuts (AQ).
AP
AN
B-1
AQ
A
Figure 5
AJ
AM
Q
MITER GUIDE SLOT
B-2