6.4 Set system date and time
1) Power on the scanner.
2) Use the tip of a paper clip to press “
TIME SET
” hole.
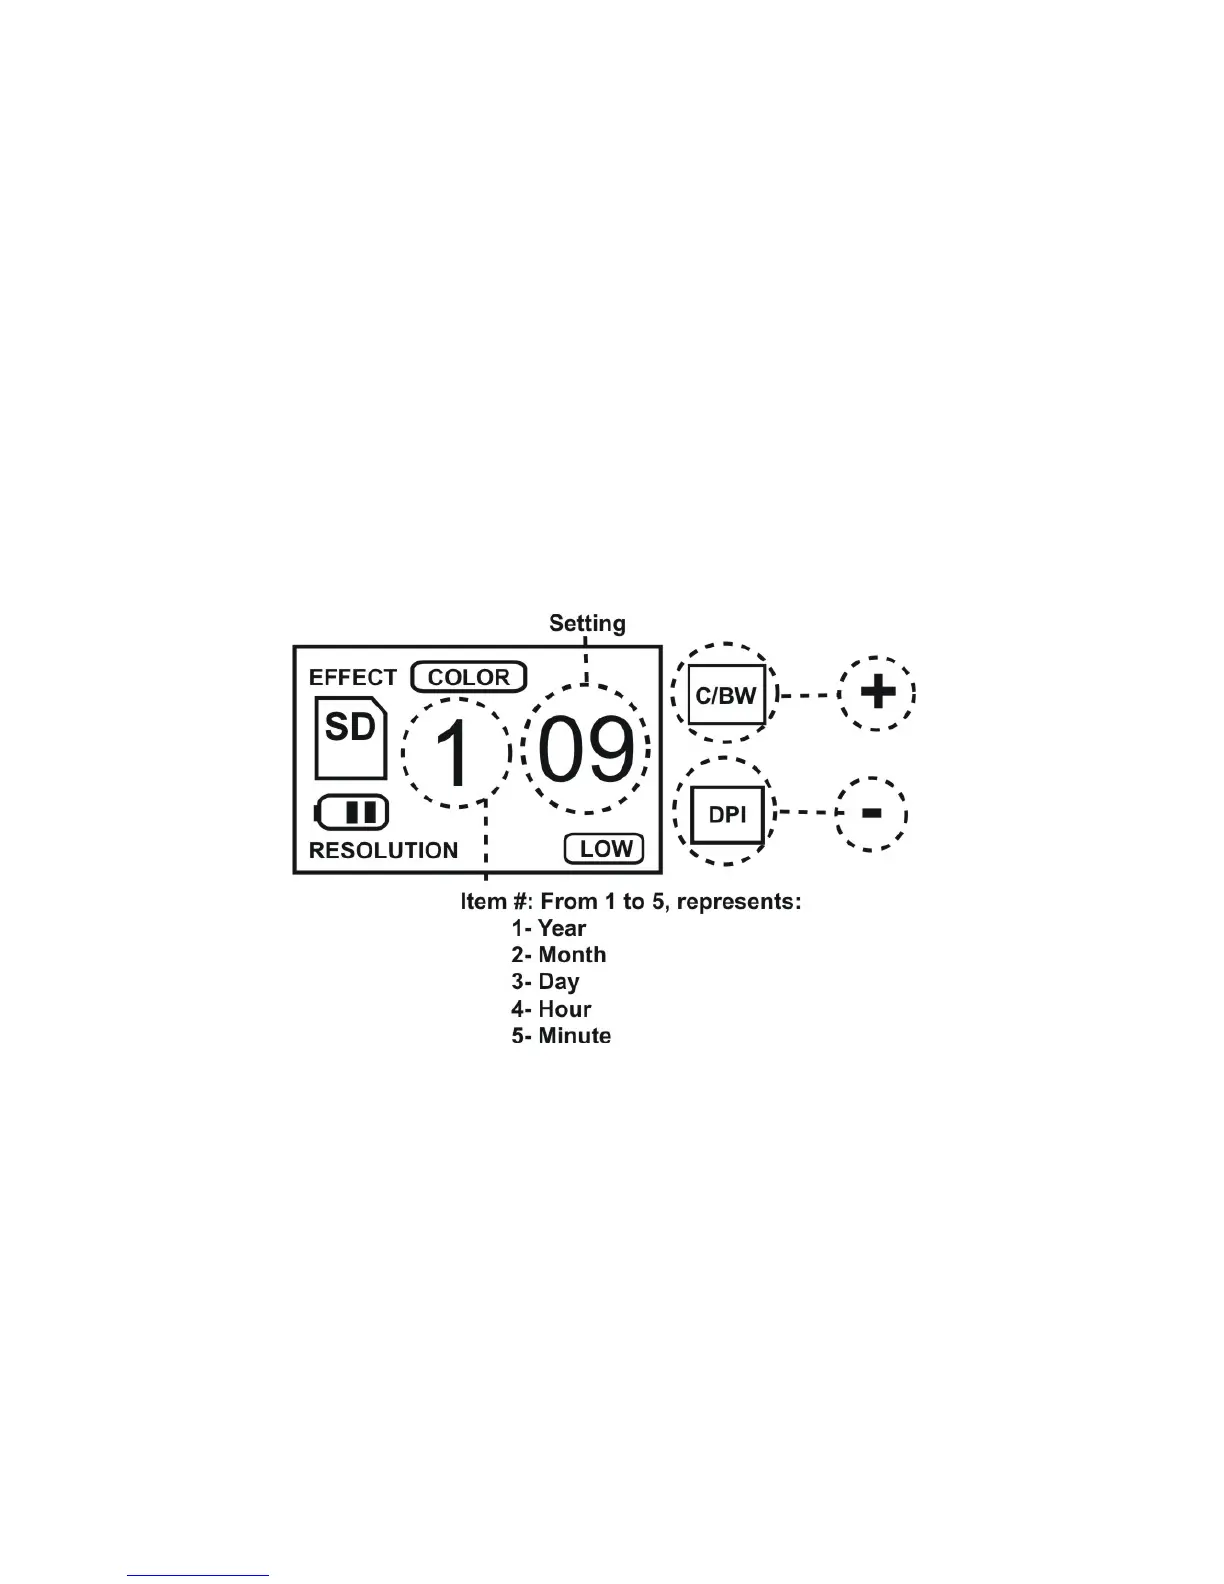
3)
The
item #
has 1 to 5 in sequence, represents
Year
(1),
Month
(2),
Day
(3),
Hour
(4), and
Minute
(5) accordingly. Press
C/BW
(increasing) or
DPI
button (decreasing) to change the
settings. After each item is set, press
Scan
button to confirm
the change. When finished all 5 settings, use paper clip to
press “
TIME SET
” hole again to complete the process.
6.5 Calibrate white balance
1) Place the white balance calibration paper that comes with the
scanner on a flat surface.
2) Place the scanner on top of the white paper then power it on.
3) Press and hold
C/BW
button then press
SCAN
button once.
While
SD
symbol starts flashing, release
C/BW
button.
4) After
SD
symbol flashed for a few seconds, both
green
and
red
LED lights will come on.
5) Don’t move the scanner and wait for the
red
LED to go off,