Service & Maintenance 35
MAN0943 (11/1/2013)
Rebuilding Overrunning Clutch
Disassembly
1. Remove the four bolts that secure the friction pack.
Remove the friction pack.
2. Using screwdriver and pliers, remove the retaining
ring that holds the overrunning clutch together.
3. Slide the collar and washer off the clutch hub,
noting the orientation of the collar for reinsertion.
4. Remove and discard the keys and leaf springs.
Inspection
1. Inspect the steel parts for wear and replace if
necessary.
2. Inspect the yoke/hub for looseness. If there is more
than .03 end play, replace.
3. Using screwdriver, scrape any hardened grease
from the overrunning key pockets.
Assembly
1. Using a multi-purpose high-temperature EP grease
or equivalent lithium grease, inject one grease gun
pump into each key pocket. Evenly wipe two more
pumps over the overrunning surface.
2. Press a new leaf spring into each pocket. The ends
should touch the bottom of the pockets.
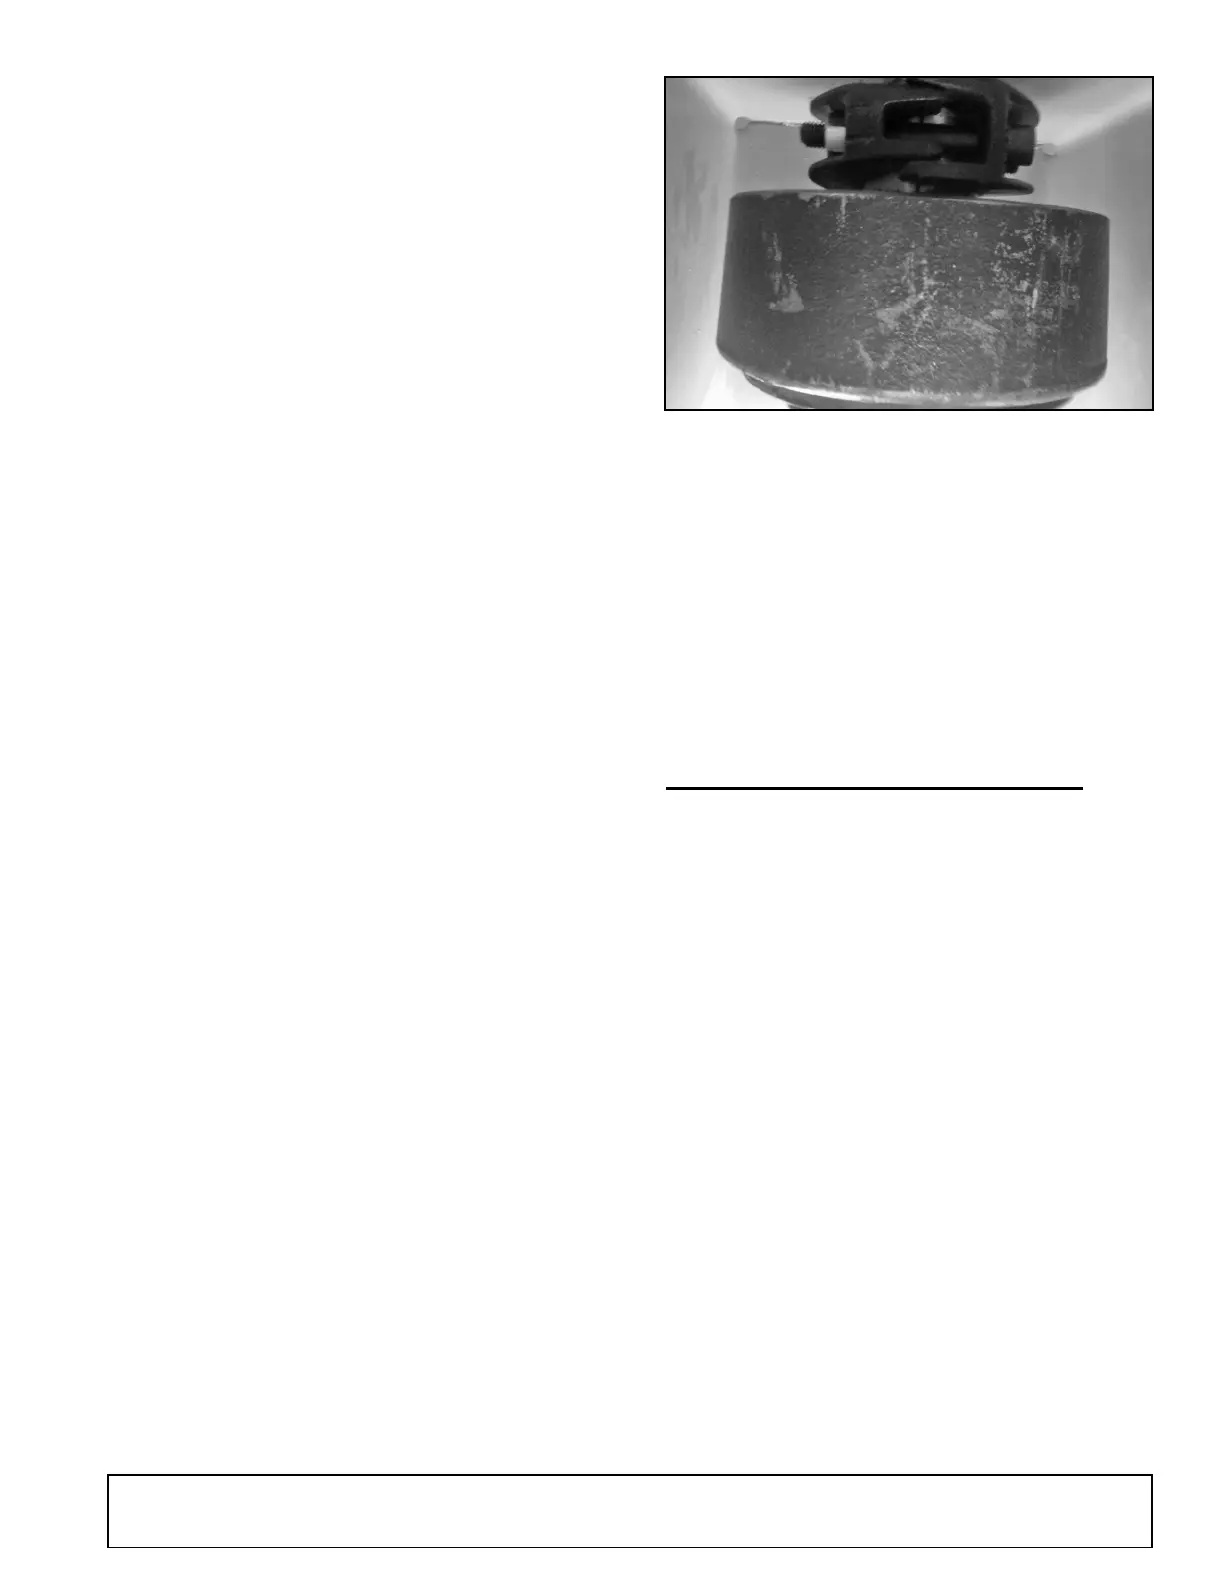
Figure 44. Weasler Automatic Clutch (30K)
3. Add new keys. With one hand, hold the two keys in
the pockets.
4. Slide the collar onto the hub, orienting collar
correctly.
5. Add washer.
6. Install retaining ring.
7. Make sure clutch spins freely and only in correct
direction.
8. Reassemble friction pack.
MOUNTING CLUTCH TO SHREDDER
1. Mount and bolt the clutch hub onto the shredder
input shaft. Make sure shaft and clutch grooves
line up.
NOTE: Torque mounting bolts to 160 ft lbs.
2. Re-install any shielding that was moved or
removed.
3. Run the clutch before using. Refer to Breaking In
the Clutch (Run In), page 32.