42 Assembly
MAN0943 (11/1/2013)
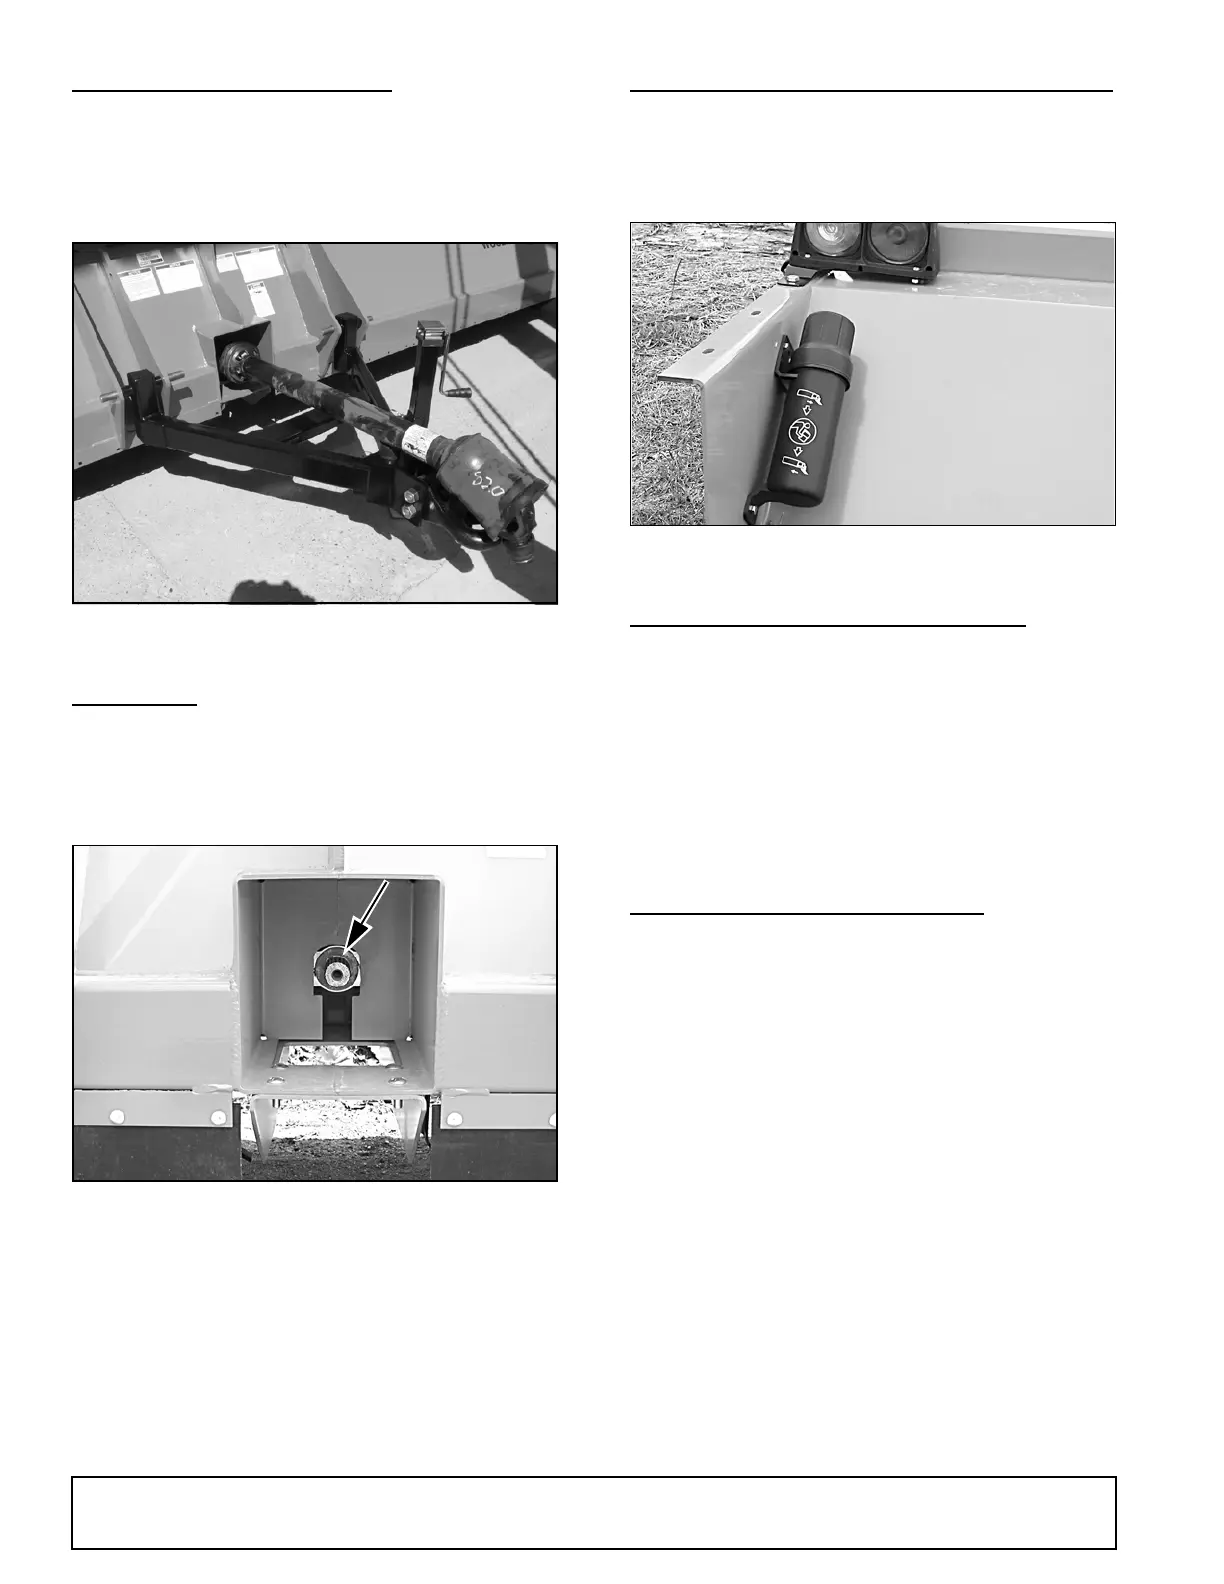
INSTALL PULL-TYPE HITCH
1. Install hitch to 3-point lower mounts using pins and
klik pins.
2. See page 50 for parts breakdown.
3. Attach tow chain to hitch.
Figure 51. Pull-Type Hitch Installed
ALL UNITS
1. Install PTO drive line by sliding the yoke with the
slip clutch over input shaft (See Figure 53).
2. Tighten interlocking clamp bolts to their specified
torque of 160 ft lbs.
Figure 52. Gearbox Input Shaft
MANUAL STORAGE TUBE INSTALLATION
Mount the manual tube to the inside of the shredder
side sheet, using three 3/8 x 1-1/4" hex bolts, washers,
and 3/8" nuts. Mounting holes are located above the
bearing plate (see Figure 53).
Figure 53. Manual Tube Installed
RUBBER BELTING INSTALLATION
1. Remove all components from shipping carton.
Make sure that all required hardware is included.
2. Attach rubber belting and bars to front of shredder
using 3/8 NC x 1-1/2 carriage bolts and 3/8 flange
lock nuts.
NOTE: Use equal number of belting and bars on
each side of shredder.
3. Tighten all hardware.
RUBBER FLAP INSTALLATION
1. Remove all components from shipping carton.
Make sure that all required hardware is included.
2. Attach flap brackets to the front of the shredder
using 3/8 NC x 1-1/2 carriage bolts and 3/8 flange
lock nuts.
NOTE: Use flap brackets to space flap brackets
out evenly across front of shredder.
3. Attach flap bars to flat brackets using 3/8 NC x 1-
1/2 carriage bolts and 3/8 flange lock nuts.
4. Assemble rod and rubber flaps through flap
brackets and secure using 3/16 x 1-1/2 cotter pins.
5. Tighten all hardware.
6. For detailed installation instructions, see the parts
diagram and instruction sheet the comes with the
swing flap kit designed for each shredder.



 To Next Page