OPERATING INSTRUCTIONS
NOTE: Before using the tool, read the instruction
book carefully.
INTENDED USE
The machine is intended for dry sanding–with high
removal capacity–of wood, plastic, metal, filler as well
as varnished surfaces.
1. ON/OFF SWITCH
Depress to start and release to stop your tool.
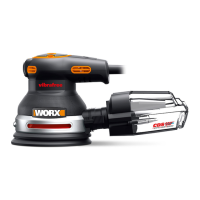
2. SWITCH LOCK-ON BUTTON (See Fig. A)
Depress on/off switch (2) then lock on button (3). Your
tool is now locked on for continuous use. To switch off
your tool just depress and release the on/off switch.
3. VARIABLE SPEED CONTROL DIAL
Adjust the variable speed control (1) to increase or
decrease the speed according to the material and
sanding belt specification to be used (also possible
during no load operation). See the table below for
general guidance on speed selection. Avoid prolonged
use at very low speed as this may damage your
sander’s motor.
Material Speed selection Belt Grit
Solid Wood 5-6 80
Veneer 2-4 150
Chipboard 1-5 60/80
Plastics 2-5 100
Steel 5-6 80
Paint
Removal
6 40/60
Balsa Wood 1-3 100
Acrylic 1-2 100
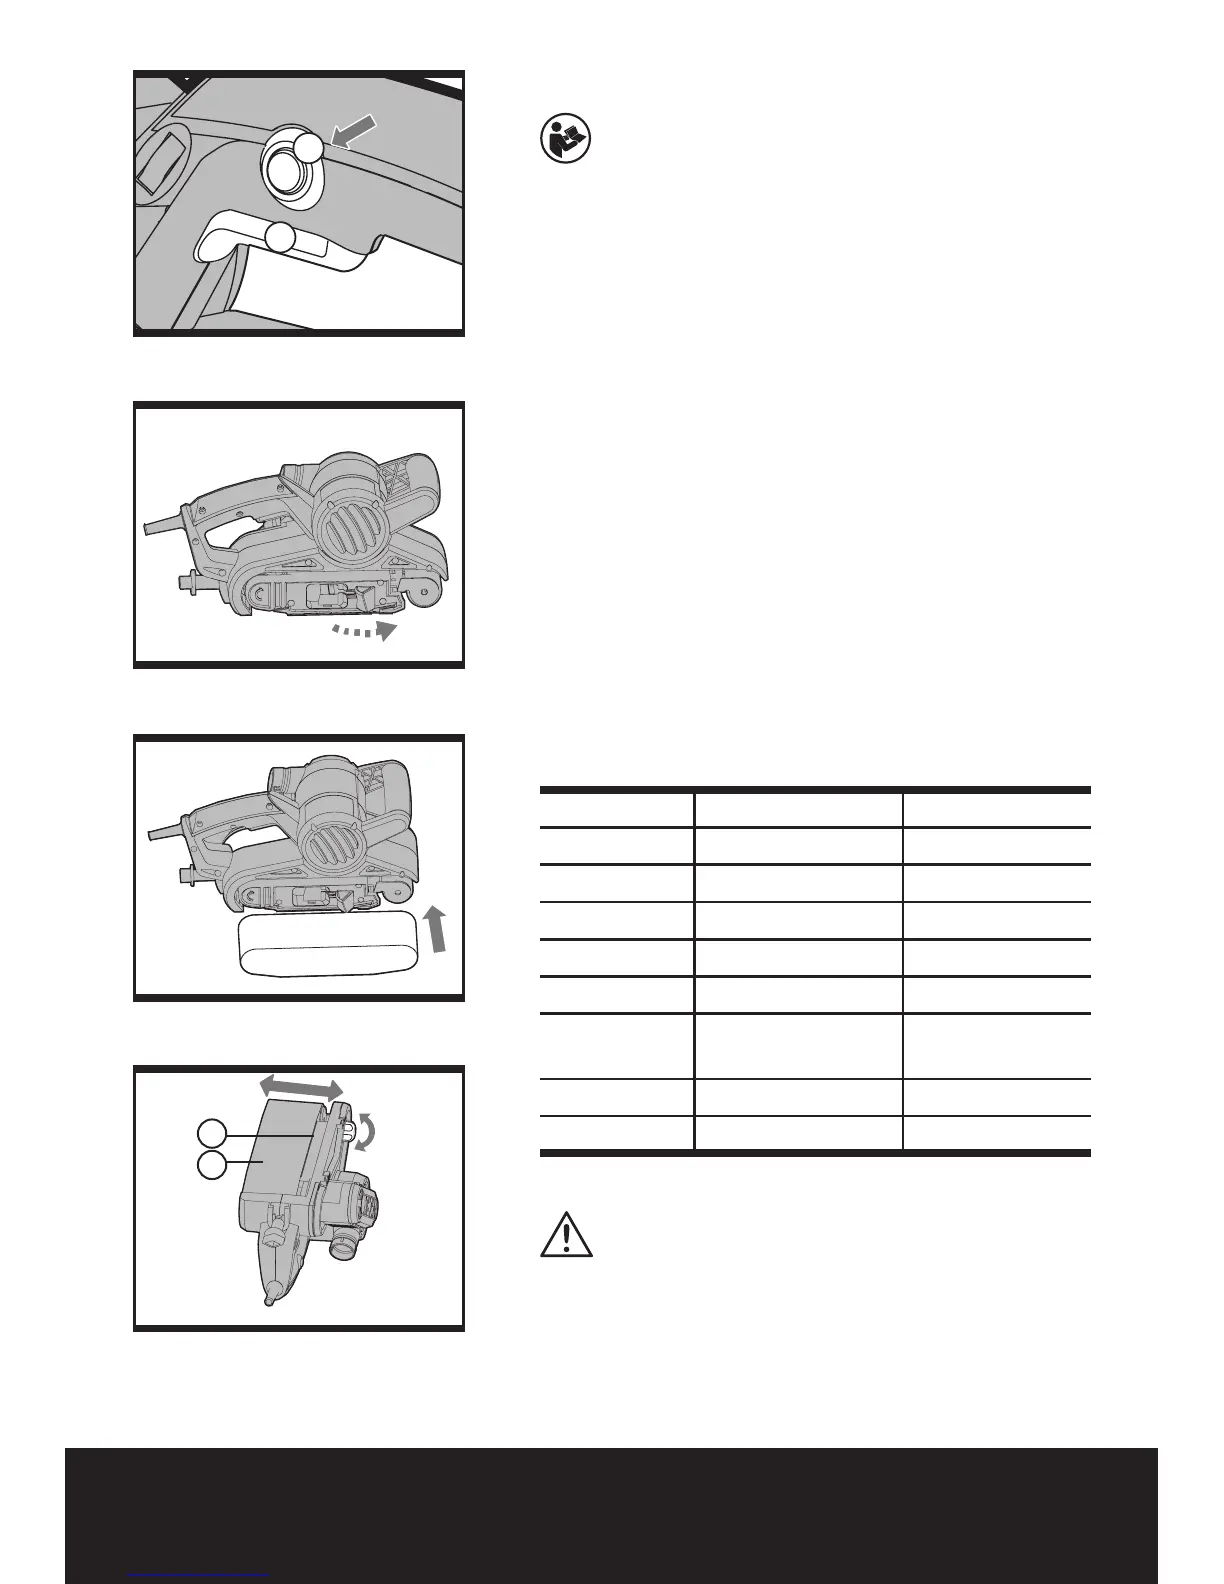
4. CHANGING A SANDING BELT (See Fig. B, C)
WARNING! Remove the main plug from the
socket before changing sanding belt.
Pull the lever (7) to release the belt tension. Remove
and fit a new belt over both rollers. Ensure the direction
of rotation arrows on the belt and the sander are the
same. Close the lever to tension the belt.

 Loading...