WPPO Operator’s Manual for the WPPO3/KU-17W, November 2018
November 2018
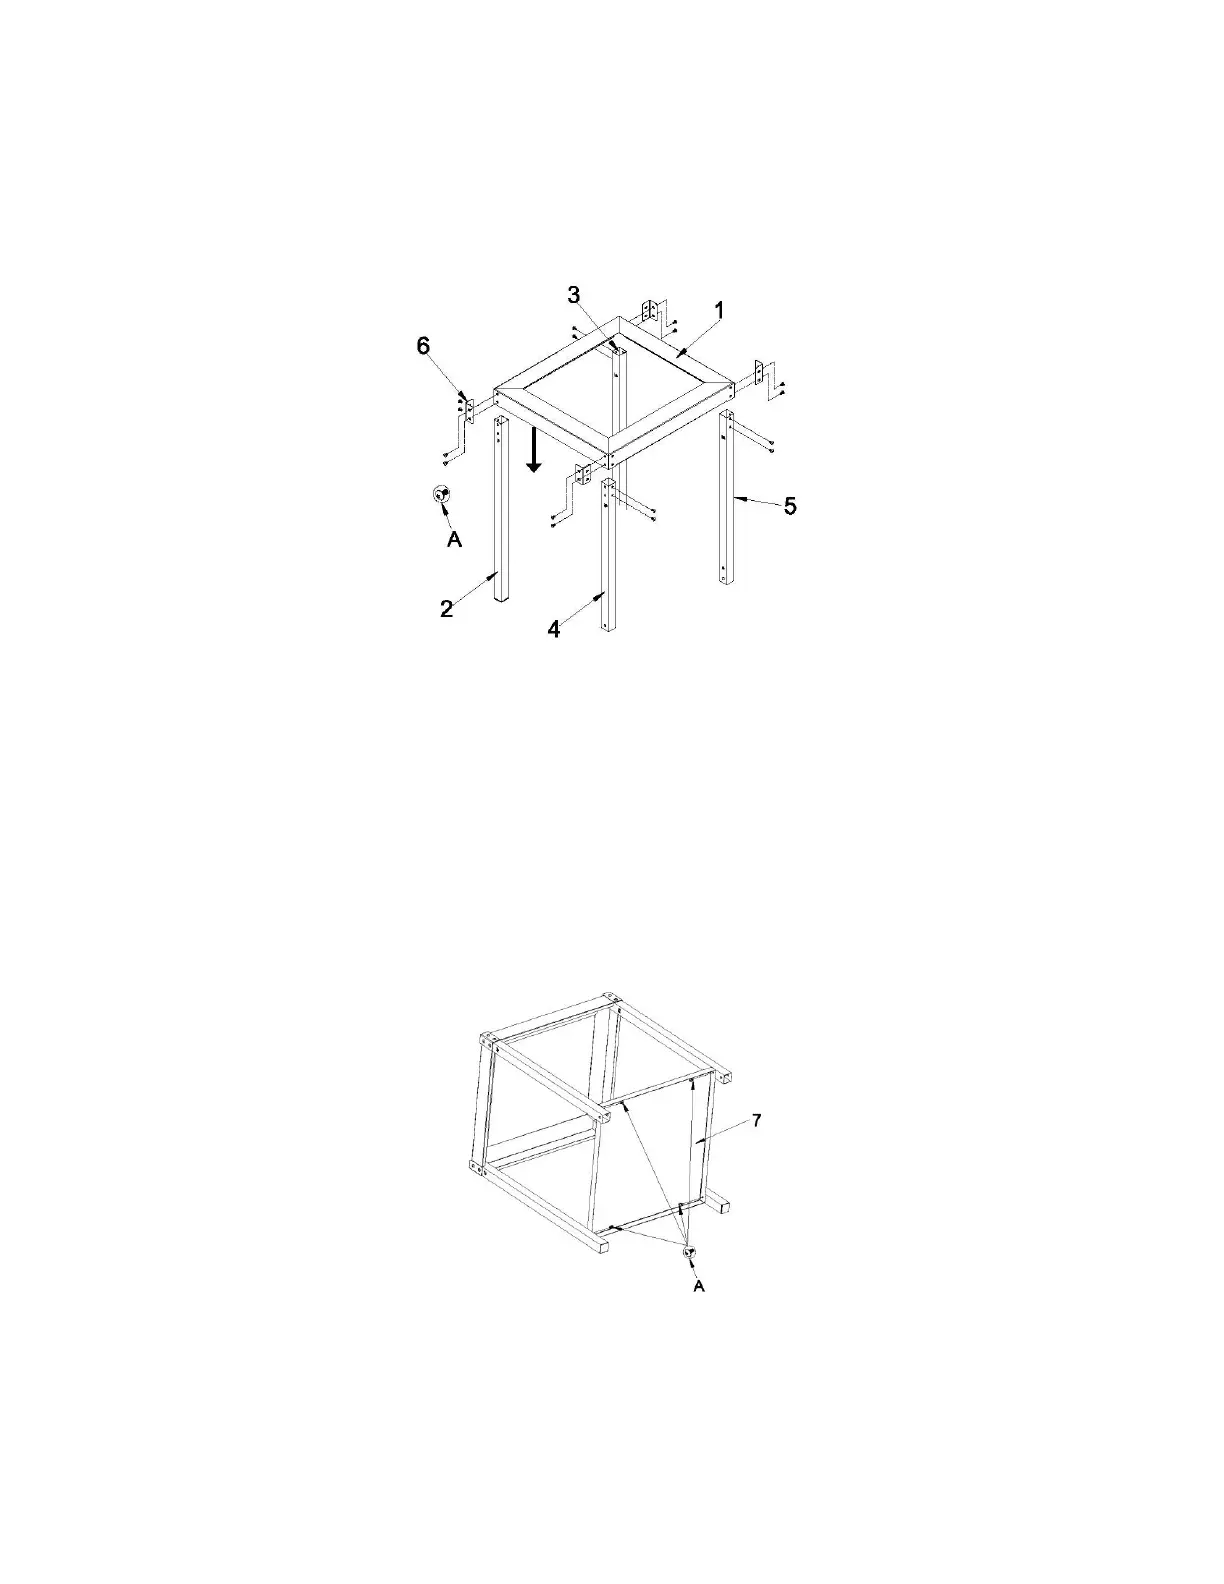
Step 1
1-1: Attach the left front leg (2) and fixed plate (6) to the Top shelf (1) with four M6*12 screws (A);
1-2: Attach the left back leg (3) and fixed plate (6) to the Top shelf (1) with four M6*12 screws (A);
1-3: Attach the right front leg (4) and fixed plate (6) to the Top shelf (1) with four M6*12 screws (A);
1-4: Attach the right back leg (5) and fixed plate (6) to the Top shelf (1) with four M6*12 screws (A);
partially tighten each screw with a screwdriver. (as shown)
Step 2
Slide the bottom shelf (7) into the corresponding position of each leg, with four M6*12 screws (A)
tighten by hand. (as shown)