Seite 20 von 100
ADDITIONAL FUNCTIONS
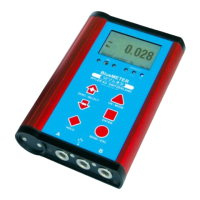
Function KEY-LOCK / key lock and unlock by using the push buttons
Using the following function the keys may be locked or unlocked
KEY-LOCK <ON> Keep the key <ENTER> pressed for a minimum of 2 seconds
until in the display shows „LOCKED“
When the keys are locked the respective symbol is displayed as
shown below
The KEY-LOCK function is meant to eliminate any unintended pressing
of a key and starting an unplanned action, such as e.g. a <HOLD>
function.
It is however possible to make all the required measurements without
restrictions.
KEY-LOCK <OFF> Keep the key <ESC> pressed for a minimum of 2 seconds until after
a short display of the sign "LOCKED" in the display the above mentioned
symbol disappears and "UNLOCKED" is shown.
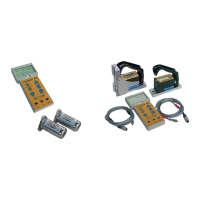
3.4 TEACH-IN of the IR-trigger (Zapper)
In order to eliminate interference of the zapper signals when several measuring groups are active in the triggering
range the IR trigger can be assigned to a specific measuring group by applying the function TEACH-IN
Procedure TEACH-IN:
The measuring or display instrument must be started.
Keep the key <ZERO/SELECT ±> on the measuring or display instrument pressed
Point the trigger (IR Zapper) in the direction of the measuring or display instrument
Press the actuator key on the IR Zapper until both red IR LEDs are lighting up.
This procedure must be done on all the measuring and display instruments using the same IR triggering. When the
instruments are dispatched this procedure is already factory set standard.
 Loading...