PREPARE THE DISPOSER FOR INSTALLATION
www.xoappliance.com
IF YOU ARE USING THE DISPOSER WITH A DISHWASHER:
1. Remove the knock out plug from the housing. Using a hammer and a blunt instrument such as a wooden
dowel or a metal pin punch knock out the entire plug as shown. DO NOT USE A SHARP TOOL, such as
a screwdriver. When the knock out plug falls into the disposer you may remove it or leave it to be ground
up during operation. (This will not damage the disposer but it may take several operations to be ground
up completely).
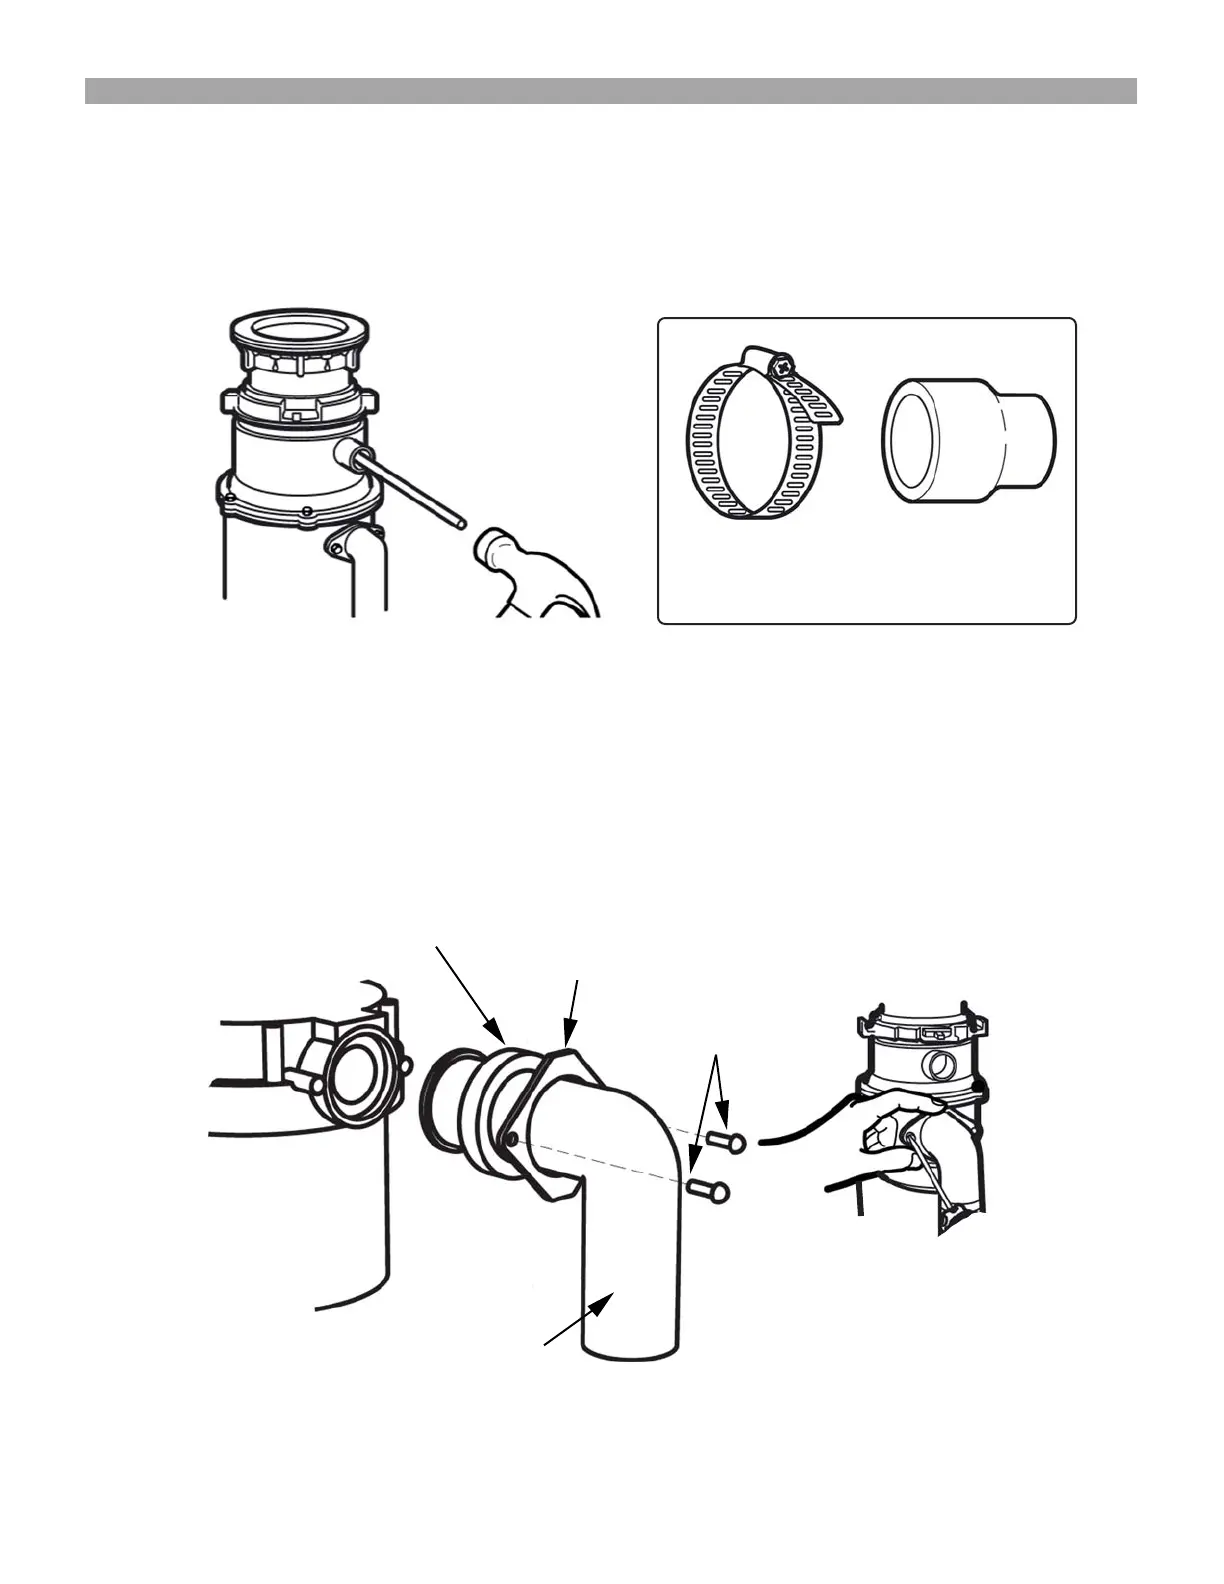
2. Attach the Discharge Elbow. Using the parts provided, slide the Rubber Gasket into place on the elbow
and using the Steel Flange and Two Screws, fasten the Discharge Elbow in place.
Dishwasher installation will require
a hose clamp and may require a
stepped rubber hose adapter
RUBBER GASKET
STEEL FLANGE
SCREWS
DISCHARGE ELBOW
 Loading...