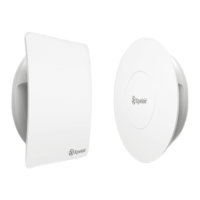
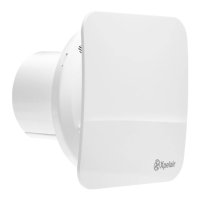
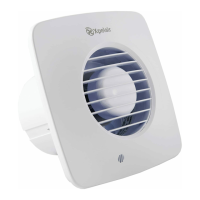
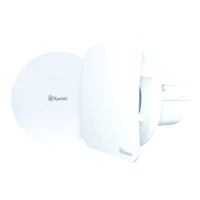
The Xpelair Simply Silent™ 100mm Contour Fan is a ventilation appliance designed for domestic use, offering a range of models with different functionalities to suit various needs. These fans are intended for connection to fixed wiring and are double insulated, meaning they do not require an earth connection. All installations must be supervised by a qualified electrician and conform to current IEE Regulations (UK) and local or appropriate regulations.
Function Description
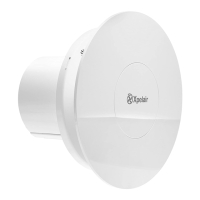
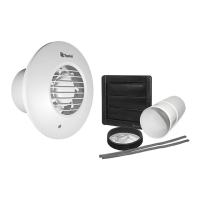
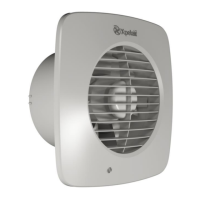
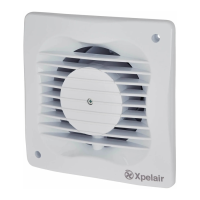
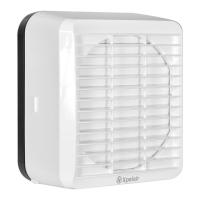
The Simply Silent™ Contour AC fans are primarily designed for extracting air, helping to manage humidity and odors in rooms. They feature two-speed extraction, which can be selected during installation to optimize performance. A built-in back draught shutter helps prevent external air from entering when the fan is not in operation. The fans also come with a replaceable baffle, supplied with a square baffle fitted, which can be exchanged with a spare round baffle included in the pack.
Different models offer distinct operational features:
- C4SR (Standard): This model operates using an on/off switch (not supplied).
- C4PSR (Pull Cord): This model is operated by an integral pull-cord.
- C4TSR (Timer): This fan includes a built-in timer that operates for a preset delay, adjustable from 30 seconds to 30 minutes. When the external on/off switch (not supplied) is turned off, the fan continues to run for the set time delay.
- C4HTSR (Humidistat, Timer): This advanced model operates automatically when triggered by an integral humidity sensor or by using an external on/off switch (not supplied). In automatic mode, the built-in timer activates for a preset delay (30 seconds to 30 minutes) once humidity drops below the pre-set Relative Humidity (RH) value. The humidity setting is adjustable from 50% to 95% RH. When switched off using the external on/off switch, the fan continues to run for the preset delay before entering automatic mode. The factory settings for this model are a 15-minute timer and 75% RH.
Usage Features
The appliance is suitable for use by children aged 8 years and above, and persons with reduced physical, sensory capabilities, or lack of experience and knowledge, provided they have been given supervision and instruction concerning safe use and understand the hazards involved. Children should not play with the appliance.
Installation involves several key steps:
- Preparation: Remove the front cover/baffle assembly by depressing the latch on the underside and pulling it off from the bottom.
- Marking and Drilling: Hold the back-plate horizontally, insert the fan tube into the wall duct, mark the fixing holes, and then remove the back-plate to drill screw holes and fit wall plugs/screws as needed. The fan can also be fixed to a wall tube using clamping brackets.
- Mounting: Feed the mains cable through the cable entry hole in the back plate to the terminals. Insert the fan tube into the wall duct/ceiling and fasten the back-plate using appropriate fasteners, ensuring not to overtighten if using screws.
- Wiring: Ensure the mains supply is isolated before wiring. Feed the cable to the terminal block and wire the fan according to the appropriate diagram for the specific model. For fixed wiring circuits, the protective fuse for the appliance must not exceed 5A.
- Speed Setting: The fans are factory set to low speed but offer two speed settings. Users can select either high or low speed by connecting a jumper between the centre and the high or low speed pin on the jumper.
- Adjusting Settings (C4TSR and C4HTSR):
- Timer: The over-run period can be adjusted by turning the control (T) clockwise to increase the time and anti-clockwise to decrease it (from 30 seconds to 30 minutes).
- Humidity (C4HTSR only): The pre-set humidity operation is factory set at approximately 75% RH but can be adjusted between 50% and 95% RH by turning control (H). Turning clockwise increases the RH level (less sensitive), while anti-clockwise decreases it (more sensitive).
Placement Considerations:
- Locate the fan as high as possible, at least 110mm from the edges of the mounting surface to the centre of the hole.
- Position it as far away as possible from and opposite to the main source of air replacement to ensure airflow across the room (e.g., opposite the internal doorway).
- Place it near the source of steam or odors.
- Avoid locations where ambient temperatures are likely to exceed 50°C.
- In kitchens, fans must not be mounted immediately above a cooker hob or eye-level grill.
- If installed in a room with a fuel-burning device that has a non-balanced flue, the installer must ensure sufficient replacement air to prevent fumes from being drawn down the flue when the fan is operating at maximum extract.
- Exhaust air must not be discharged into a flue used for exhausting fumes from non-electric appliances.
- The fan is not suitable for use in possible chemical corrosive atmospheres.
Maintenance Features
Cleaning and maintenance of the appliance should not be performed by children. Regular cleaning is recommended once a month.
Cleaning Procedure:
- Isolate Power: Before cleaning, completely isolate the fan from the mains supply.
- Remove Front Cover/Baffle: Depress the latch on the underside of the cover and pull off the front cover/baffle from the bottom.
- Clean Assembly: Wipe the front cover/baffle assembly with a damp, lint-free cloth or wash it with warm soapy water. Thoroughly dry the front cover and refit.
- Avoid Immersion: Do not immerse the fan in water or other liquids to clean any other parts of the fan.
- Avoid Harsh Cleaners: Do not use strong detergents, solvents, or chemical cleaners.
- Dry Thoroughly: Allow the fan to dry thoroughly before use.
- No Other Maintenance: Apart from cleaning, no other maintenance is required.
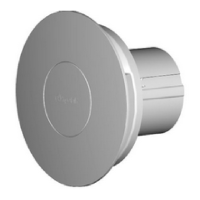
Replacing Square Baffle with Round Baffle:
- Isolate Power: Ensure the fan is isolated from the supply.
- Remove Square Baffle: Twist the Square Baffle/Cone assembly anti-clockwise until all three support legs are released from clips.
- Fit Round Baffle: Align clips on the round baffle with legs on the front cover and rotate the baffle clockwise until all three clips engage and are retained on the front cover.
For surface mount wiring, a thin wall section in the front cover needs to be broken out prior to re-fitting, and miniature PVC trunking must then be sealed against the front cover to prevent water ingress.