Do you have a question about the Yakima LongHaul and is the answer not in the manual?
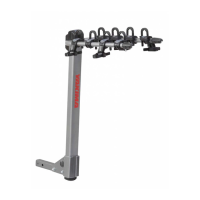
Align the tongue with the mast, ensuring threads face the passenger side of the vehicle for proper assembly.
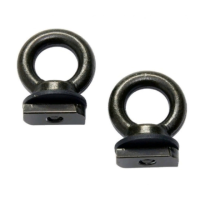
Secure the tongue to the mast using bolts and nuts, tightening all hardware with two wrenches for a firm connection.
Attach the hitch lock and hitch bolt, ensuring complete tightening to secure the carrier to the hitch receiver.
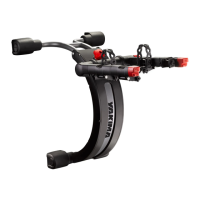
Release the lever to unlock arms, then raise them fully until they lock into their upright position.
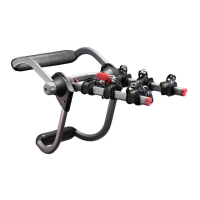
Load the largest or heaviest bike first, using cradles closest to the vehicle. Max bike weight is 37.5 lbs (17kg).
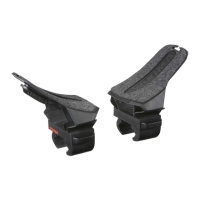
Rotate anti-sway cradles against the seat tube and insert ZipStrips into cradles, pushing firmly against the bike frame.
Use the Front Wheel Strap for the first bike's front wheel and alternate directions for remaining bikes to avoid interference.
Thread the bike safety strap through each wheel and around the mast, then lock the cable to the post.
Press release tabs on cradles, remove ZipStrips, and then safely unload the bikes from the rack.
Remove safety strap, unload bikes, remove hitch pin, then remove the carrier from the hitch and store it safely.
Product designed for Class III and IV receivers. Consult an automotive professional if unsure of hitch receiver capabilities.
Use the designated lock point for your own locking cable, such as the recommended 9ft SKS Cable Yakima.
Verify ZipStrips security, replace worn ones, ensure hardware is tight, and check bike tire clearance from exhaust.
Avoid off-road driving, do not transport bikes with accessories, tandems, or recumbents. Always use safety strap.
Do not install if spare tire interferes. Remove for car washes. Ensure 10" ground clearance. No hitch splitters allowed.
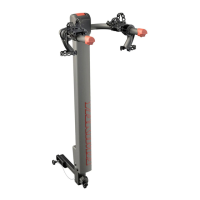
| Material | Steel |
|---|---|
| Tilt Feature | Yes |
| Foldable | Yes |
| Capacity | 2 bikes |
| Installation | Hitch mounted |