Recording Keyboard Performances
44 CP5/CP50 Owner’s Manual
Quick Start Guide
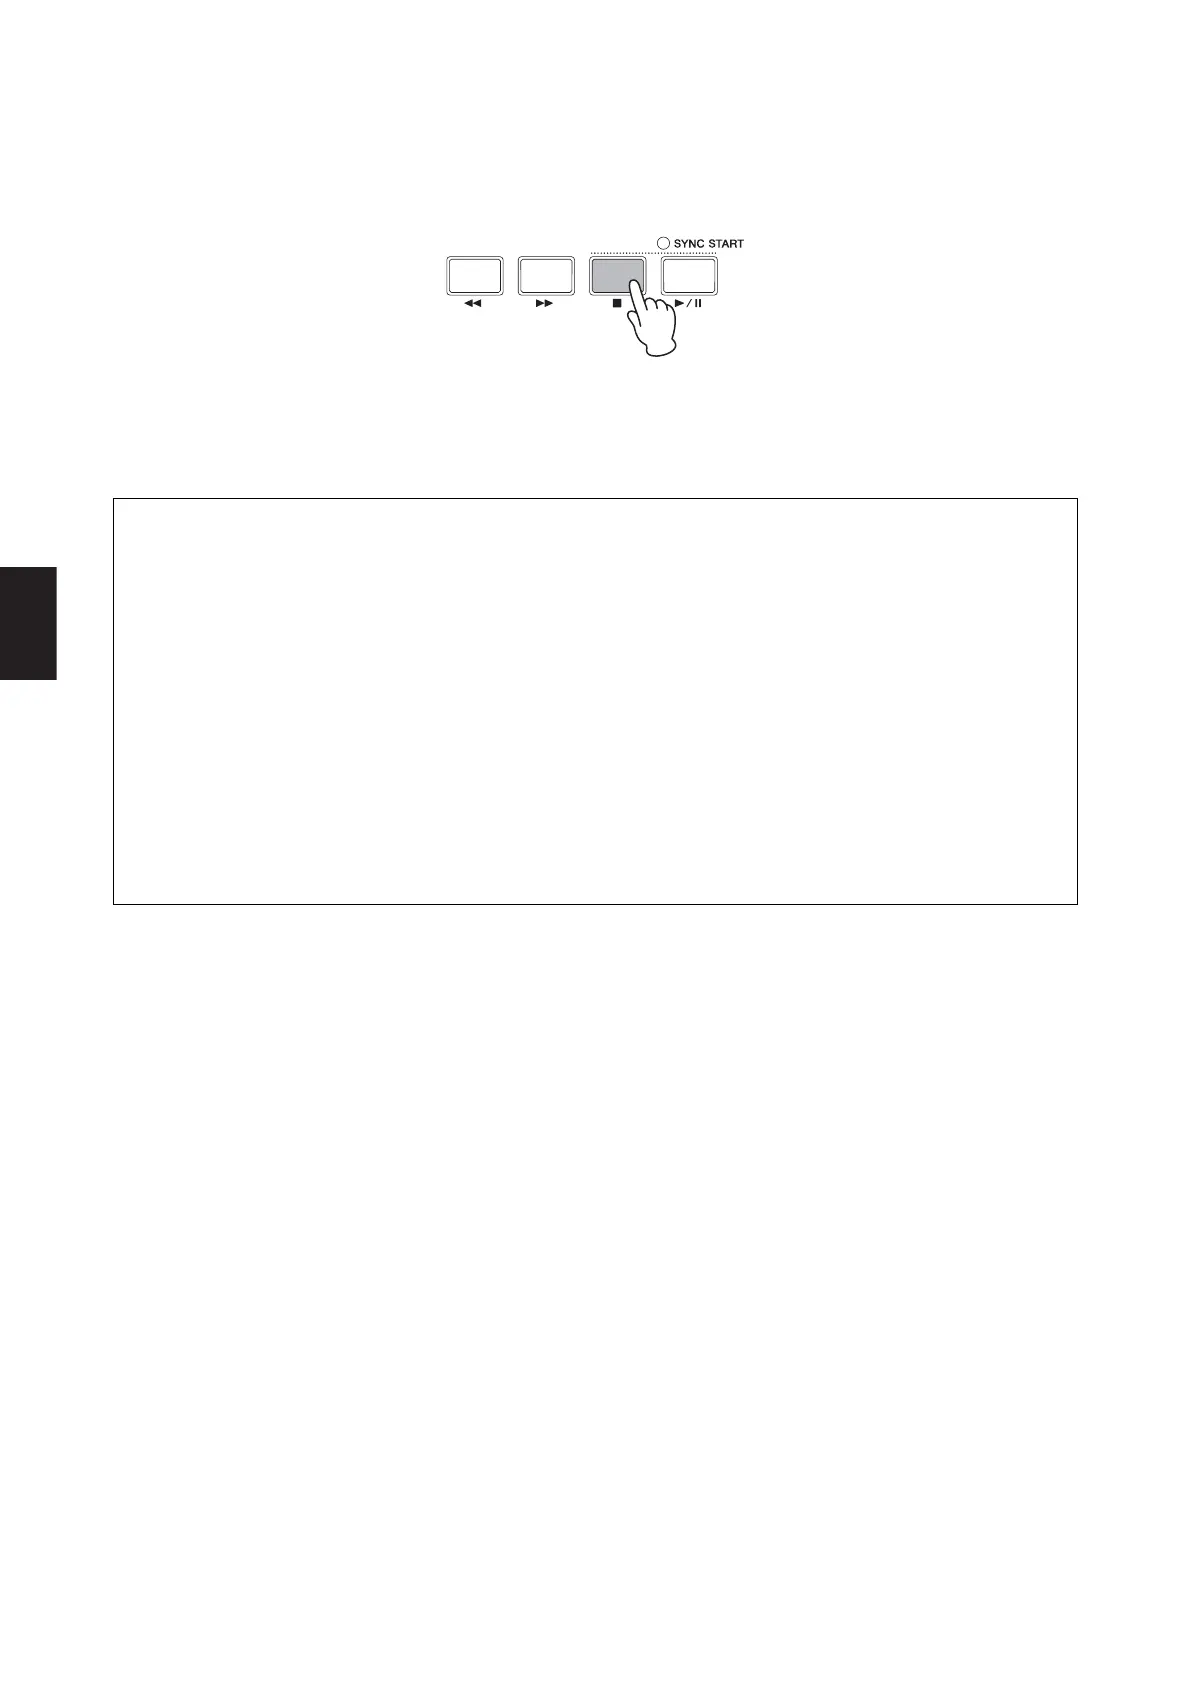
7 Press the [J] (Stop) button.
Recording will end and the Performance screen will be displayed. The recorded Wave file will be stored on the
plugged-in USB flash-memory device, and in addition, it will be automatically set as the backing track for the current
Performance.
8 Press the [R/K] (Play / Pause) button to listen to your recording.
You can stop playback at any time by pressing the [J] (Stop) button.
Using Key-on Start to Begin Recording
Your CP5 or CP50 also features a Key-on Start function that can be used to start recording in response to playing of the keyboard.
The following describes how to use this function.
1 Press the [SONG SETTING] button, followed by the [3] button.
Page 3 of the Song Setting screen will be displayed.
2 Turn Knob 1 to set the StartKey parameter as required.
If you set this parameter to “all”, any key can be pressed to start recording.
3 Press the [REC] button to call up the Record screen, and then set the parameters on this screen as required for your
recording (pages 41, 43).
4 Hold down the [J] (Stop) button and press the [R/K] (Play / Pause) button.
Recording will be set to Standby condition.
5 Press the key that you set for the StartKey parameter in Step 2 above.
Recording will start. You can stop recording at any time by pressing the [J] (Stop) button.
 Loading...