 Loading...
Do you have a question about the Yamaha K-220 and is the answer not in the manual?
| Track System | 4-track, 2-channel stereo |
|---|---|
| Tape Speed | 4.76 cm/s |
| Wow and Flutter | 0.08% (WRMS) |
| Motor | DC servo motor |
| Tape Type | CrO2, Metal |
| Signal-to-Noise Ratio | 58dB (line) |
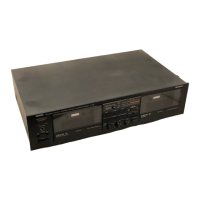
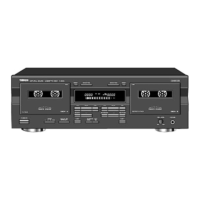
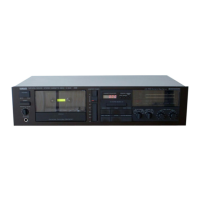
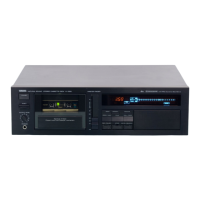
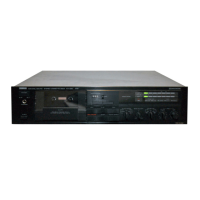
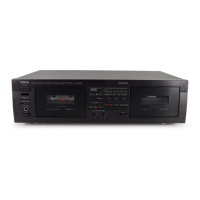
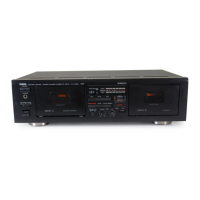
| Type | Cassette Deck |