C
Charlotte HarrisAug 19, 2025
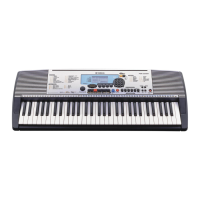
What to do if there is no sound from my Yamaha PORTATONE PSR-293?
- IileeAug 19, 2025
If there is no sound when playing the keyboard or playing back a song or style, check that nothing is connected to the PHONES/OUTPUT jack on the rear panel. Also, check the Local Control on/off.