K
Kevin HowellSep 10, 2025
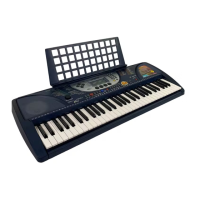
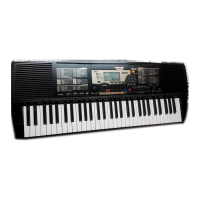
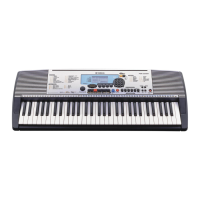
Why does my Yamaha Electronic Keyboard sound change from note to note?
- TTodd MendozaSep 10, 2025
This is normal. The AWM tone generation method uses multiple recordings (samples) of an instrument across the range of the keyboard.