RULESFORSAFEOPERATION(CONTINUED)
32. Whenusingthe vehiclewithmower,proceedas follows:
A. Mowonlyin daylightor in goodartificiallight.
B. Nevermakeacuttingheightadjustmentwhileengineisrunning
if operatormustdismountto do so.
B. Shuttheengineoff an_wa'_tunti_t_tebb_ecomesto acom-
pletestopbeforeremovingthe grasscatcher.
D. Checkblademountingboltsfor propertightnessatfrequent
intervals.Also,checkbladesforwearor damage(e.g.bent,
cracked).Replacewithbladewhichmeetsoriginalequipment
specifications.
33. Checkgrasscatcherbagsfrequentlyforwearordeterioration.For
safetyprotection,replaceonlywithnewbagmeetingoriginalequip-
mentspecifications.
gL III
34. Lookbehindto makesurethe areaisciearbeforeplacingthe
transmissionin reverseandcontinuelookingbehindwhileback-
ingup.Disengagebladesbeforeshiftingintoreverseandbacking
up.
35. "fhisun'_tshou)dnotbedrivenupa ramponto a traileror truck
underpower,becausetheunitcouldtip over,causingseriousper-
sonalinjury.Theunitmustbepushedmanuallyto loadproperly.
36. Checkbrakeoperationfrequently.Adjustandserviceaccording
to brakeadjustmentinstructionsin this manual.
37. Muffler,engine,andbeltguardsbecomehotduringoperationand
cancausea burn. AUowto cooldown beforetouching.
iii ii
ASSEMBLY
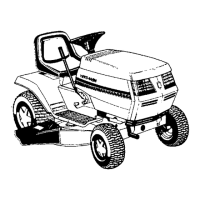
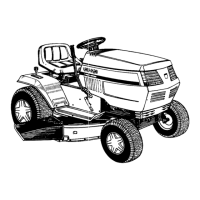
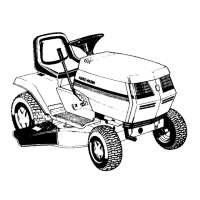
This owner's manual covers two models of lawn
tractors. Follow only those instructions which per-
tain to your model lawn tractor.
Refer to the separate deck manual for all informa-
tion concerning the deck.
IMPORTANT: This unit is shipped WITHOUT
GASOLINE or OIL; however, a small amount of oit
may be present from the factory. Do not overfill.
After assembly, service engine with gasoline and
oil as instructed in the separate engine manual
packed with your unit.
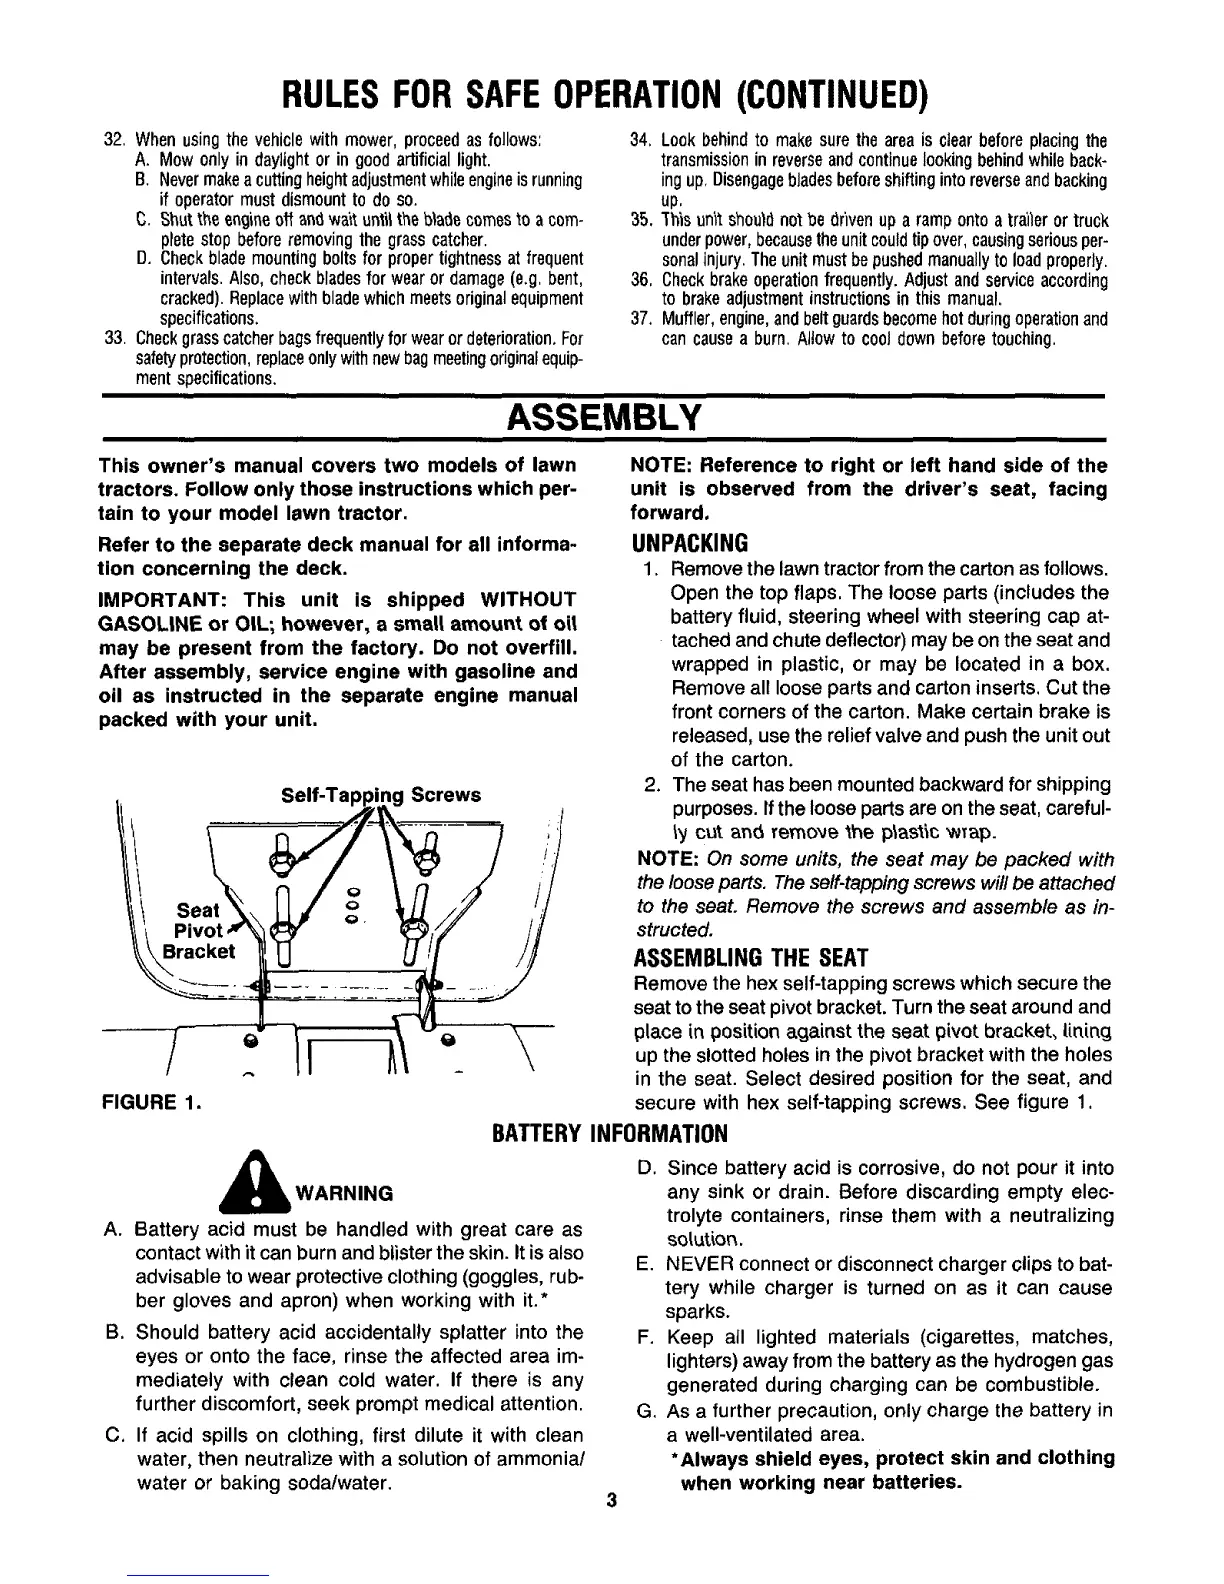
ig Screws
FIGURE 1.
NOTE: Reference to right or left hand side of the
unit is observed from the driver's seat, facing
forward.
UNPACKING
1. Remove the lawn tractor from the cartonas follows.
Open the top flaps. The loose parts (includes the
battery fluid, steering wheel with steering cap at-
tached and chute deflector) may be on the seat and
wrapped in plastic, or may be located in a box.
Remove all loose parts and carton inserts. Cut the
front corners of the carton. Make certain brake is
released, use the relief valve and push the unitout
of the carton.
2. The seat has been mounted backward for shipping
purposes. If the loose parts are on the seat, careful-
_ycut and remo'_e _he plastic "wTap.
NOTE: On some units, the seat may be packed with
the loose parts. The self-tappingscrews will be attached
to the seat. Remove the screws and assemble as in-
structed.
ASSEMBLING THE SEAT
Remove the hex self-tapping screws which secure the
seat to the seat pivot bracket. Turn the seat around and
place in position against the seat pivot bracket_ lining
up the slotted holes in the pivot bracket with the holes
in the seat. Select desired position for the seat, and
secure with hex self-tapping screws. See figure 1.
BATTERY INFORMATION
_WARNING
A. Battery acid must be handled with great care as
contact with it can burn and blister the skin. It is also
advisable to wear protective clothing (goggles, rub-
ber gloves and apron) when working with it.*
B. Should battery acid accidentally splatter into the
eyes or onto the face, rinse the affected area im-
mediately with clean cold water. If there is any
further discomfort, seek prompt medical attention.
C. If acid spills on clothing, first dilute it with clean
water, then neutralize with a solution of ammonia/
water or baking soda/water.
D. Since battery acid is corrosive, do not pour it into
any sink or drain. Before discarding empty elec-
trolyte containers, rinse them with a neutralizing
solution.
E. NEVER connect or disconnect charger clips to bat-
tery while charger is turned on as it can cause
sparks.
F. Keep all lighted materials (cigarettes, matches,
lighters) away from the battery as the hydrogen gas
generated during charging can be combustible.
G. As a further precaution, only charge the battery in
a well-ventilated area.
*Always shield eyes, protect skin and clothing
when working near batteries.