9
model YW2510 | contact us: 1.866.523.5218
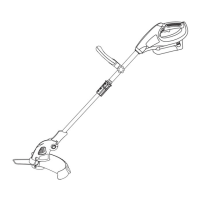
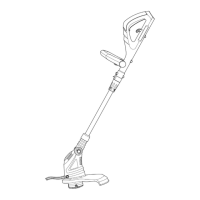
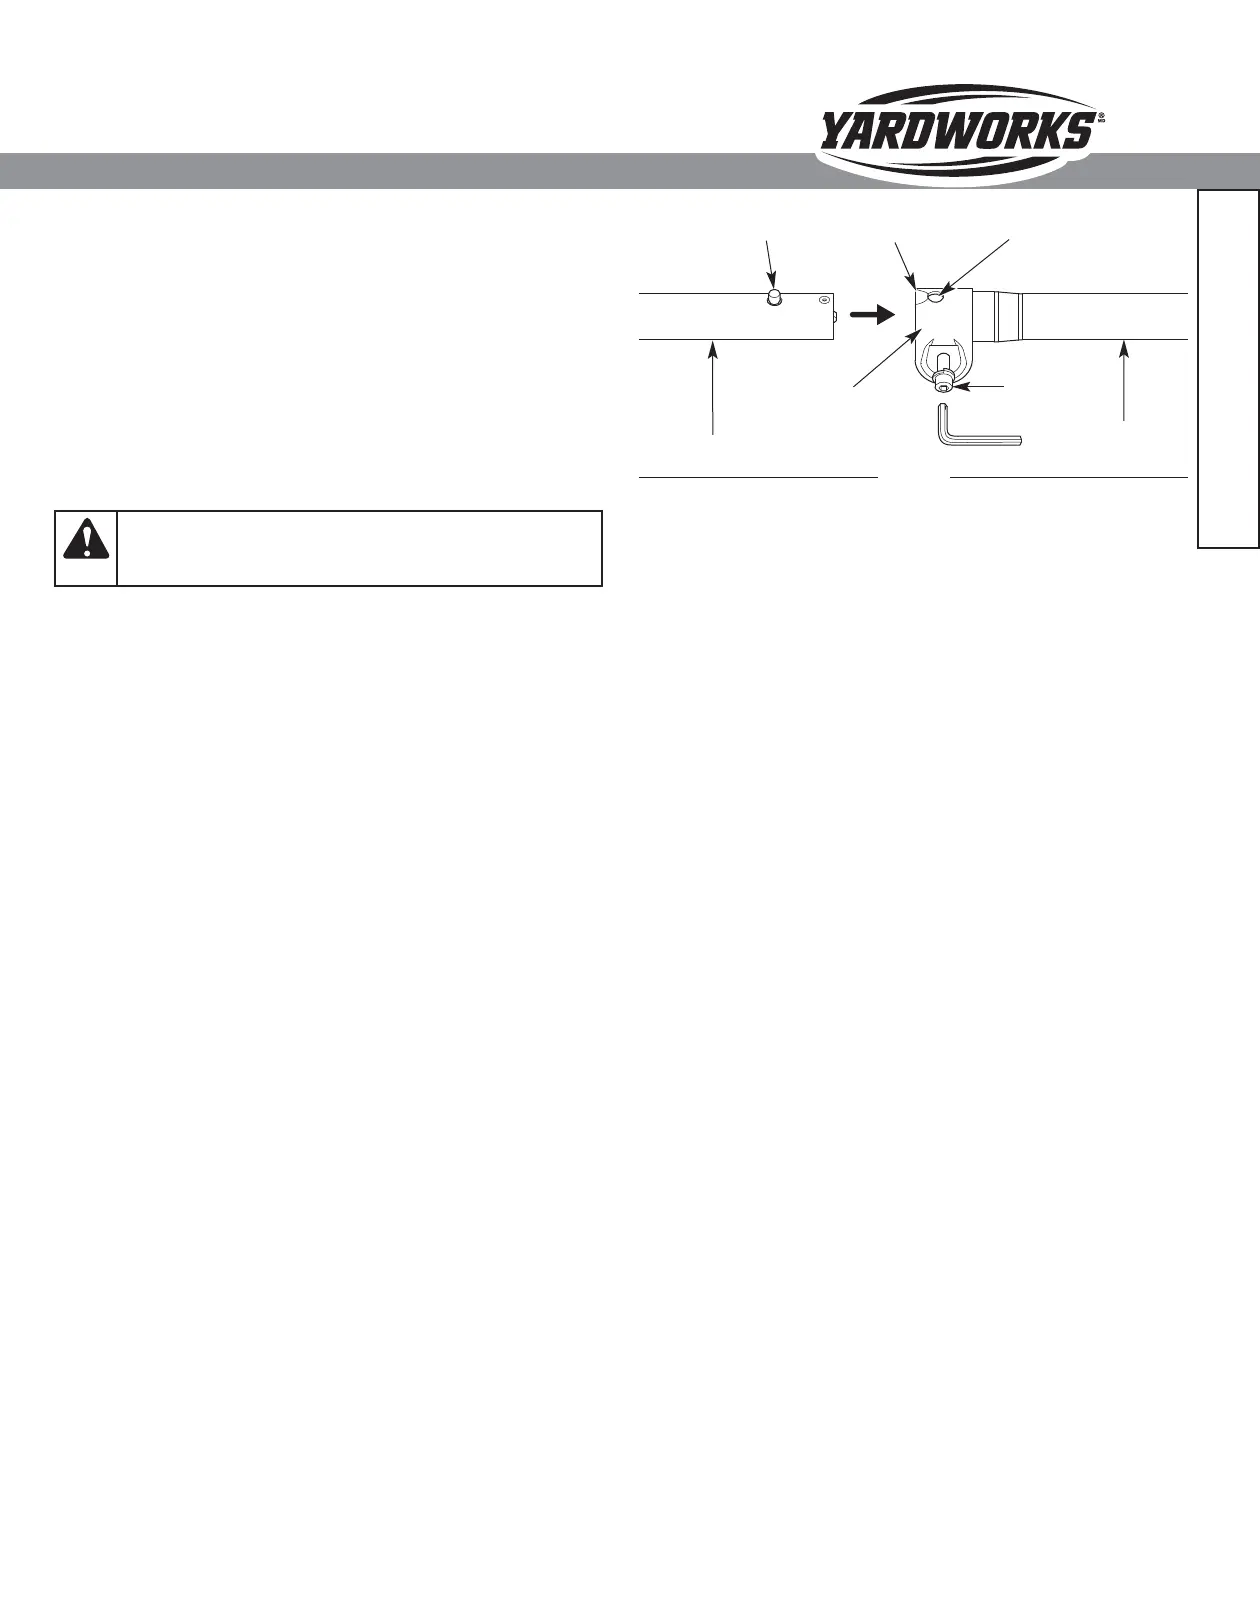
Fig. 3
Release Button
Guide Recess
CONNECTING THE UPPER AND LOWER SHAFTS
NOTE: To make connecting the upper and lower shafts easier, place
the unit on the ground or on a work bench.
1. Remove the protective cap from the upper shaft.
2. Use a 3/16 in. Allen wrench to loosen the coupler bolt (Fig. 3).
3. While firmly holding the upper shaft, push it straight into the
coupler until the release button snaps firmly into the locking hole
(Fig. 3).
NOTE: Aligning the release button with the guide recess will help
installation (Fig. 3).
4. Tighten the coupler bolt until the upper and lower shafts are
firmly connected (Fig. 3).
CAUTION:
Before operating the unit, make sure the
release button is fully snapped into the locking hole (Fig. 3)
and the coupler bolt is securely tightened.
Coupler
Locking Hole
Lower Shaft
Housing
Upper Shaft Housing
Coupler
Bolt
Assembly
 Loading...