3 Receiving
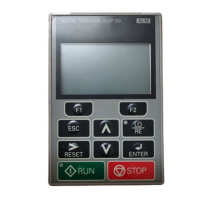
10 YASKAWA ELECTRIC TOBP C730600 35B YASKAWA AC Drive Option LED Operator Installation Manual
Table 3 Item Names and Part Numbers (Sold Separately)
◆ Tool Requirements
To install the LED operator on the door of the enclosure panel, the following tools are
required:
Table 4 Required Tools
Item
<1> If weld studs are on the back of the panel, use the Installation Support Set B.
<2> Alternate cables (customer supplied), RJ45 8 pin Straight Connector UTP Cat 5e cable.
<3> To connect the LED operator to J1000, install the RS-232C Interface Option to the drive.
Yaskawa Part Number Notes Page
RS-232C Interface Option
SI-232/J
<3> 20
Communication Cable (1 m)
WV001
<2> Sold Separately 20
Communication Cable (3 m)
WV003
<2> Sold Separately 20
Installation Support Set A
EZZ020642A
Sold Separately;
For use with holes
through the panel
18
Installation Support Set B
<1>
EZZ020642B
Sold Separately;
For use with panel
mounted threaded studs
19
Installation Location Installation Support Required Tools
External/Face Mount – Phillips screwdriver, M3
Internal/Flush Mount
Installation Set A Phillips screwdriver, M3, M4
Installation Set B
Phillips screwdriver, M3
Box end or adjustable wrench, M4
 Loading...