Note:
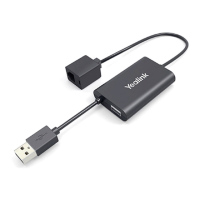
You can connect six modules at most. You just need to connect the Ext in jack of the previous
module and the Ext out jack of the next module using a connecting cord.
Quick Installation Guide
www.yealink.com
Then you can attach the stand, the power adapter and the Ethernet cable to the
phone, connect the handset and headset to use.
As shown below:
Connecting Cord
For more information, refer to the User Guide online at
http://www.yealink.com/DocumentDownload.aspx?CateId=142&flag=142
Copyright 2013 YEALINK NETWORK TECHNOLOGY CO.,LTD.
c
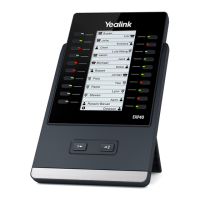
EXP40
Assembling the EXP40
Attach the stand or the optional wall mount bracket, as shown below:
Note:
Yealink provides the wall mount drilling template, which locates and marks the position for the
mounting screws on the wall. You can download it at: http://www.yealink.com/Support.aspx.
Desk Mount Method
Wall Mount Method(Optional)