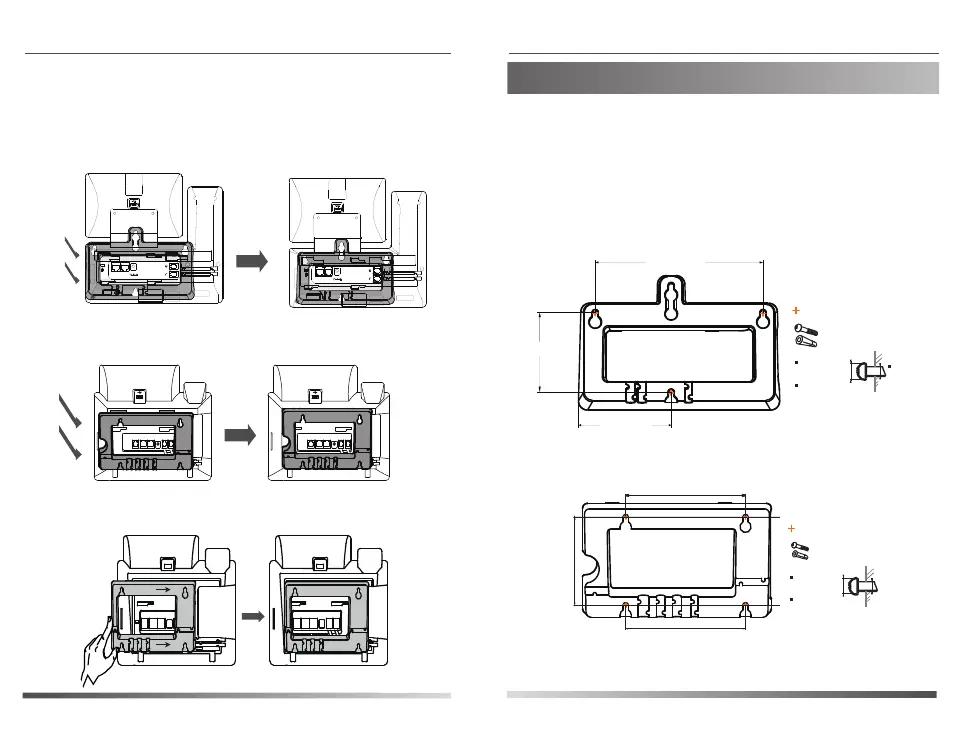
2. Insert the tabs on the wall mount bracket into the
slots on the back of IP phone. And then slide the wall
mount bracket to right.
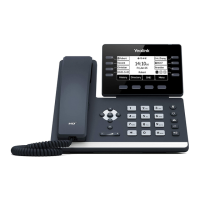
For a SIP-T48S/T48G/T29G/T27P/T27G IP phone:
PUSH
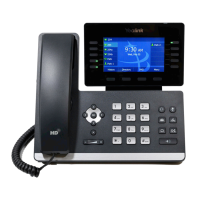
For SIP-T46S/T46G IP phones:
Yealink provides the wall mount drilling template for
each IP phone model, which locates and marks the
position for mounting the screws (not provided) on the
wall, as shown below:
Mounting the Wall Mount Bracket
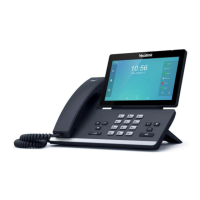
For a SIP-T58V/T58A/T56A IP phone:
PUSH
PC
Internet
DC5V
PC
Internet
DC5V
For a SIP-T58V/T58A/T56A IP phone:
www.yealink.com
Wall Mount Quick Installation Guide
For a SIP-T48S/T48G IP phone:
118.00mm
118.00mm
Screw position
Max:8mm
(0.315”)
Min:6.5mm
(0.256”)
x 4
Max:4.5mm
(0.177”)
Max:8mm
(0.315”)
Min:6.5mm
(0.256”)
Screw position
x 3
147.90mm
81.76mm
70.11mm
 Loading...