Installation_Guide | 1 - Installation Guide | 39
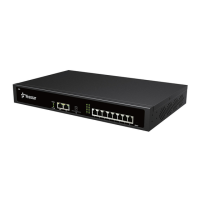
1. Connect your PBX to the network.
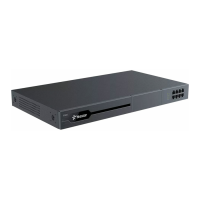
Connect one end of an Ethernet cable to the LAN port of your PBX, and the other end to any port of your
company’s LAN switch/router.
2. Power on your PBX.
Plug the provided power cord or power adapter into the power inlet of the PBX, and the other end to a
standard electrical wall socket.
Wait for the system to boot up till the SYSTEM LED starts to blink.
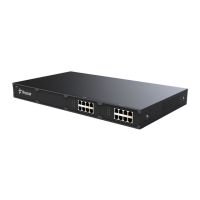
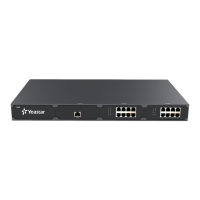
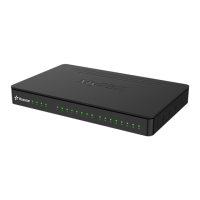
3. Connect your PBX to the telephony lines.
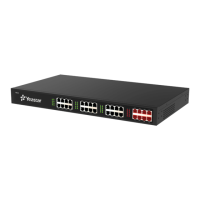
Note: Connect BRI/PSTN/analog phone/fax machine to the corresponding port based on the
color of port indicator.
RJ11 Port Operation
FXS
Connect one end of a RJ11 phone cable to the port. Connect the other end to the analog phone or fax machine.
FXO
Connect an RJ11 cable to the FXO port. Connect the other end to a PSTN line.
BRI
Connect one end of the cable provided by the ISDN BRI provider to the BRI port. Connect the other end to the equipment of
ISDN provider.
E1/T1/J1
Port
Operation
E1/T1/J1
For S100 and S300
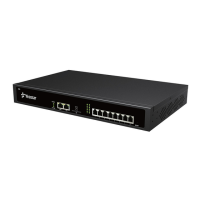
• Connect one end of the E1 cable to the E1/T1 port. Connect the other end to the E1 Provider’s equipment.
 Loading...

