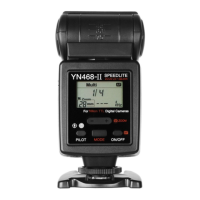
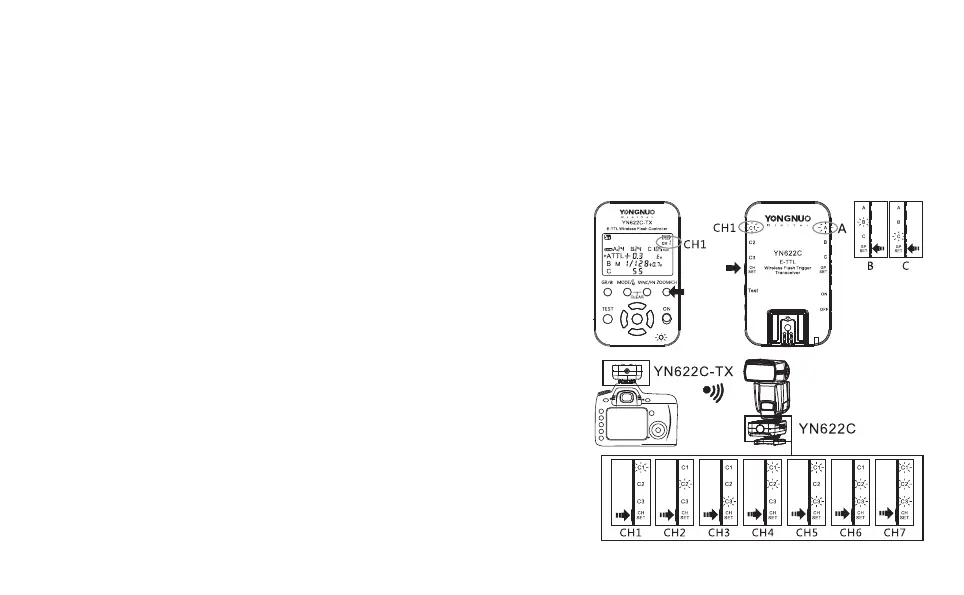
1. YN622C Transceiver Setting:
1).Install the flash on the hot shoe of the transceiver, turn on the power
source.
2).Set the channel of the transceiver
3).Set the receiving grouping of the transceiver
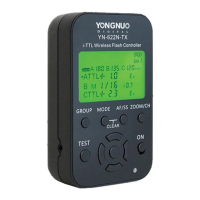
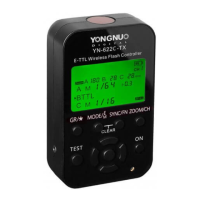
2. YN622C-TX Controller Setting:
1).Install the controller on the camera hot shoe, turn on the power source.
2). et the controller and
transceiver to the same channel.
3).Set the flash mode of each grouping, adjust the exposure compensation
or flash output, set the focal length(zoom) of the flash
3. Test and Use:
1).Press the TEST button on the controller can be awake the flash, when
releasing the TEST button, it will test flash for one time.
2).Fully press the camera shutter release button, the flash group will
synchronize flash according to the setting mode of the controller.
F o r t h e m a n u a l o f Y N 6 2 2 C p l e a s e d o w n l o a d t h r o u g h
www.hkyongnuo.com.
(shortly press the [CH] button).
(shortly press the [GP] button).
Hold down the [ZOOM/CH] button of the controller, s
(Refere to YN622N-
TX User Manual).
Thank you for choosing the E-TTL wireless flash trigger kit YN622C-KIT.If you do not have time to read all the
directions, please see the following content.
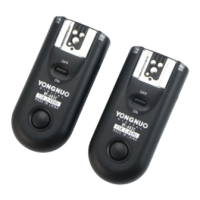
This suit contains one YN622C-TX controller and one YN622C, there are also YN622C transceiver one set with two
units, LS-PC/PC, LS-PC635 flash cable for option. One controller can be used with several transceivers, supports
wireless trigger the hot shoe flash, outdoor flash or studio flash, the typical applications of wireless triggering the TTL
hot shoe flash are as below:
YN622C-KIT Quick Start Guide
Channel
Setting
Receiving group
Setting