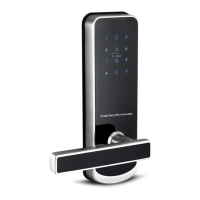
INSTALLATION STEPS
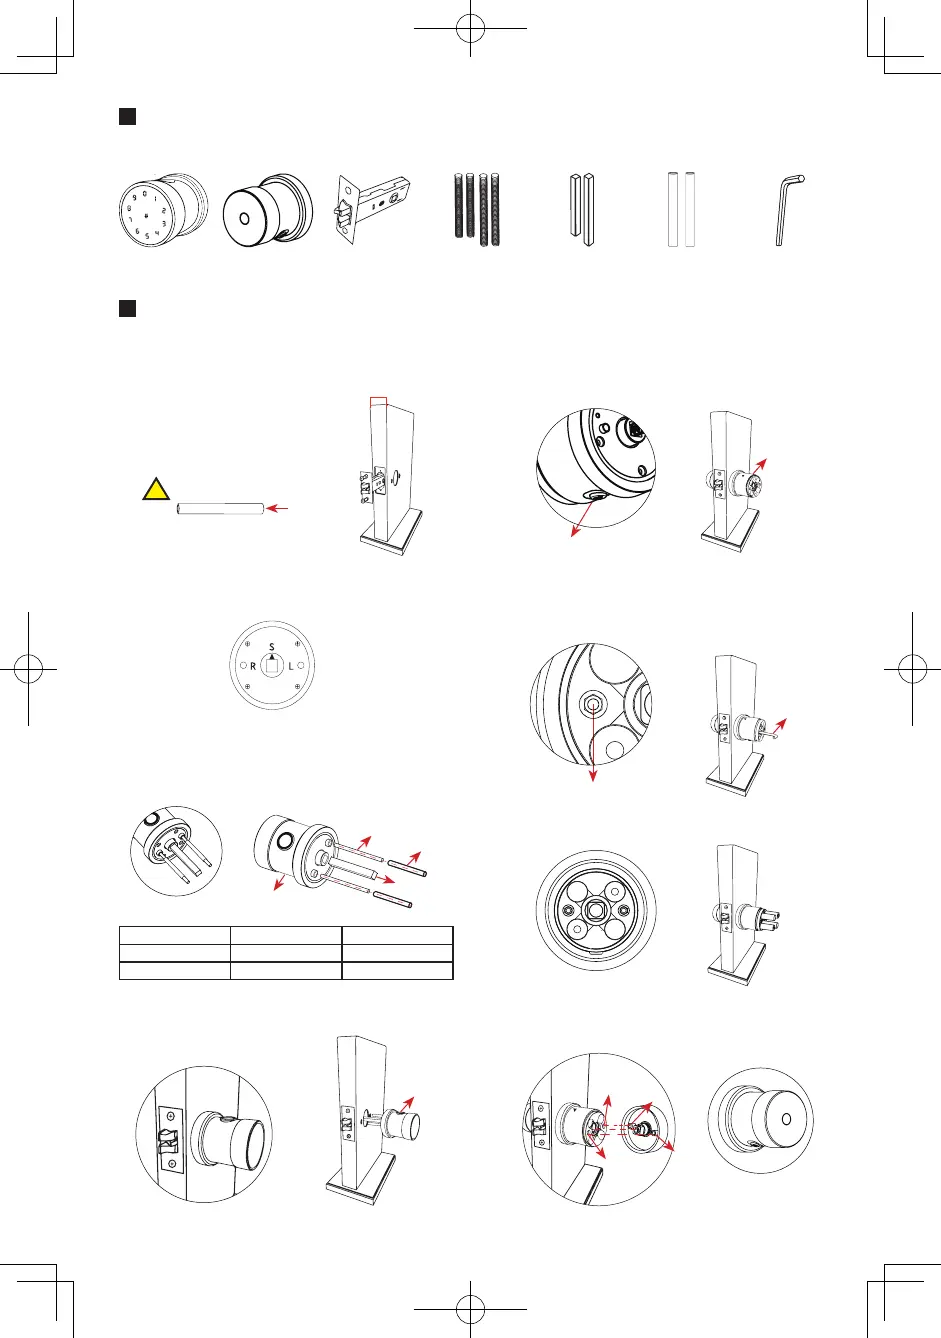
ACCESSORIES
A B C D E F G
Front Handle Rear Handle Single Latch Connecting Screws Insulating SleevesSquare Bar Allen Wrench
5
4
2
Dig the hole in the door according to the dimension of the
lock body before install the lock.
1. Installing the latch
Install single latch, and cut insulating
sleeves according to door thickness.
The length of insulating sleeve should
be 8mm less than door thickness.
2. Adjust the triangle position
Turn the Triangle "
Ƹ
" on Front Handle to position "S" .
3. Install connecting screws
Choose and install connecting screws in front handle according
to door thickness, and put insulating sleeves upon connecting
screws, and insert square bar into front handle.
5. Install rear handle
Step1: Push the rear handle center button to remove the battery
cover. Then connect with the front handle by connecting
screw, make sure the secure lock button is downwards.
Step2: Screw the inner hex nuts by allen wrench. (Inner hex nuts
is inside of rear handle)
Note: Take turns screwing two connecting screws to avoid that one side of
screw is too tight and the other side of screw is too loose.
Step3: Insert 4 AA batteries according to positive and negative pole.
Step4: Press the cover centre button and install it. Please make
sure the cylinders a and b are align to the hole c and d.
4. Install front handle
Insert front handle into latch.
Door Thickness
“E”must be installed
Insulating Sleeves
E
Push this Button
Inner hex nuts
!
E
A
a
completed
b
c
d
B
G
A
F
D
Door Thickness Square Bar Connecting Screws
35~50mm 70mm 80mm
50~65mm 75mm 85mm
 Loading...