9
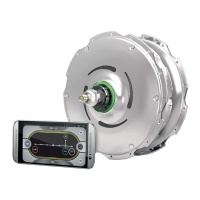
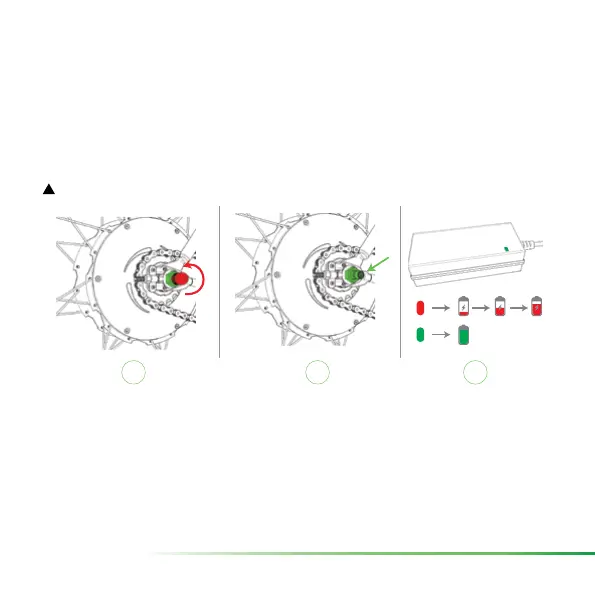
2.3 Charging BIKE+ all in one (see Figure 6)
To charge BIKE+ all in one, simply remove the protection cap from the charging connec-
tor (I) and plug in the Zehus charger (2). Then connect the Zehus charger to a power
outlet (110~240 V).
The charging time is approximately 3 hours for a complete charge. While BIKE+ all in one
is charging the charger LED must turn RED. When BIKE+ all in one is completely charged,
the charger LED turns GREEN (3).
!
NOTE: when the charger gets disconnected from the bike, BIKE+ all in one will turn off.
I
2 3
100%
Figure 6: charging BIKE+ all in one
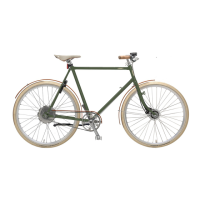
2.4 Change gears or tires on BIKE+ all in one
Although BIKE+ all in one is intended to be used as a single speed hub, you can decide
to change the sprocket or the crankset. If you change one or more of these components
by yourself, BIKE+ all in one performance could be not optimal. Please contact our sup-
port using the bitride app, in order to update your bike rmware with your new gear set.
Whenever you change tire size (e.g. from 700x23c to 700x35c), please contact our sup-
port to update your bike rmware. Otherwise the displayed speed will not be correct.
 Loading...