Filling the water
B
The appliance is equipped with an electronic
water level control system. If the level of water
is too low, the water level indicator on the
LCD display starts to blink, and the appliance
produces a sound signal. This state will last
until the water reservoir is relled.
●
Switch off the appliance and pull the connector’s cord
plug from the socket.
1
Undo the water reservoir catch and pull the water
reservoir out.
2
Pull the water inlet out.
●
Fill the water reservoir to the MAX level marked on the
container’s side.
3
Slip the water inlet in.
4
Place the water reservoir in its former position.
Due to the durability of anti-calc resin and
water hardness, we recommend the exchange
of the anti-cal rell when the replace anti-calc
rell indicator starts to blink.
If an anti-cal rell is unavailable, it is possible
to use distilled water instead and then continue
using the appliance.
Starting the appliance
1
Connect the steam generator to proper power supply.
2
You will hear a single beep and the LCD display will
illuminate briey.
3
Press the on/off button to start the appliance.
The LCD display reads as follows:
Setting the temperature
1
Start the appliance (see: Starting the appliance).
2
Press the fabric and steam emission selection
button „ ” to increase the temperature and to set the
settings related thereto, starting from „ ” to
„ ” (every pressing of button is accompanied
by a sound signal). On LCD display you will see options in
the following order:
– REGULAR STEAM MODE (steam is released
through all holes of the ironing plate)
4
Bend protector
5
Water inlet
6
Water reservoir
7
Water reservoir catch
8
Anti-cal rell container
9
Anti-cal rell (installed in the anti-cal rell container)
10
Water hardness tester
11
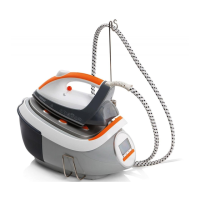
Steam generator base with thermal insulation
12
Cord catch
13
Cord wrap
14
Signal lamps (green – ready to work with steam, red
– heating of the baseplate)
15
On/off button
16
Water hardness selection button
17
Fabric and steam emission selection button „ ”
18
Fabric and steam emission selection button „ ”
19
LCD display
20
Power cord
21
Connection cable
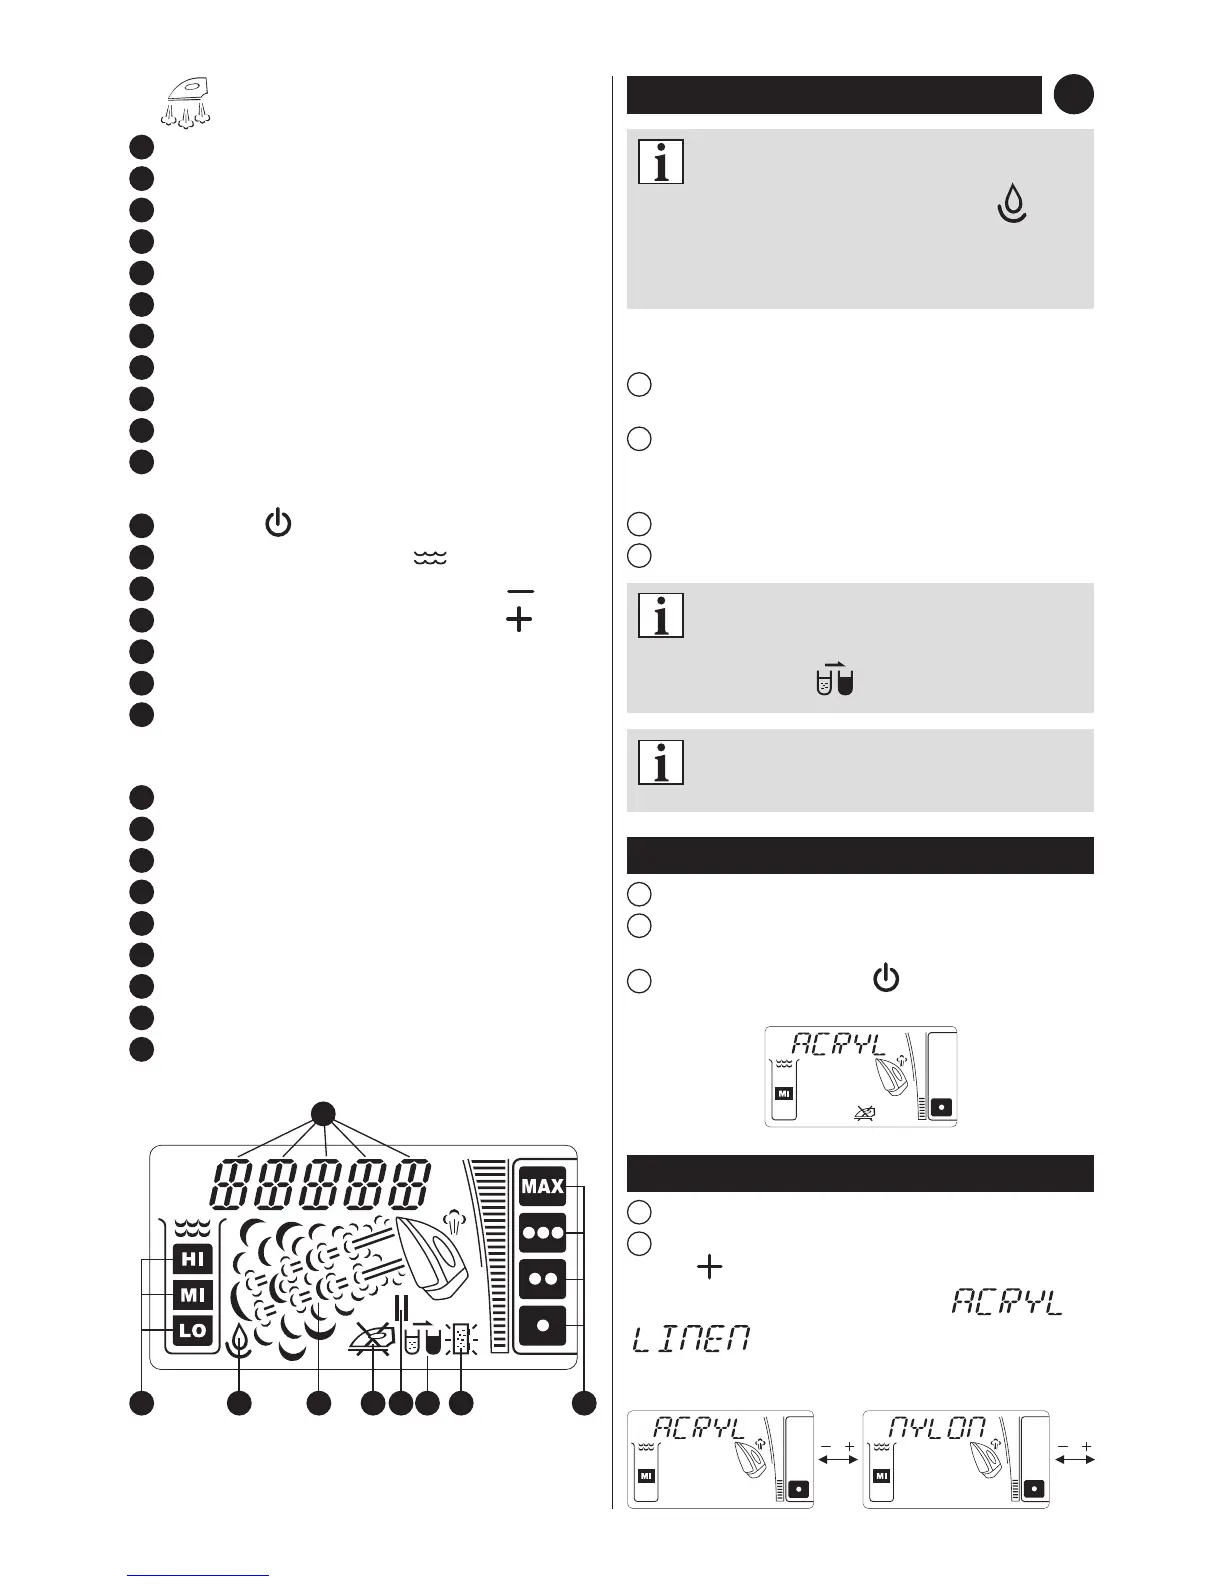
LCD DISPLAY – DESCRIPTION
A
Water hardness
B
Water level
C
Steam emission level
D
Steam boiler heating
E
Automatic switch-off
F
Replace anti-calc rell
G
No anti-calc rell
H
Temperature regulation
I
Fabric type setting
A H
I
ECB D F G


 To Next Page