5. Exposure Determining
Direct the camera to an object being taken. Turning the exposure time scale
of the calculator to the right or to the left coincide the centre of the calculator
pointer with the exposure meter pointer. In this case the scribes of the
exposure time scale and the diaphragm scale should coincide. The scribes are
allowed not to coincide within
1
/
2
of interval between the scribes. With the
pointers matched the designations on scales allow to set a number of
combinations of exposure times and diaphragms for the definite illumination
and the film sensitivity. Any of these combinations enables to obtain a
negative of normal density. Figures on the diaphragm scale show the
relative aperture values. Figures from 500 to 2 on the exposure time scale
show values of the exposure times in fractions of a second and from 1 to 30
show whole seconds. Black figures on the exposure time scale of the
calculator correspond to figures of the exposure time dial scale. The
exposure time and the appropriate diaphragm chosen depending on
conditions of photographing should be correspondingly set on the camera
and on the lens.
6. Exposure Time Setting
Slightly pulling up the exposure time dial and turning it round its axis set the selected exposure time
figure against the index mark in the middle of the dial, sink the dial and fix it.
The figures on the exposure time dial indicate fractions of a second, and “B” indicates a hand-
controlled exposure time.
To obtain slow shutter speed you should cock the shutter, set the
exposure time dial against “B”, press the shutter release button and
turn it counterclockwise as far as it goes.
After exposure return the release button to its initial position.
Notes:
1. The exposure time can be set both with cocked and released
shutter.
2. It is good practice to use a tripod when photographing with slow
shutter speed and “B” exposure.
3. When photographing without flash bulbs the synchronization
setting lever can be set at will within the range from “X” to “MF” on
the side of the film rewind button.
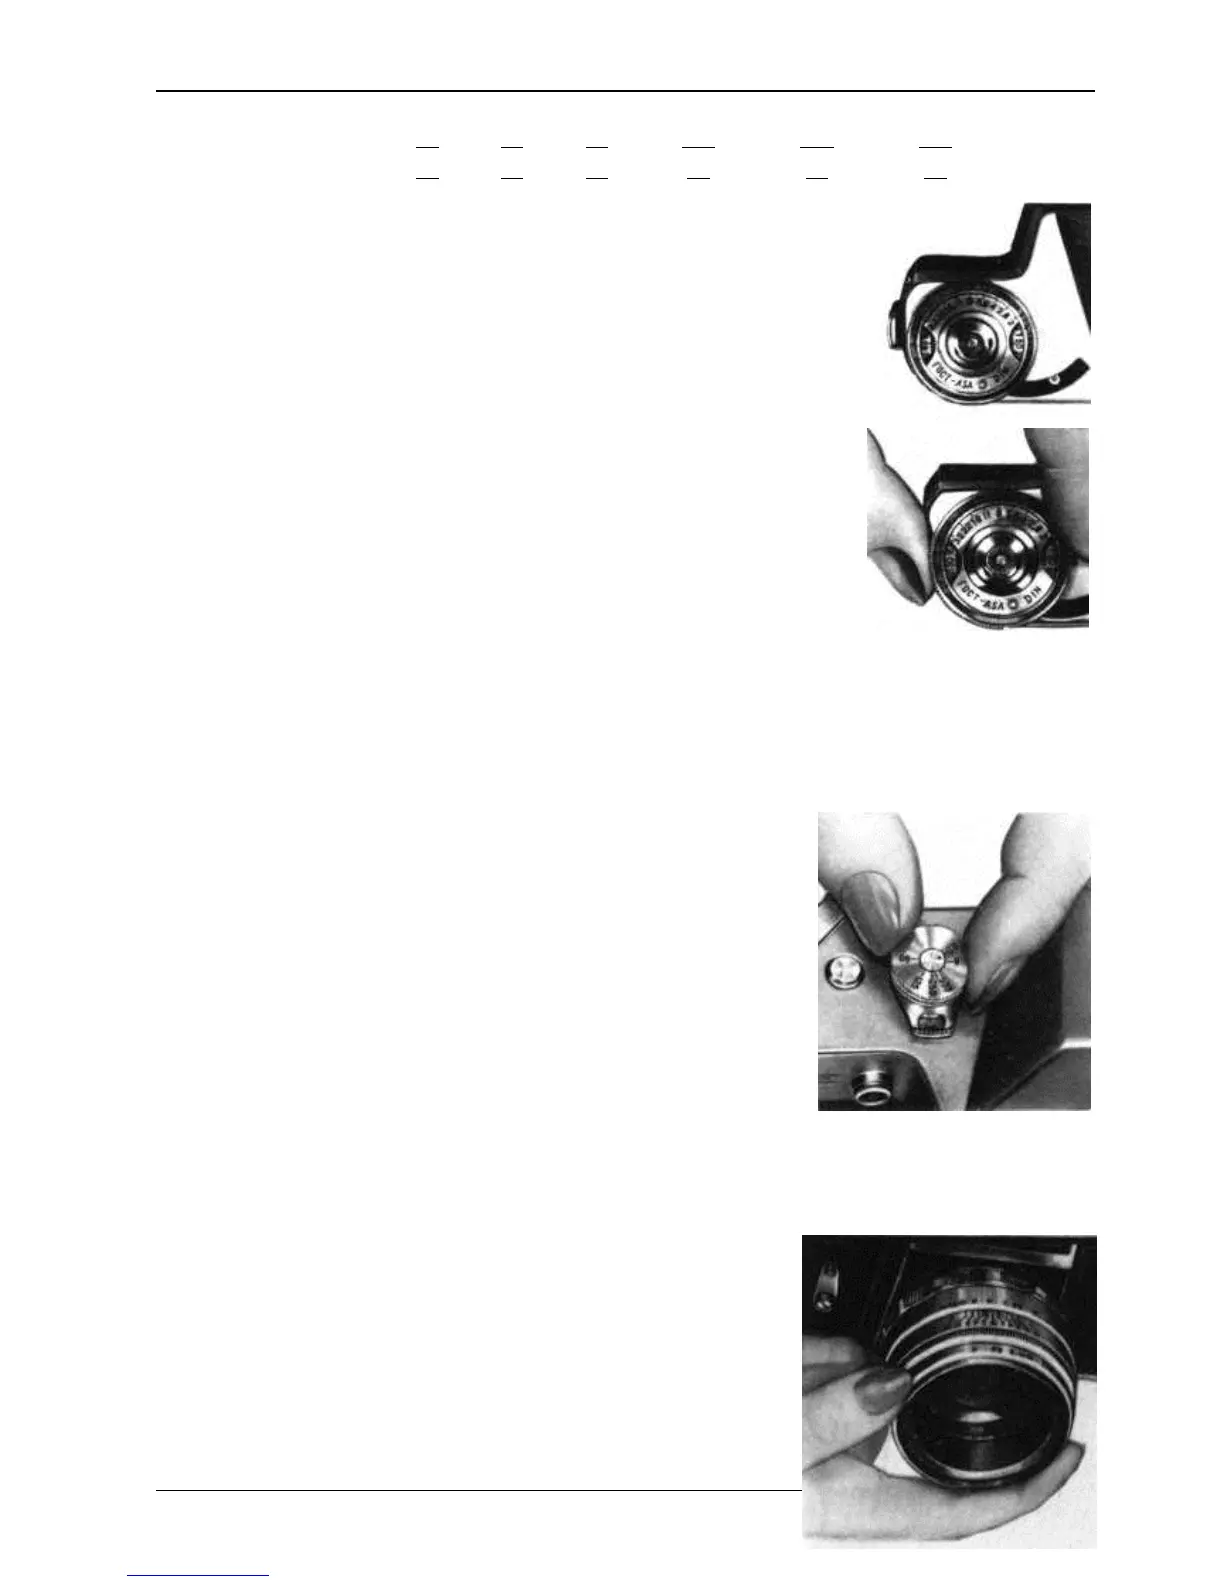
7. Stop Setting
To obtain a necessary diaphragm on the HELIOS-44-2 lens align the index with one of the figures (2;
2.8; 4; 5.6; 8; 11; 16) engraved on the diaphragm setting ring. For
setting the diaphragm rotate the ring until you hear a slight click.
This means that the ring is fixed. The diaphragm of the INDUSTAR-
50-2 lens is set only after the focusing of the lens is done.

 Loading...