EasyManua.ls Logo

Zenith 701L User Manual

Zenith 701L
7 pages
To Next Page IconTo Next Page
Page #1 background imageLoading...
Page #1 background image
Pg 1 of 7
www.zenith-products.com IS0708
Assembly Instructions - Model 701L
Instrucciones de Ensamblado - Modelo 701L
Instructions d'assemblage - Modèle 701L
©2014 Zenith Products Corp. MCS 10/21/2014
Before You Begin:
Thank you for purchasing this product. Please identify all parts and hardware pieces before you begin.
When laying out parts, place them on a soft surface to prevent scratching.
If any pieces are missing, call our Toll Free Number 1-800-892-3986 between 8:00AM-5:00PM EST Monday
through Friday or contact our website at www.zenith-products.com for more information.
Antes de que empiece:
Muchas gracias por comprar este
producto.
Identifique todas las piezas y las piezas de ferretería antes de
comenzar. Al distribuir las piezas, colóquelas sobre una superficie suave para evitar que se rayen.
Si faltaran piezas, llame a nuestro número gratuito 1-800-892-3986 entre las 8:00 a.m.- 5:00 p.m., hora
del este, de lunes a viernes o contáctenos a través de nuestro sitio web en www.zenith-products.com
para solicitar mas información.
Avant de commencer :
Merci d’avoir acheté ce produit. Veuillez identifier toutes les pièces et les accessoires de montage avant de
commencer. Lorsque vous déballez les pièces, placez-les sur une surface non rugueuse afin d’éviter les
éraflures.
S’il venait à vous manquer des pièces, appelez notre numéro sans frais 1.800.892.3986 entre 8 h et 17 h
(heure de l’Est des États-Unis), du lundi au vendredi, ou contactez notre site Web à www.zenith-products.com
pour de plus amples informations.
Question and Answer IconNeed help?

Do you have a question about the Zenith 701L and is the answer not in the manual?

Zenith 701L Specifications

General IconGeneral
BrandZenith
Model701L
CategoryIndoor Furnishing
LanguageEnglish

Summary

Before You Begin

Initial Parts Check and Protection

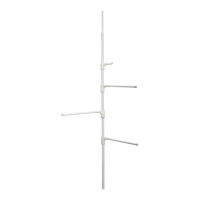
Identify all parts and hardware. Place on soft surface to prevent scratches.

Missing Parts Support Information

Contact number or website for assistance with missing components.

Tools and Parts List

Tools Needed for Assembly

List of tools required for the assembly process.

Identification of Cabinet Parts

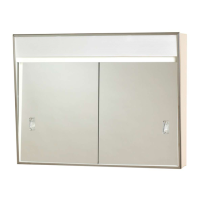
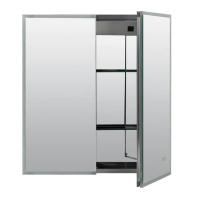
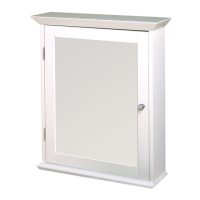
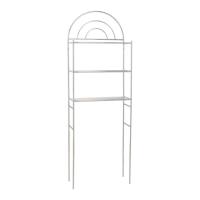
Visual guide to all included parts for the cabinet.

Mounting Instructions

Cabinet Placement and Marking

Position cabinet, mark screw locations, and ensure it is level.

Drilling and Wall Anchors

Drill mounting holes; use wall anchors if not hitting wall studs.

Wall Drilling Safety

Caution: Be aware of electrical, plumbing, or gas lines when drilling.

Wiring Instructions

Power Off and Utility Awareness

Shut off power before wiring and be mindful of wall utilities.

Grounded Supply Requirement

Fixture requires a grounded supply; do not connect to ungrounded sources.

Professional Wiring Recommendation

Advise for qualified electrician; do not alter manufacturer wiring.

Connecting Electrical Wires

Connect white to white, black to black, and ground wires properly.

Cable Routing into Cabinet

Route Romex cable into the 7/8 inch hole on the cabinet back.

Handle Installation

Handle and Door Preparation

Clean doors; prepare adhesive pieces for handles without touching adhesive.

Attaching Handles with Adhesive

Use template to adhere handles; allow 24 hours for adhesive to cure.

Door Installation

Adhering Door Tracks to Cabinet

Peel backing from adhesive tracks and apply to cabinet body and frame.

Inserting Mirrored Cabinet Doors

Insert door tops into rear groove of top track, then maneuver bottoms into bottom track.

Related product manuals