EasyManua.ls Logo

Zipro Jump Pro 6FT - Assembly Diagram; Parts List; Assembly Manual; Warranty

Default Icon
Print Icon
To Next Page IconTo Next Page
To Previous Page IconTo Previous Page
Loading...
25
EN
Do not assemble/dismantle the trampoline and do not use it during rain, storm or a strong wind.
The trampoline frame is made from metal and conducts electricity. In its vicinity there must not be any
electrical equipment.
The location where you are going to use the trampoline must be light and well-lit.
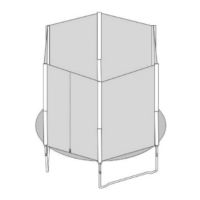
ASSEMBLY DIAGRAM (→ See page 3)
ATTENTION! Do not use parts other than those provided by the manufacturer.
PARTS LIST
Quantity of components for particular models
NO.
DESCRIPTION
6FT
8FT
10FT
12FT
14FT
16FT
A
Upper rail
6
6
6
8
8
12
T
T bar
6
6
6
8
8
12
T2
Ring Φ25mm + assembly kit
6
6
6
8
8
12
B
Spring cover
1
1
1
1
1
1
C
Trampoline bed
1
1
1
1
1
1
D
Spring
36
48
60
72
80
108
E
Leg extension
0
0
6
8
8
12
F
Leg base
3
3
3
4
4
6
G
Bolt
0
0
6
8
8
12
H
Spring tensioner
1
1
1
1
1
1
I
Ladder leg
0
0
2
2
2
2
J
Rung
0
0
2
2
2
2
K
Assembly kit
0
0
4
4
4
4
W1
Assembly kit
12
12
12
16
16
24
W2
Post cover
6
6
6
8
8
12
W3
Post bottom end cap 6 6 6 8 8 12
W4
Post extension
6
6
6
8
8
12
W5
Post
6
6
6
8
8
12
W6
Inner mesh
1
1
1
1
1
1
W7
Assembly wrench
1
1
1
1
1
1
W8
String
1
1
1
1
1
1
Z1
Assembly kit
12
12
12
16
16
24
Z2
Post cover
6
6
6
8
8
12
Z3
Post bottom end cap
6
6
6
8
8
12
Z4
Post extension
6
6
6
8
8
12
Z5
Post
6
6
6
8
8
12
Z6
Outer mesh
1
1
1
1
1
1
Z7
Assembly wrench
1
1
1
1
1
1
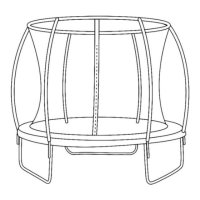
ASSEMBLY MANUAL (→ See page 6)
CAUTION! Follow the steps below during the assembly and use tools supplied with the product.
Prepare sufficient space for the assembly operation.
It is advisable to assemble the product with another person because of the weight of some elements.
WARRANTY
The Seller, in the Warrantor's name, offers warranty in the territory of Europe for 24 months following the sales date.

Table of Contents

Related product manuals