15
3. Use #2 screws to install the four buckles on the corresponding mounting holes
around the trim kit.
4. Line up the trim kit with the buckle seats.
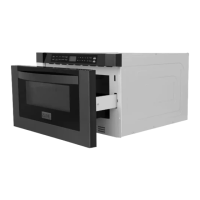
Trim Kit Installation
① 将安装好卡扣的外观框放在橱柜上作出比对;用记号笔画上安
装位置
② 用 1#螺丝将卡座安装在对应安装位置上
Use 2# screws to install the four buckles on the corresponding mounting
holes around the trim kit 使用 2#螺丝将四个卡扣安装在外观框四周对
应的安装孔上
Place the trim kit which install buckle on the cabinet for
contrast, then use marker strokes to draw the mounting
position
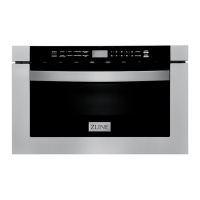
INSTALLATION Trim Kit
 Loading...