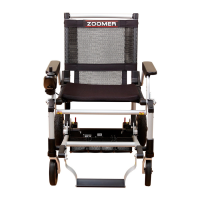
11
5. Initial Set Up of the ZOOMER™
Step 1: Lay the carton flat on the floor and carefully remove the ZOOMER™ from the box and its packaging.
Step 2: Unfold the ZOOMER™ by pulling up on the cable on the back of the chair to disengage the locking pins, while at the same time pulling up on the seat back
until the chair is in the fully upright position and the two locking pins click into position. Please see the pictures in Section 6 for additional assistance.
Step 3: Loosen and slide out the two anti-tilting wheels on the back side of the ZOOMER™ and tighten the two knobs to lock into position (refer to the photo in
Section 7).
Step 4: On the rear of the ZOOMER™, ensure that the two brake levers are in the “ENGAGED” position. See Section 10 for additional assistance on this step.
Step 5: Mount the Joystick Control Panel (as identified in Section 2 Front View of the ZOOMER™, Item 4) where indicated using the two screws included in the
box. You may mount the Joystick to either the right side or the left side of the vehicle. The cable that connects the motors to the Joystick is prewired for right hand
control. See Step 6 below to rewire the control for Left Handed use (this additional step will take just a couple of minutes).
Step 6: Connect the control panel cable to the cable attached to the underside of the right armrest by carefully plugging it in, then tightening the circular nut
until it is hand-tight. The control panel cable will have to be rerouted from the right side to the left side of the ZOOMER if the user needs to operate the ZOOMER
with their left hand.
Step 7: Install the battery by following the steps shown below in Section 8. Secure the battery into place rotating the locking lever over the end of the battery.

 Loading...