Dimensional Data (inches and [ mm ]) are Subject to Manufacturing Tolerances and Change Without Notice
®
ZS880
LINEAR SHOWER DRAIN CONNECTOR INSTALLATION INSTRUCTIONS
Zurn Industries, LLC | Light Commercial Plumbing Products
1801 Pittsburgh Avenue, Erie, PA U.S.A. 16502 · Ph. 855-663-9876, Fax 814-454-7929
In Canada | Zurn Industries Limited
3544 Nashua Drive, Mississauga, Ontario L4V 1L2 · Ph. 905-405-8272, Fax 905-405-1292
www.zurn.com
Rev. A
Date: 4/24/2018
C.N. No. 139950
Form # FT1015 Sheet 2 of 2
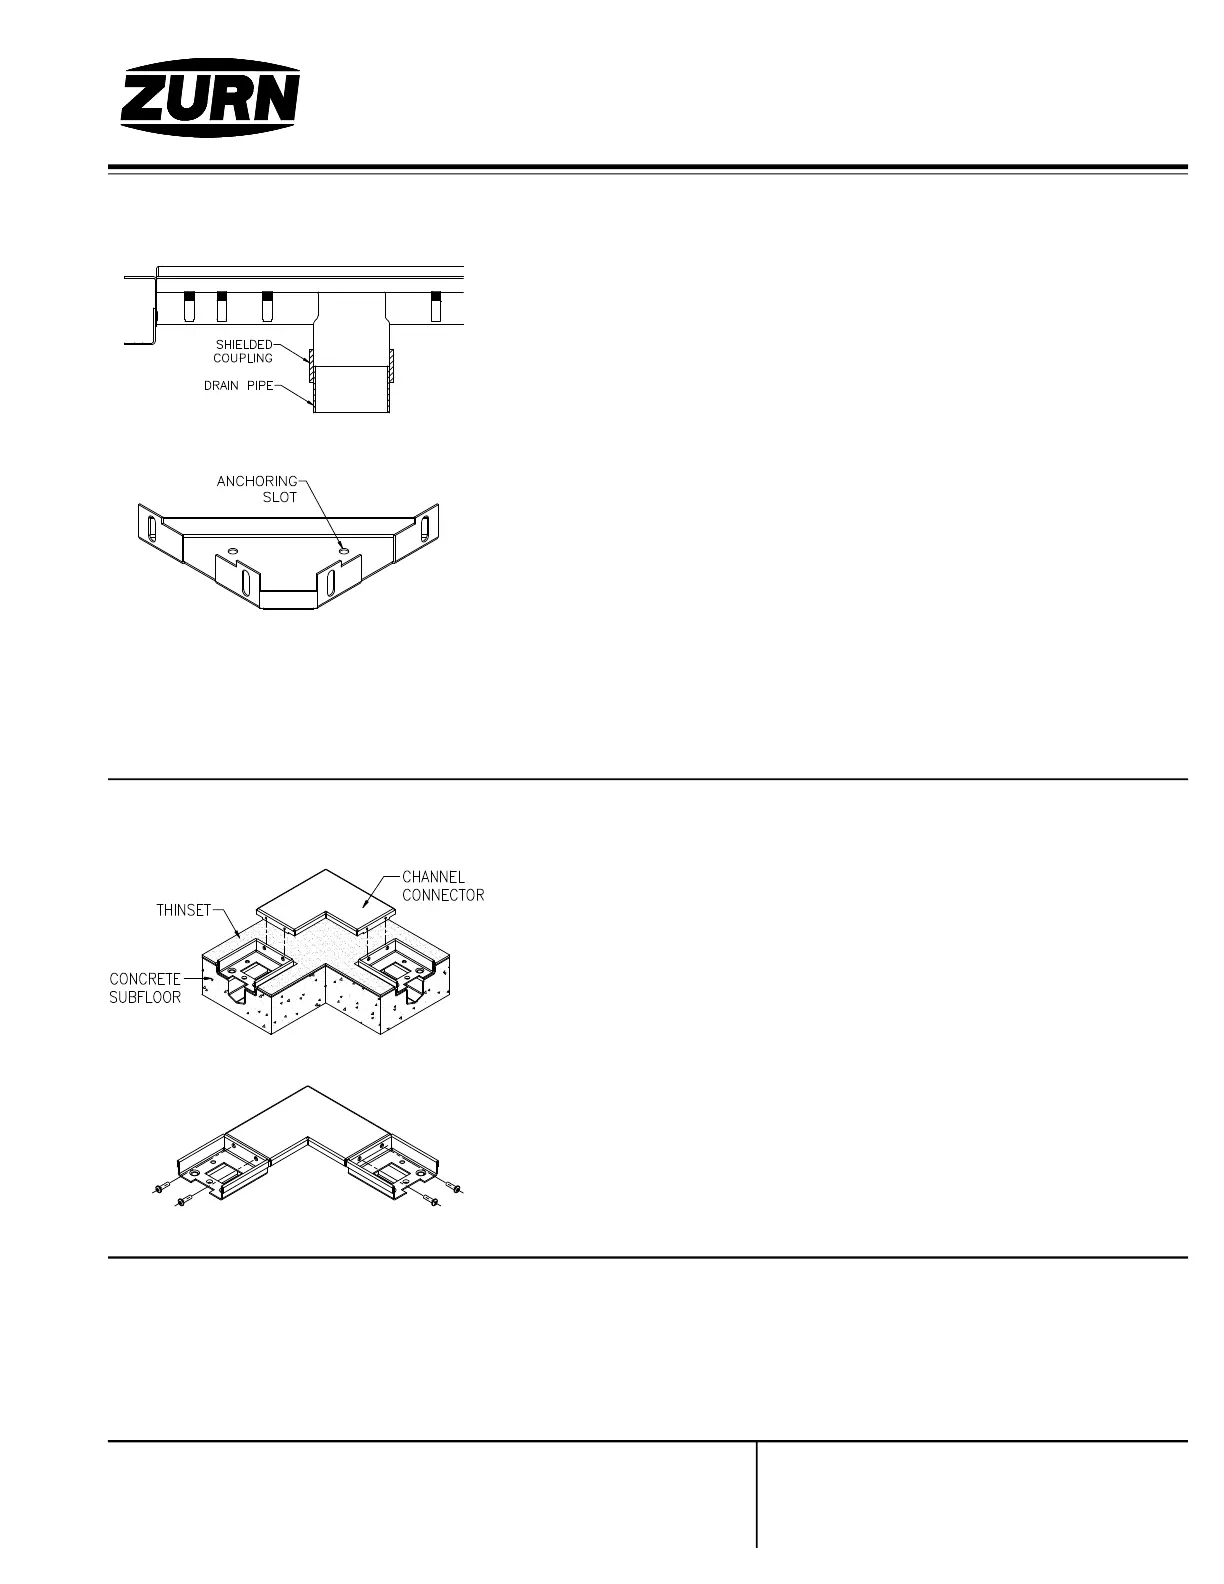
Installing the Channel Connector
STEP 12: Finished Floor Construction. Refer to ZS880 Linear Shower Drain Installation Instructions, Form # FT1009
STEP 13: Securing the Grate. Refer to ZS880 Linear Shower Drain Installation Instructions, Form # FT1009
STEP 8: Subfloor Construction. Refer to ZS880 Linear Shower Drain Installation Instructions, Form # FT1009
STEP 9: Adjusting the Tiling Frame. Refer to ZS880 Linear Shower Drain Installation Instructions, Form # FT1009
STEP 10: Apply thinset
to underside of the
channel connector.
Note: To prevent damage to the connector, it is
important to ensure that the underside of the
connector is completely supported by thinset.
STEP 11: Install and
secure the connector
to the adjacent channel
frames.
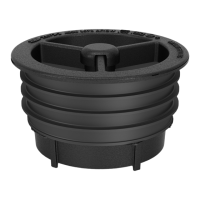
STEP 6: Attach the
channel outlet to the
drain pipe.
A shielded coupling shall be used to make this
connection. Ensure that the coupling clamps are
tightened before lagging the anchor legs down to
the base.
STEP 7: Lag the drain
to the base.
For convenience, the anchor leg is furnished with
four anchoring slots to lag the drain assembly
down to a base prior to construction of the
subfloor. Use at least two of the anchoring slots.
Thread the four provided screws through the
frame and into the connector, as shown.
 Loading...