Chapter 2 Hardware Panels
NSG Series User’s Guide
10
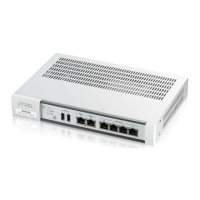
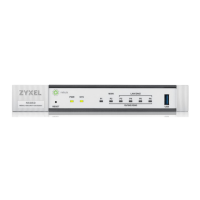
Figure 6 NSG50
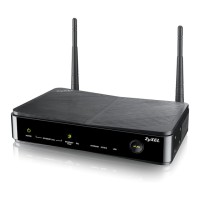
Figure 7 NSG100
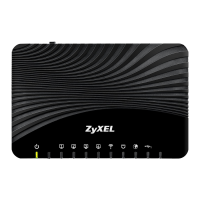
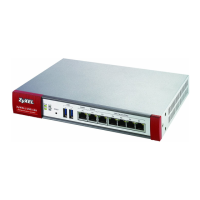
Figure 8 NSG200
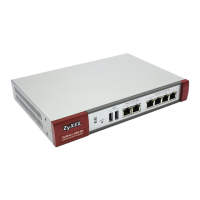
Figure 9 NSG300
The following table describes the items on the rear panels.
Table 4 Panel Ports and Buttons
LABEL DESCRIPTION
POWER Connect the power cable and press the power button to start the NSG.
Power
Button
Press the power button after the power cable is connected to start the NSG.
SFP
P1/WAN 2
(NSG50)
This is an SFP (1G) port. These are compatible 1G transceiver modules (at the time of writing):
• SFP-1000T
•SFP-SX-D
• SFP-LX-10-D
• SFP-BX1310-10-D
• SFP-BX1490-10-D
• SFP-LHX1310-40-D
• SFP-ZX-80-D
CONSOLE Connect your computer to the CONSOLE port using an Ethernet or DB-9 cable to manage the NSG
using CLI commands. You will be prompted to enter your user name and password.
P2/WAN 1
(NSG50)
Connect an Ethernet cable to the Ethernet WAN port for Internet access.
LAN
P3-P6
(NSG50)
LAN: Connect computers or other Ethernet devices to Ethernet ports for Internet access.
Fan The fans are for cooling the NSG. Make sure they are not obstructed to allow maximum ventilation.
Lock Attach a lock-and-cable from the Kensington lock (the small, metal-reinforced, oval hole) to a
permanent object, such as a pole, to secure the NSG in place.
 Loading...