24
Installation / Installation / Installation / Installazione / Instalción /Installatie /
安装 /
設置
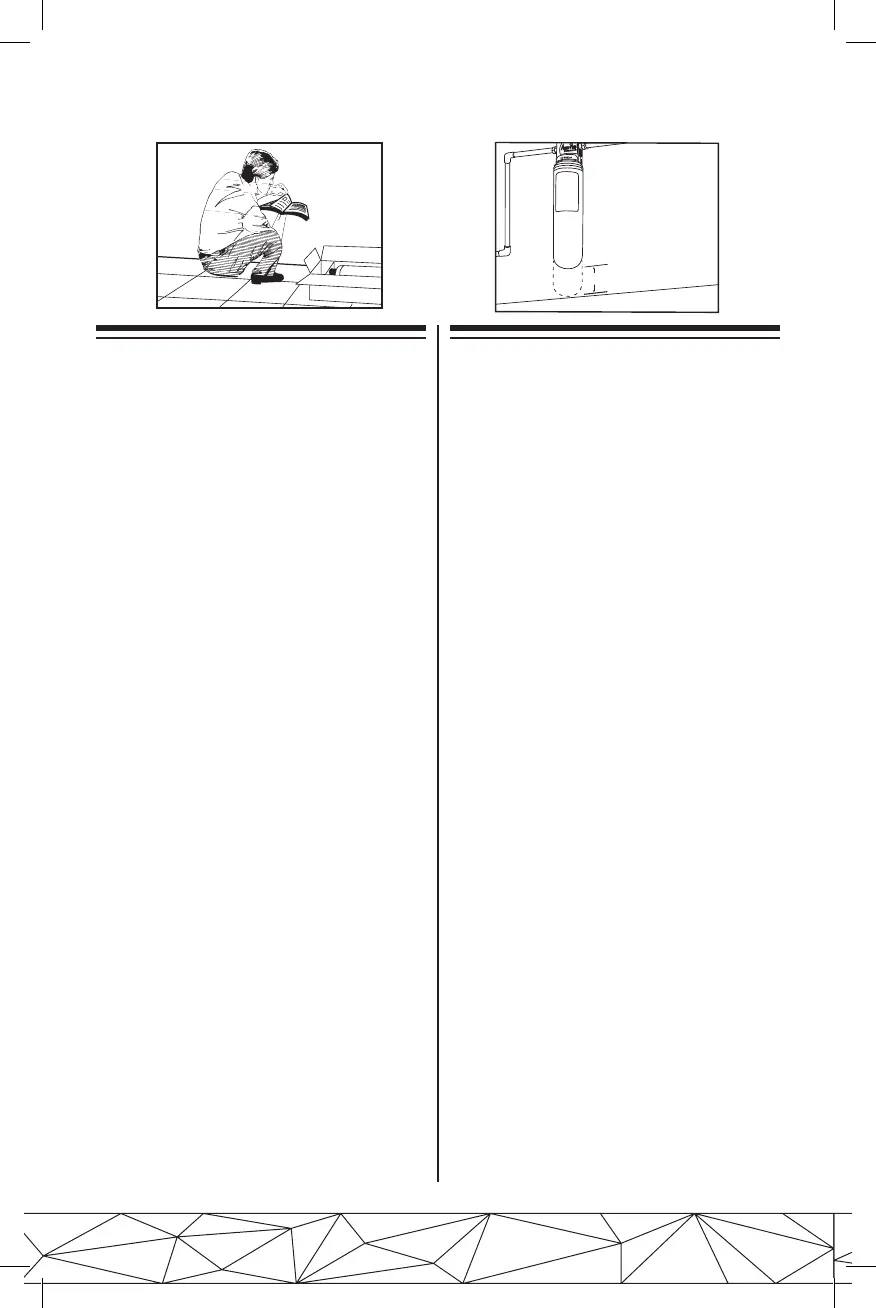
7,62cm (3in) minimum
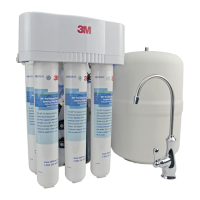
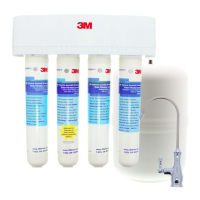
Step 1
Remove system from the package and check parts
list (page 18-20).
NOTE: Be sure inlet water supply is turned off before
installing.
Étape 1
Sortez le système de son emballage et procédez au
contrôle des différentes pièces en vous référant à la
nomenclature (page 18-20).
REMARQUE : Assurez-vous que l’alimentation en
eau est fermée avant de commencer l’installation.
Schritt 1
Nehmen Sie das System aus der Verpackung und
überprüfen Sie den Inhalt anhand der Teileliste
(Seite 18-20).
HINWEIS: Achten Sie vor Installationsbeginn darauf,
dass die Wasserversorgung abgesperrt ist.
Passo 1
Rimuovere il sistema dalla confezione e controllare
l'elenco delle parti (pagine 18-20).
NOTA: assicurarsi che la mandata di acqua in entrata
sia chiusa prima dell'installazione.
Paso 1
Retire el sistema del paquete y revise la lista de
piezas (páginas 18-20).
NOTA: Asegúrese de que el suministro de agua de
entrada esté cortado antes de la instalación.
Stap 1
Haal het systeem uit de verpakking en controleer de
onderdelenlijst (pagina's 18-20).
OPMERKING: controleer voordat u met de installatie
begint of de watertoevoer is afgesloten.
ステップ 1
パッケージからシステムを取り出し、部品リストを
確認します(18~20ページ)。
注意:設置の前に、注水口の水が止まっていること
を確認してください。
步骤 1
去除系统包装,检查部件清单(第 18 页和 20 页)。
注意:请确保在安装前关闭进水管。
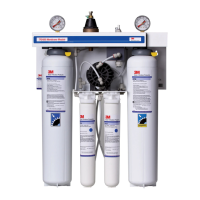
Step 2
Select the installation location.
IMPORTANT: Allow a minimum of 3" (7.62 cm) of
space below cartridge for change-outs.
Étape 2
Choisissez l’emplacement d’installation.
IMPORTANT : Prévoyez un dégagement d’au moins
7,62 cm (3 po) en dessous du système de filtre
afin de permettre les changements de cartouche
ultérieurs.
Schritt 2
Wählen Sie einen Montageort aus.
WICHTIG: Lassen Sie für den Austausch mindestens
7,62 cm (3") Freiraum unterhalb der Patrone.
Passo 2
Selezionare la posizione di installazione.
IMPORTANTE: lasciare uno spazio di almeno
7,62 cm (3") al di sotto della cartuccia per facilitare
la sostituzione.
Paso 2
Seleccione el lugar de instalación. IMPORTANTE:
Deje un espacio de al menos 7,62 cm (3 in) debajo
del cartucho para su recambio.
Stap 2
Selecteer de locatie voor de installatie.
BELANGRIJK: zorg dat er minimaal 7,62 cm (3")
ruimte onder de cartridge overblijft met het oog op
vervanging.
ステップ 2
設置する場所を決めてください。
重要:交換のため、カートリッジの下に7.62 cm
(3インチ)以上の隙間が必要です。
步骤 2
选择安装位置。
重要信息:请在滤筒下至少留出 3"(7.62 厘米)的
空间,以便更换。

 Loading...