10
3M
™
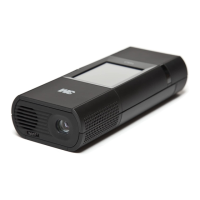
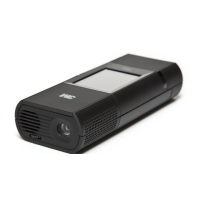
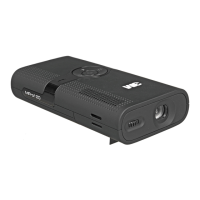
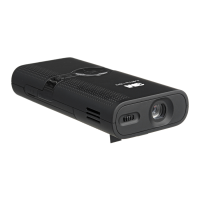
Mobile Projector MP220
© 2011 3M. All Rights Reserved.
English
Transfer files to the
projector
Note: The USB cable is for the transfer
of data only and cannot be used to
project an image directly from your
computer.
USB cable
Type of devices that may transfer data
to projector:
• Computers
• Netbooks
• Tablets
Connector on device and projector
• Computer: USB Type A connector
• Projector: Micro USB Type AB
connector
Access Files on the projector
from your computer
1 Turn on the projector and make
sure the Home screen is displayed
on the touch screen.
2 Connect the USB cable to the
projector.
3 Connect the USB cable to the
computer.
4 Notification appears that USB is
connected.
5 Click Turn on USB storage.
6 The projector and the microSD will
be detected as a removable drive
by the computer. The drive labeled
"Internal" is the projector's on-
board memory, and "Removable
Disk" is the microSD card in the
projector SD card slot.
7 Now you are ready to access
files on the projector from your
computer in the computer’s file
browser.
Before disconnecting the projector
from the computer’s USB port
You must properly eject the removable
drives on your computer or you may
lose data.
Eject both removable drives on your
computer operating system, as follows:
Eject a drive on computers running
Microsoft Windows: Open Windows
Explorer, right-click the drive, and click
Eject from the context menu.
Eject a drive on a computer running
Apple Mac OS 10: Open finder, choose
the drive, and then choose File>Eject
Multi_3M-MP220-QSG-4-75x7.indb 10 11/29/2011 5:38:53 PM